Page 106 of 124

Re: 1967 Family Patrol Project

Posted: Mon May 02, 2022 10:44 pm
by faux40
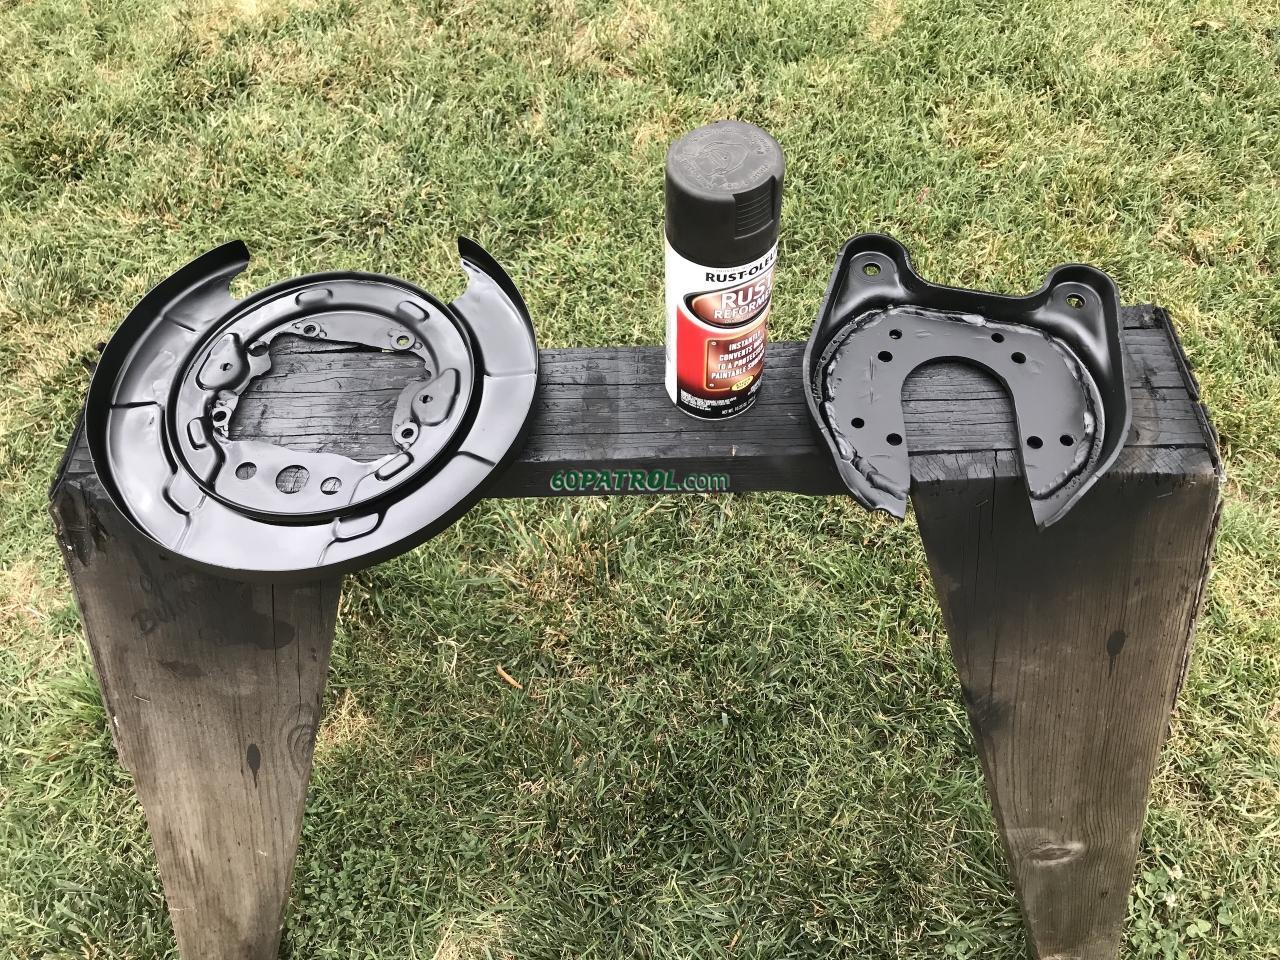
I have a sneaking suspicion that I have gone about the rear brakes the hard way... Seems to be my M.O.!

To use the late model Nissan Frontier rear rotor/caliper you have to mount caliper bracket from the inside of the axle, meaning it has to be notched to slide over the axle as it can't just slide on from the end -- so no test fitting before slicing it up.

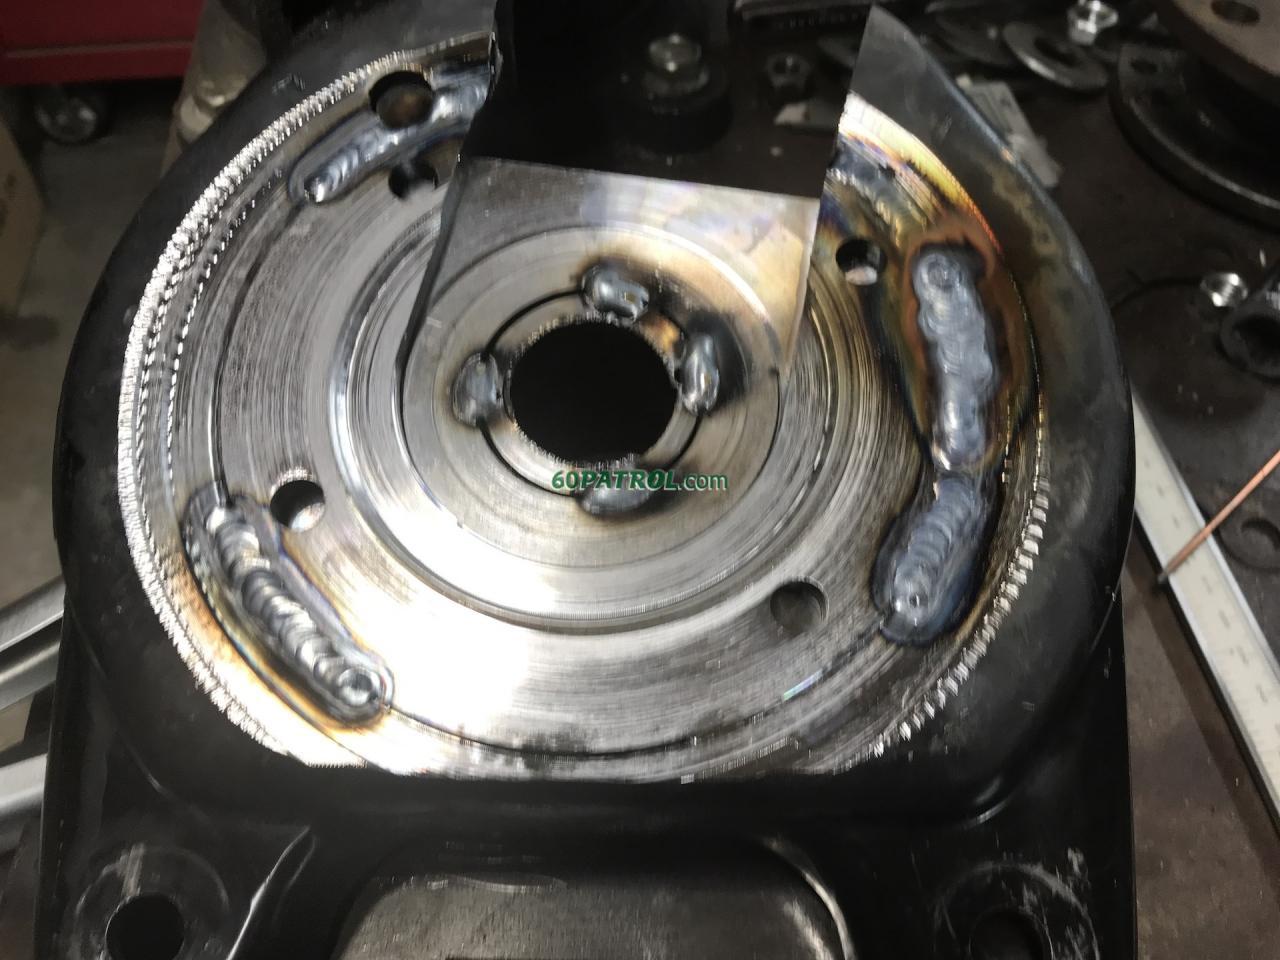
My measurements showed that it was going to need to be off-set a few millimeters or more toward the wheel, so I just cut out the center and made a replacement center that would allow the face of the bracket to be extended outward past the mounting points. Seems simple enough and is clearly working. But, as I get the fit closer and closer, I realize that I'm shimming it back to flush -- exactly where it was before I cut the center out. Ugh. The simple approach would have been to just slot the bracket to fit over the axle, create a backing plate to bridge the gap between the axle diameter and the bracket's stock hole to keep the bracket perfectly centered. Done.
Screen Shot 2022-05-02 at 8.34.55 PM.png
So, for this rear disk brake conversion, you simply need the rotors, calipers and brackets off a late model Frontier.

j
Re: 1967 Family Patrol Project

Posted: Tue May 03, 2022 8:06 am
by rdarnell
a modern nylock nut may not be as tall as the original and get the end of the threads into the nylon.

Re: 1967 Family Patrol Project

Posted: Wed May 04, 2022 1:49 am
by faux40
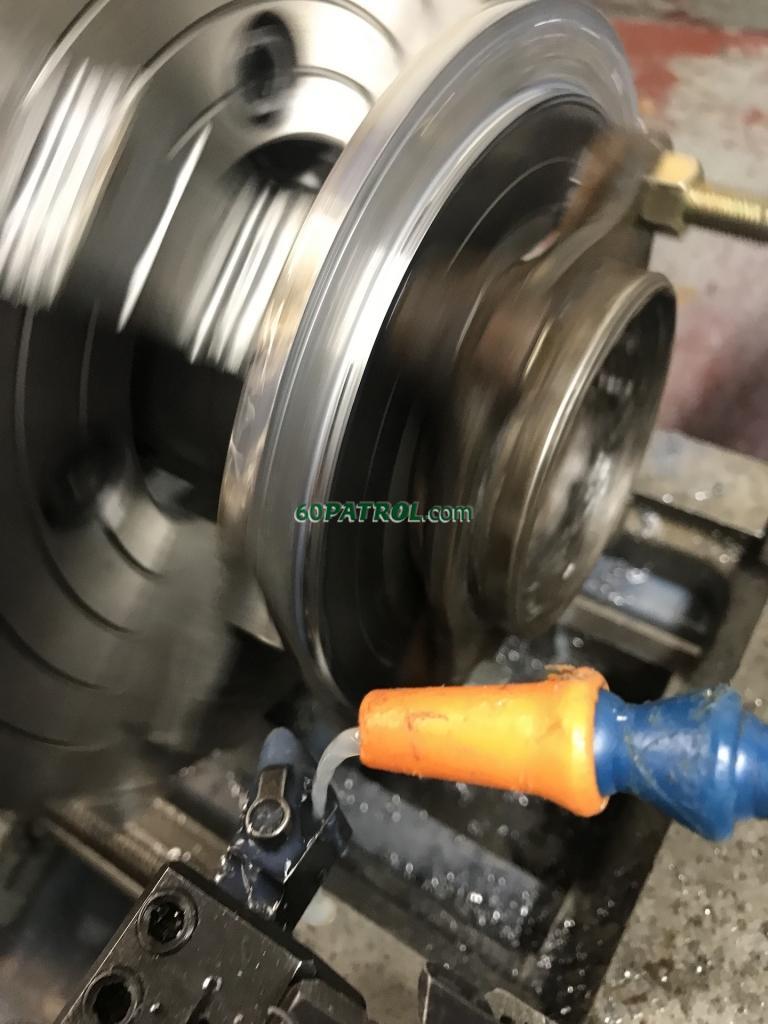
I decided to pull it apart and turn it the 0.027" thinner to fit.
8148

I toyed with getting new brackets, but no nearby dismantlers have the caliper bracket/dust-shields. You can get them from the Nissan dealer, but it's about $180/pair --

J

Re: 1967 Family Patrol Project

Posted: Wed May 04, 2022 2:25 pm
by mad4hws
faux40 wrote:....I have gone about ....the hard way... Seems to be my M.O.!"
I can relate.

Re: 1967 Family Patrol Project

Posted: Sun May 22, 2022 1:37 am
by faux40
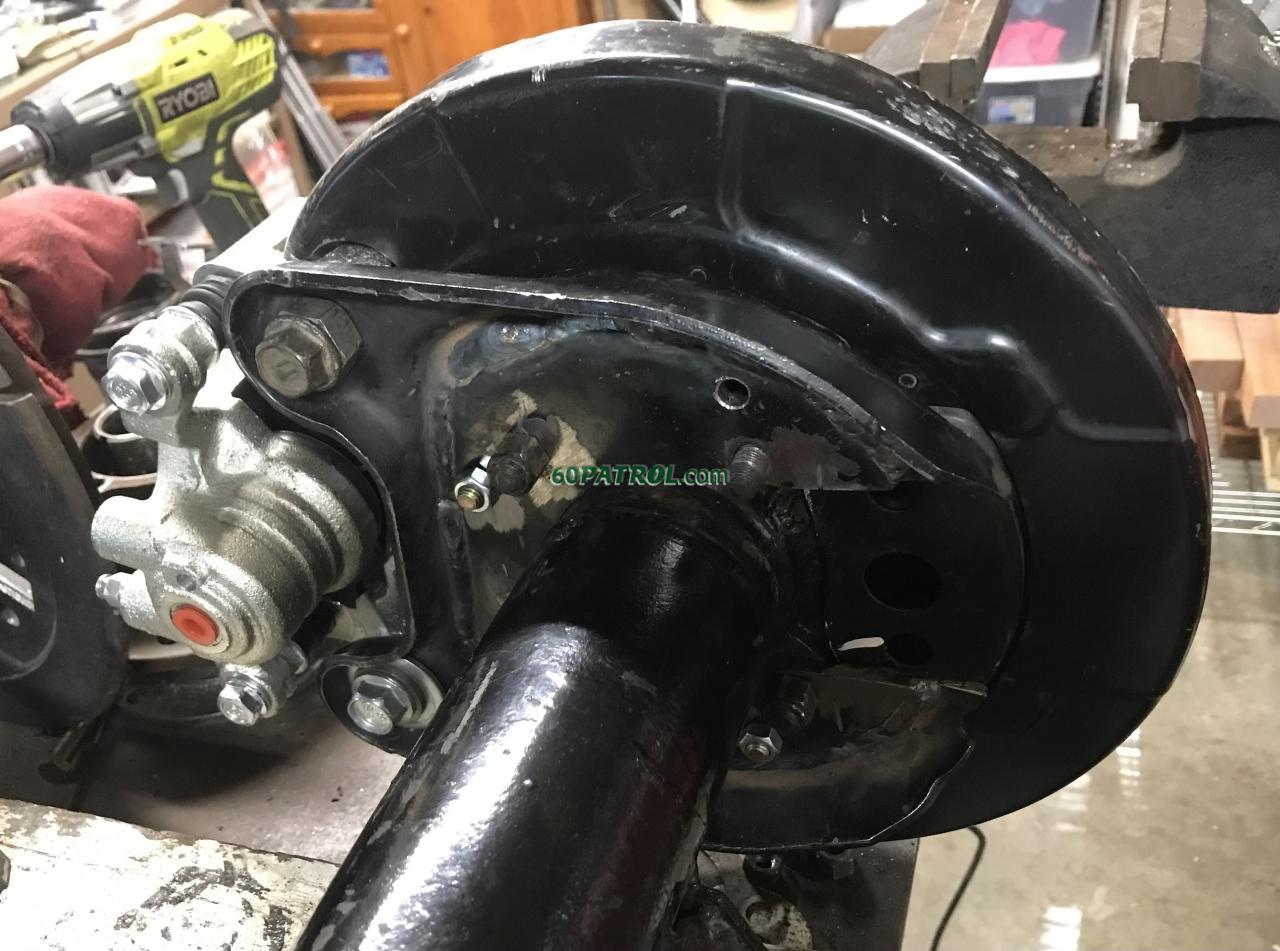
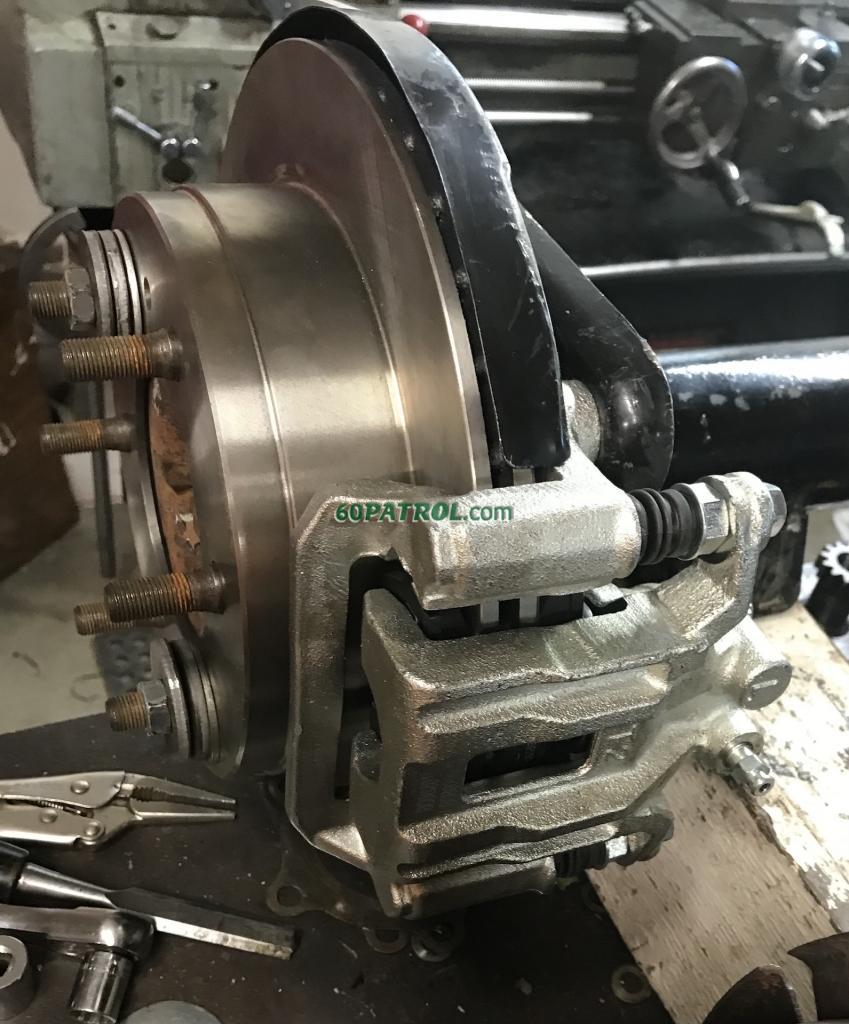
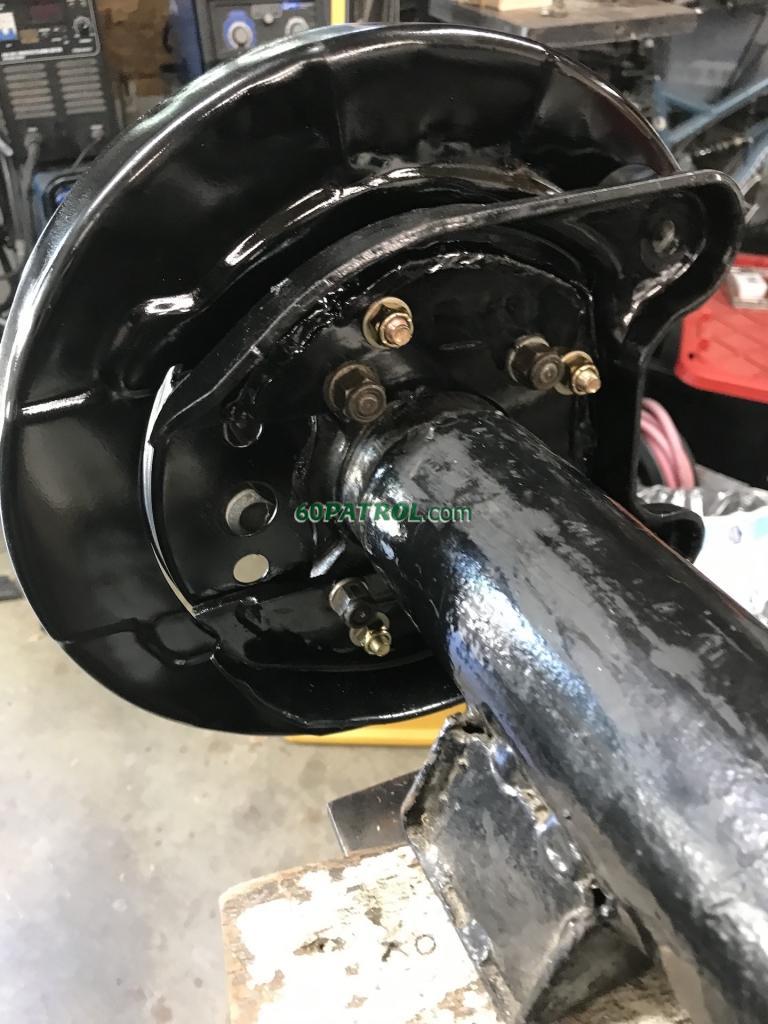
I adjusted the back spacing on the driver side brake bracket, then fit up the dust covers - looks kinda stock too! ;-)

So I welded up the inside of the seam between the the bracket and my custom center
8167

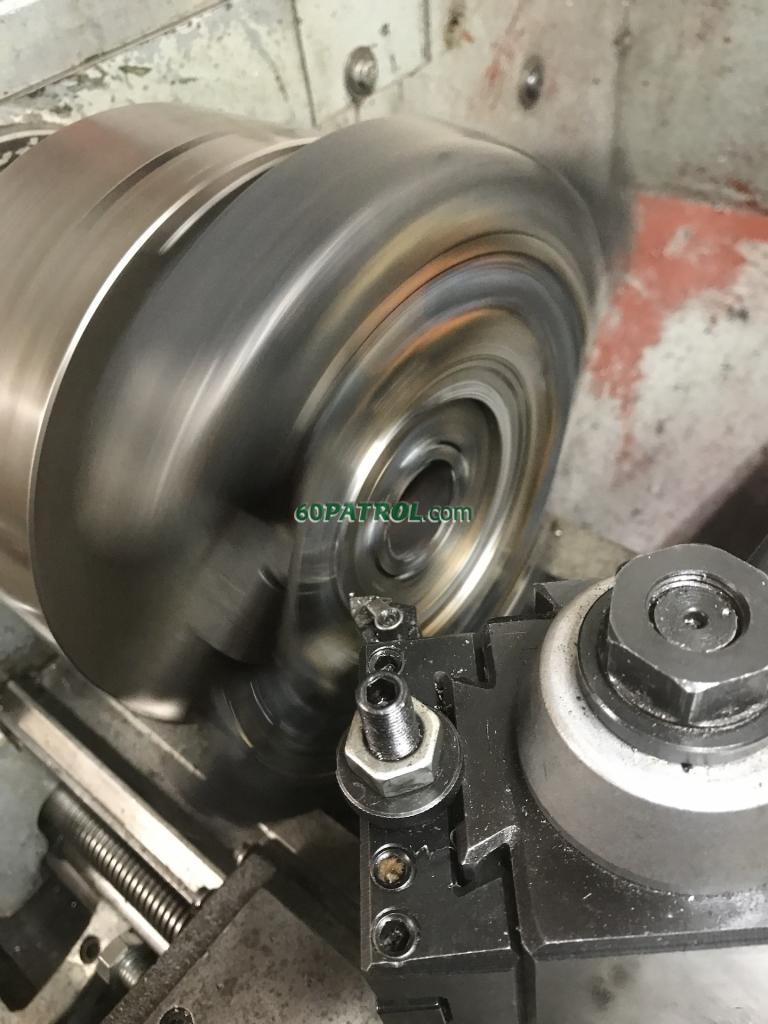
Then I turned a little more to smooth those welds out
8168

Finished -- well, nearly so anyway! Still needs painting (and the other side)
8166

8165

8164

I think it would be possible to use the stock parking brake from the late model Frontier, but during the conversion, I removed some of the backing plate that is required for the parking brake. I'm learning a few things and if I were to tackle a rear disk brake conversion again, it would be a lot easier... and I bet at I'd be able to get the parking brake to work too!

J

Re: 1967 Family Patrol Project

Posted: Mon May 30, 2022 12:12 pm
by faux40
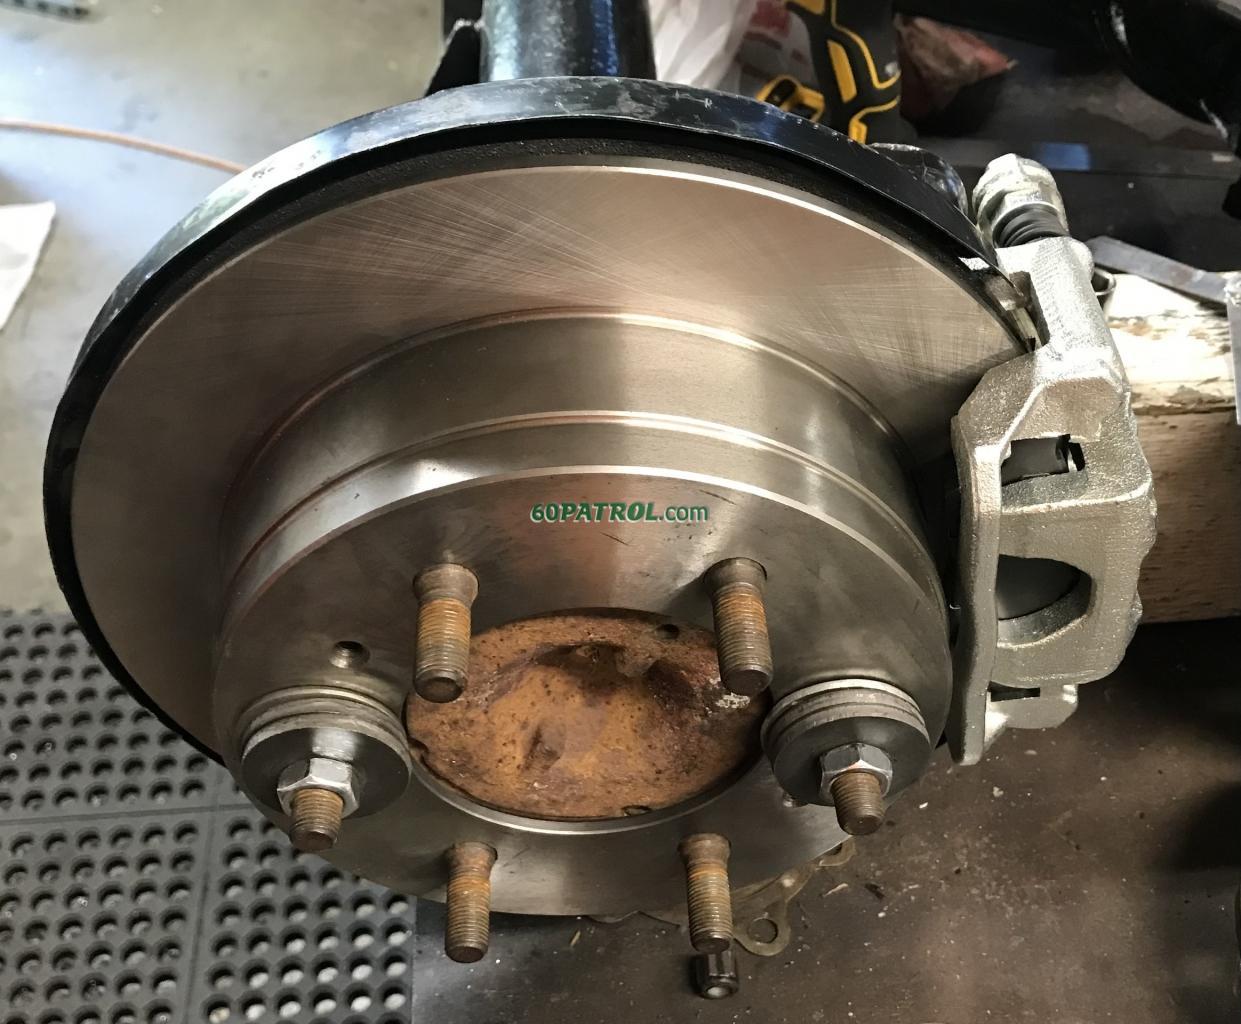
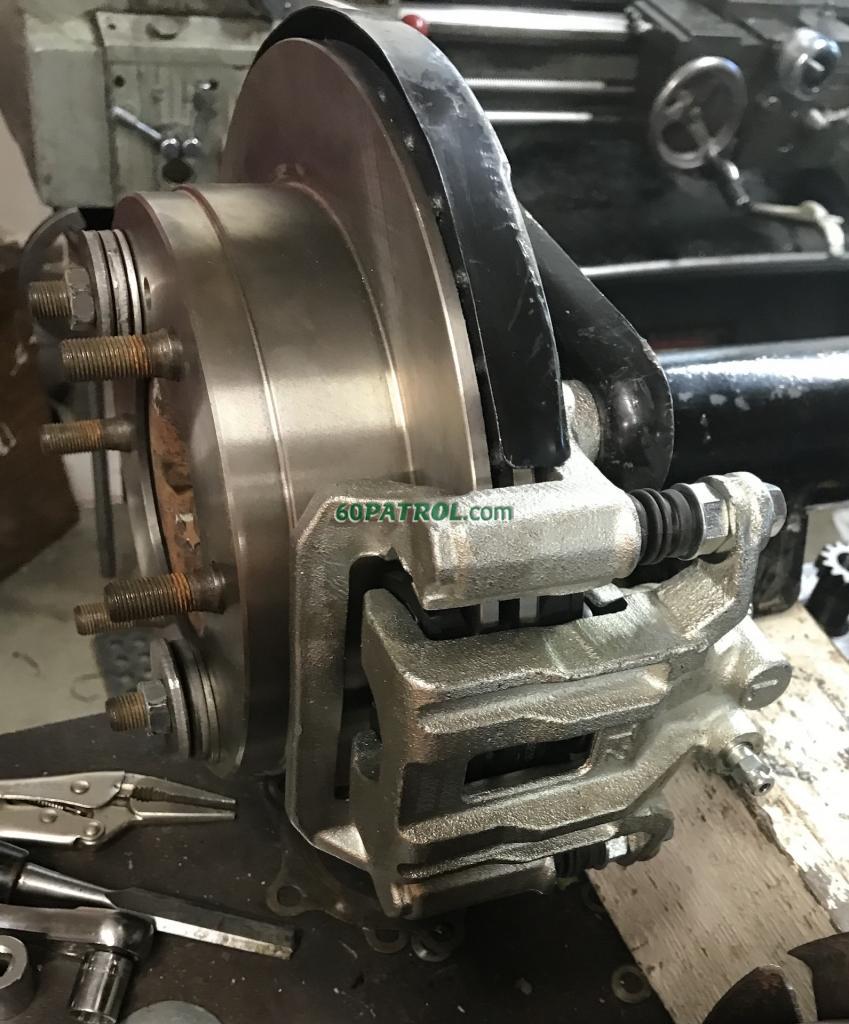
The saga stops here... Okay, bad pun, but I am working on brakes AND the rear brakes are basically done! First, the glory shots!

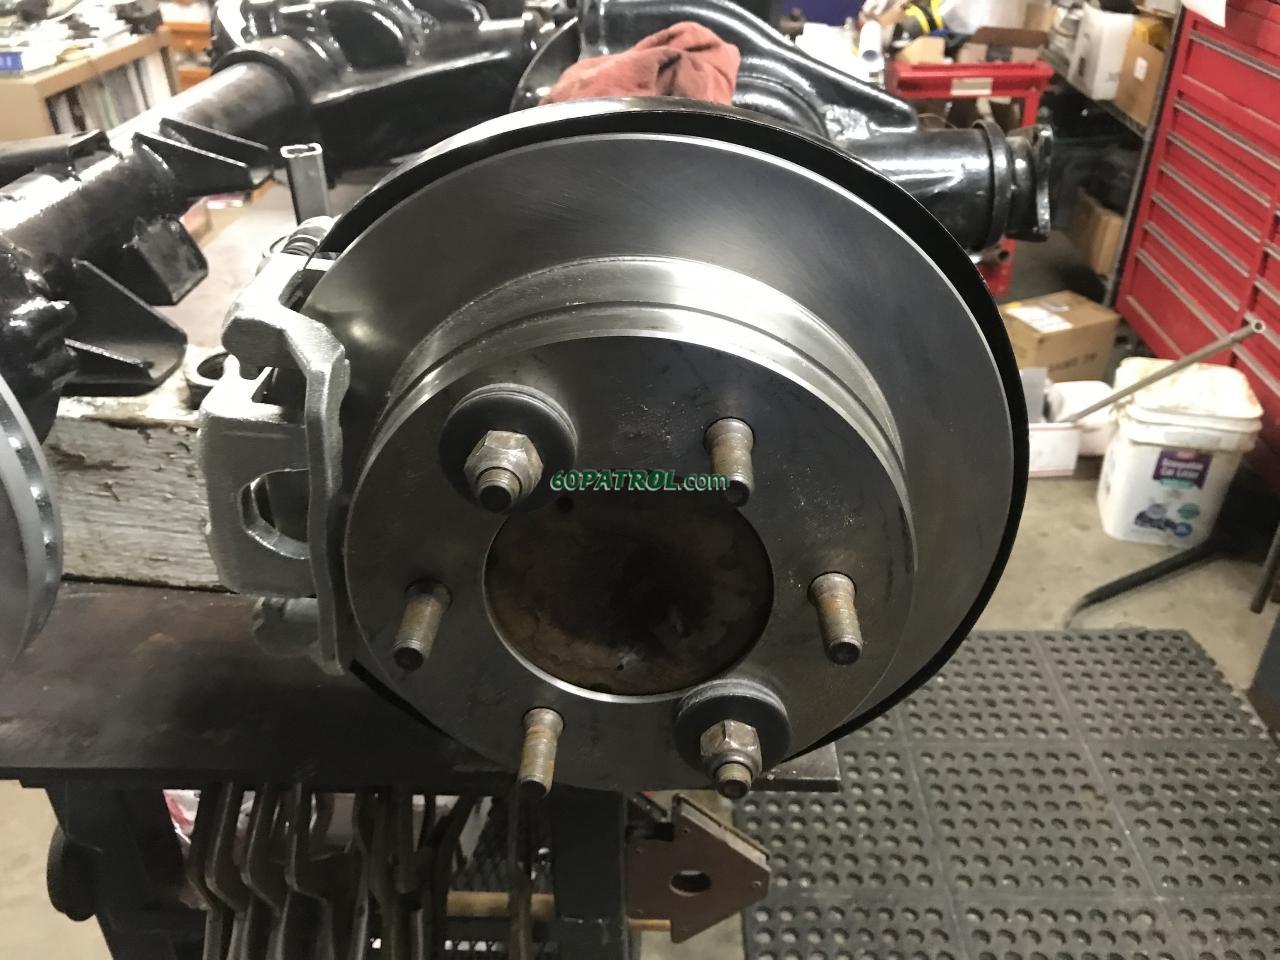
With the late-model Frontier dust shields and custom caliper brackets
8182
8181
8183

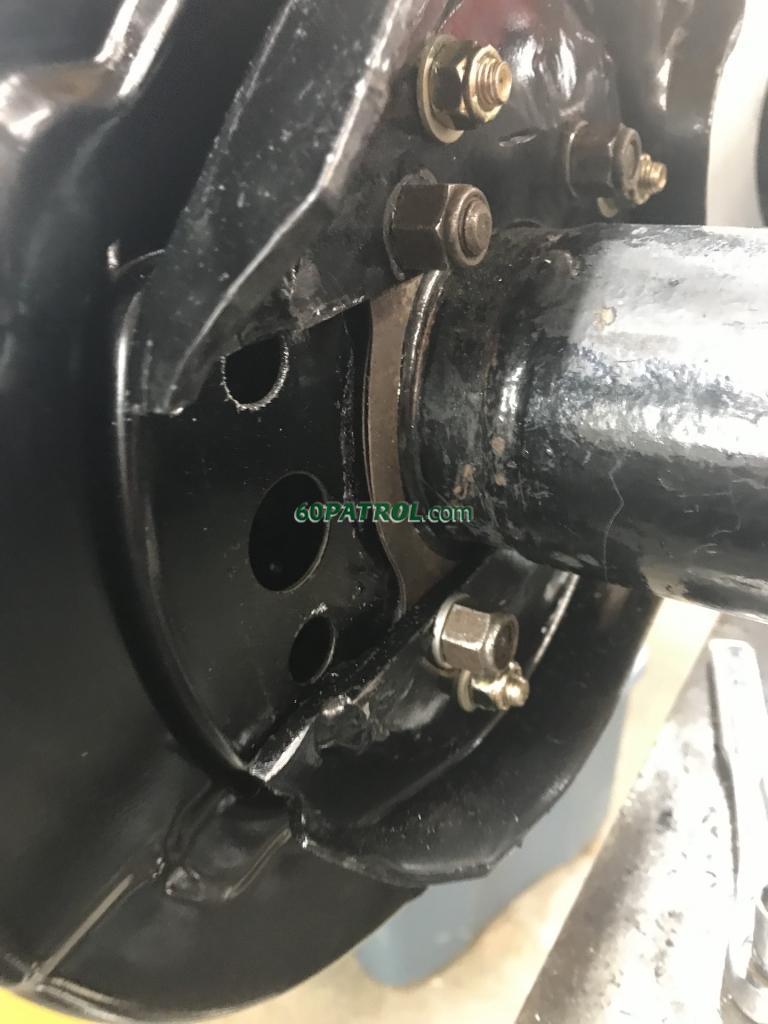
I modified the parking brake cable fitting too -- Although it won't actually have a cable running through it, it does help keep the dust shield attached and rattle free (hopefully)
8186
8187


To use the shield, I drilled out the spot welds to separate it from the caliper bracket, then cut out the middle so it would slip over the axle bearing flange
8184

The shield re-attaches to the caliper bracket with four bolts (you can only see three of them... the gold ones)
8185


Turns out that how the axles set axial free play is that they somehow push against each other inside the differential and then the free play is set with the shims at the bearing caps -- I learned this the hard way... When adjusting the backspacing on the caliper bracket, only do one side at a time. Leave the opposite side in place and torqued to spec! Otherwise, the free play on the axle will be huge and the axle shifted toward the center of the axle. I had both caps finger-tight while turning the bracket. Doh!

I really tried to get the offsets perfect on both sides, but I ended up needing some shimming on one side to center the rotor inside the caliper frame. I used left-over axle shims.
8188

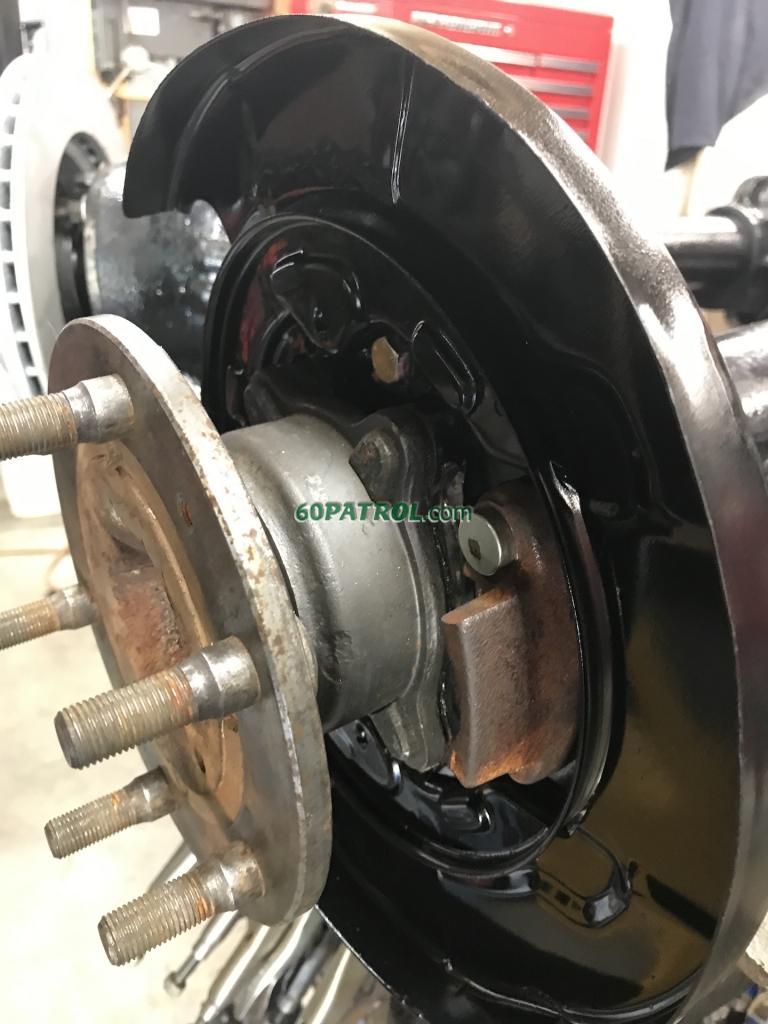
How well the brake rotor fits on the axle turned out to be another issue... When I originally ordered rotors, I ended up with two different brands... Both are supposed to fit that same 1995 Nissan Pathfinder so it shouldn't be an issue. But it is. Ugh again. Modern brakes register on the center of the hub rather than on the outside of the hub like the Patrol or on the studs like my new rear brakes do. Because of this, other areas on the brake rotors can differ between manufacturers. Here's the rear axle from a 2018-ish frontier -- the brake rotor centers on that giant nub.
8192

So, I ended up with one DuraGo BR31071 and one Bendix PRT1597 -- Both are really cheap and are nearly identical... but just nearly! The significant difference is the radius between the inside of the mounting flange and the barrel of the hat. The is the inside of the DuraGo BR31071. That radius is fairly tight. On the Bendix, it's about twice as large... Turns out that it imperceptibly keeps the brake from sitting perfectly flush. Plus the side-to-side shift of the rotor from the tiny clearance to allow the studs to slip-fit, despite being just a couple thousandths, causes one-side or the other to sit proud on the radius and causes the rotor to have 20 thousandths of runout at the friction ring. The mounting appears to be flush from the front... the difference is subtle and there is no way to see it from the side -- Meaning every time you install the rotor, it's sits differently - VERY FRUSTRATING!
8193

The DuraGo BG31071 fits the hub once the wheel stud holes enlarged to 19/32"
Screen Shot 2022-05-30 at 9.07.00 AM.png
The Bendix PRT15978 will also fit the hub, but the wheel stud holes must be enlarged and that inside radius cleaned up. A few minutes on the lathe shrinking that radius a few thousandths and it fits (Whew!).
Screen Shot 2022-05-30 at 9.07.55 AM.png

When I started my brake conversion... something like a year and a half ago -- I opened one of the rear brake rotors and left it sitting on the outside workbench... Not in the rain or anything mind you, just out in the ambient winter air. Come spring, I was treated to this on that brake rotor. Good thing they are cheap! I ordered a replacement, but now I am concerned about leaving them outdoors again. This time on the assembled axle and likely inside the wheels, but that surface rust was pretty bad after just one winter. If the Patrol was driving once a month or so, the brakes would self-clean the rust of the friction ring and life would be good, but at my pace, they are likely to sit for at least one winter before ever being driven!

Question - How should I protect the new ones from rusting? Is there a rust preventative I can put on that won't bother than pads? I could leave the pads off and spray them with WD40, the wipe them and install the pads later. Or as I plan to paint the hat and inside with high temp paint, I could paint the friction ring too. Once it's time to drive, strip the paint, install the pads and all would be well. Is there an easier way? Sadly, building an awesome new shop building is kinda not in the cards! ;-)
8190


Have a good Memorial Day.

J

Re: 1967 Family Patrol Project

Posted: Mon May 30, 2022 3:43 pm
by rdarnell
Looks sharp with those dust shields on them. Nice clean appearance, could pass for factory work!

Re: 1967 Family Patrol Project

Posted: Mon May 30, 2022 5:45 pm
by Dattosanaddict
So awesome John!!! E-brake still a possibility?

Re: 1967 Family Patrol Project

Posted: Mon May 30, 2022 7:05 pm
by faux40
Dattosanaddict wrote:So awesome John!!! E-brake still a possibility?
Not with the way I did mine... engineering on the fly. But, if I were to do it again, I'm sure I could get the frontier e-brake to work!

j

Re: 1967 Family Patrol Project

Posted: Mon May 30, 2022 7:08 pm
by faux40
Side note -- the DuraGo are not very consistent qualitywise...The shield rubs a little on each revolution. Turns out that its not perfectly on center. At the outer edge of the rotor, it's 0.015" out... Aaargh! The rusty one is spot on. Sad part, they need to be drilled for the lugs before you can easily test. At least they are cheap

j