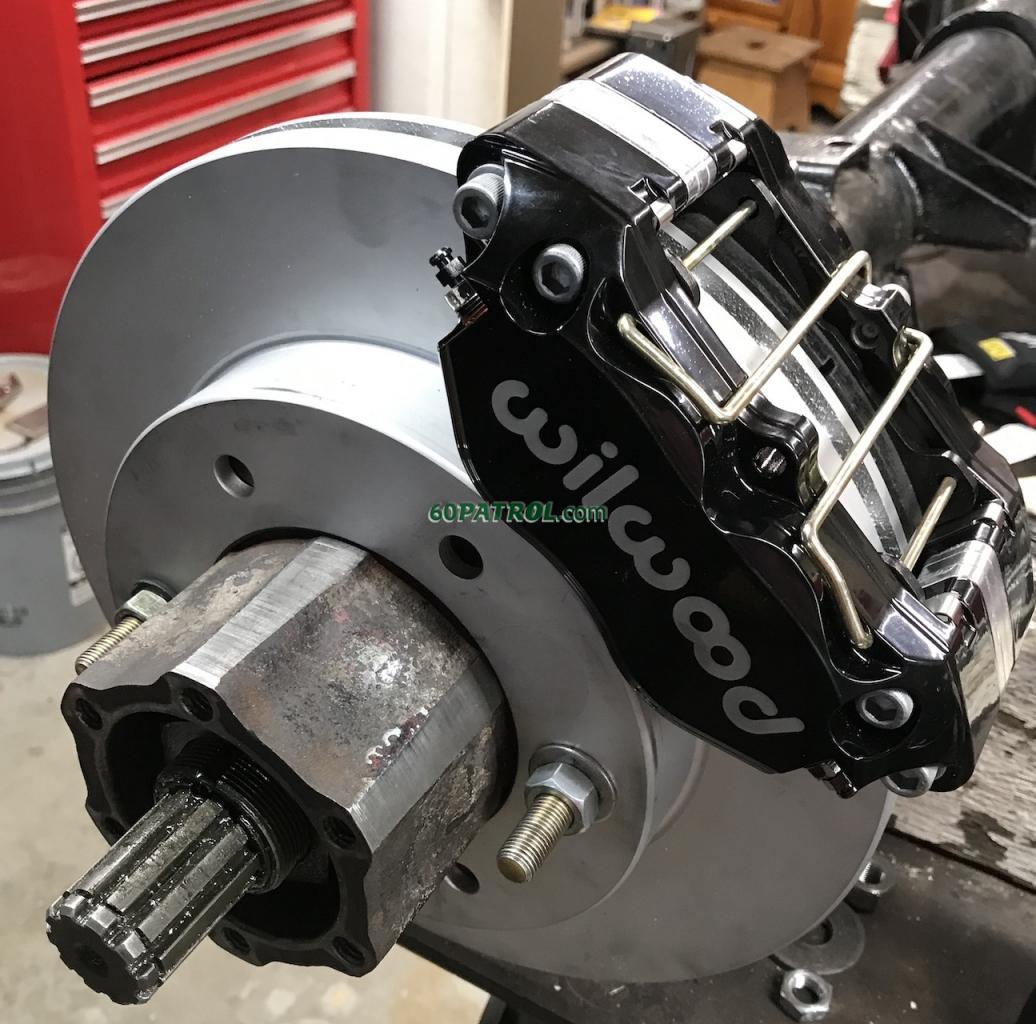
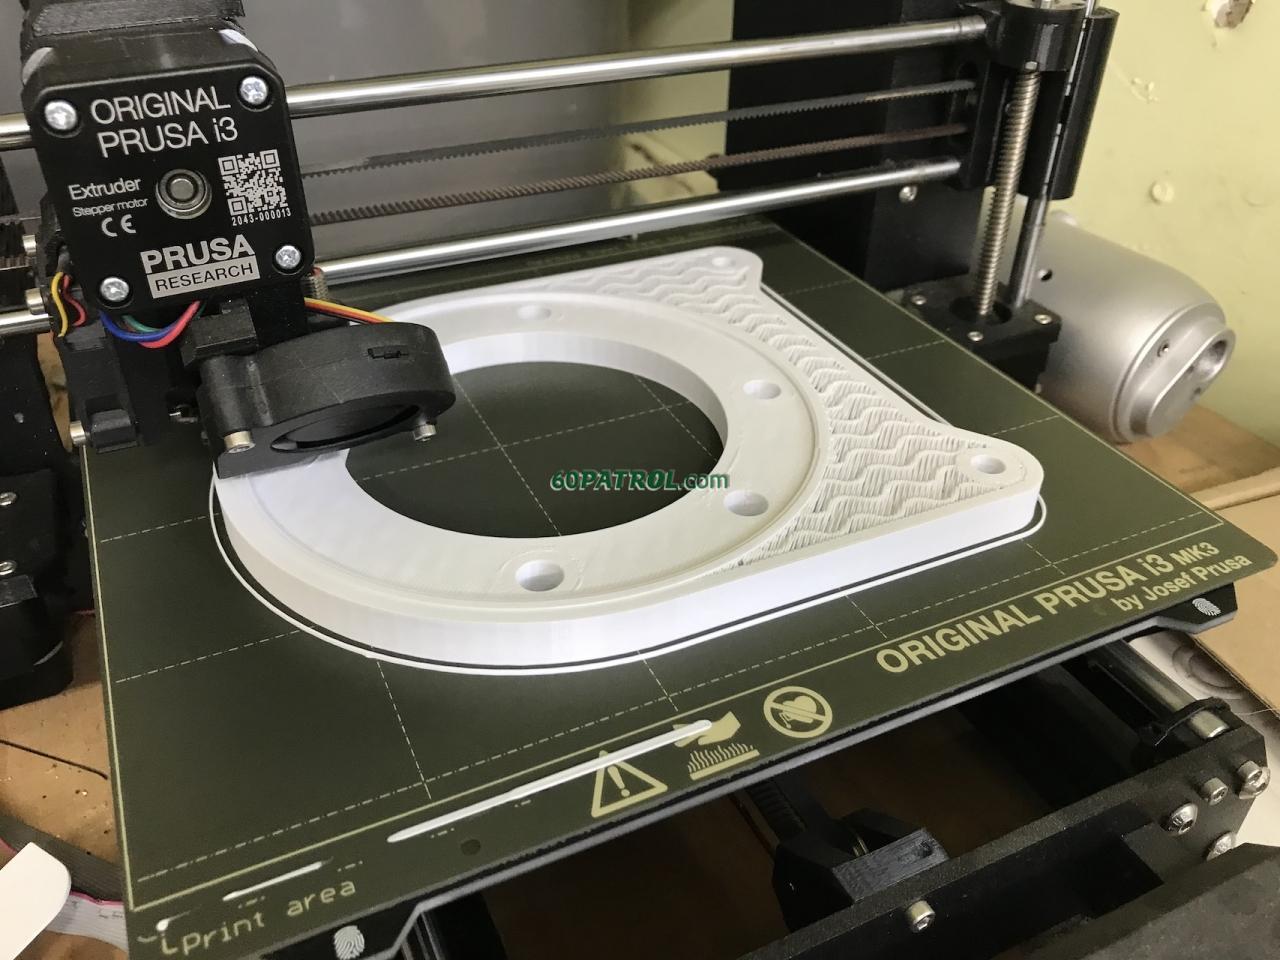
The disk brake story just won't stop!
see what I did there  Brake Caliper Bracket Set!
So a machinist friend made the brackets for me on his mill. All I had to do was turn the center bore to register on the spindle and then counter sink it to center the caliper over the brake rotor. A complete success on the driver side bracket! I am very excited!
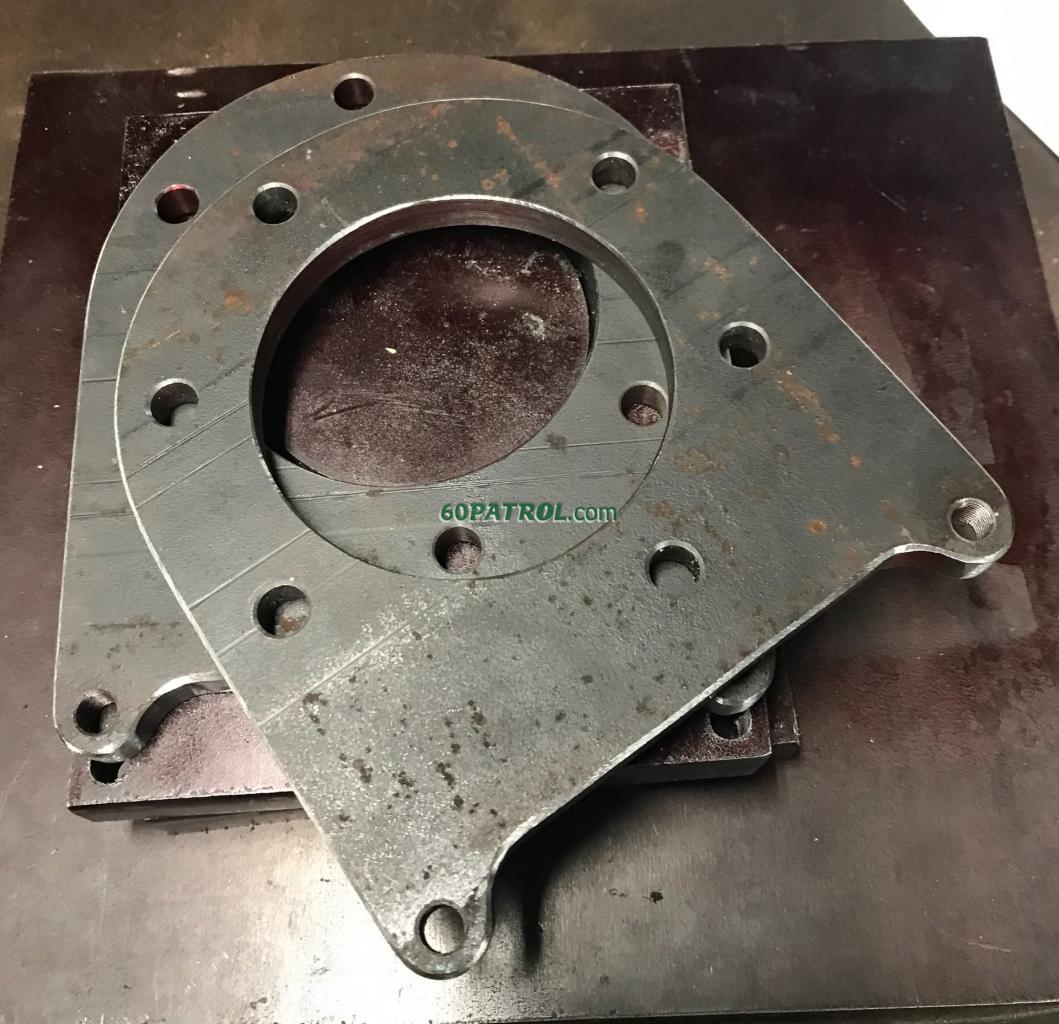
The bore (3.941") and countersink 5.706" x0.110" deep
(measurements from memory and for me too look back at later!)

Here's the first bracket installed on the driver side!
It looks like it was always supposed to be there!

The spacing between the brake and bracket is tight, but more than enough.

This is a 2" spacer (because that was what I found at the junk yard. It will probably only require between 1/2" and 1" --
That's something I will figure out later!

So I bored and countersunk the second bracket and it too
fits perfectly on the driver side! <--
Did you catch that?
I am embarrassed to admit this, but I ended up making two left side caliper brackers! Doh! I swear, I checked and double checked... and then proceeded to put it in the lathe backward.
Dang! -- So, I have TWO driver side brackets!
Here's some life advice --
Two wrongs don't make a right... but three lefts do!
I considered adding a counter sink to the other side - which would make them "universal" but I was concerned that the center would end up structurally too thin by my over-engineered-standards as the design starts with 0.500" thick steel and then has a 0.110" countersink cut into it. Leaving a 0.390" mounting flange. If I were to countersink both sides, that mounting flange would be thinner at only 0.280" thick. Mostly likely strong enough by far. What do you think?
Brake Caliper Bracket Set Take Two!
So, I decided to take a different tack on my re-do - Rather than begging my machinist friend for forgiveness and a re-do, I designed and ordered a set of brackets from SendCutSend. I undersized the bore and bolt holes a bit as, despite being laser cut, the laser'd holes are not machine quality. So the plan is to bore and counter sink the center, then drill and tap the remaining holes as needed.
At the last minute, I decided to use a stronger, much more expensive, steel (AR500) --
because, you know, it's stronger and stronger is always better!

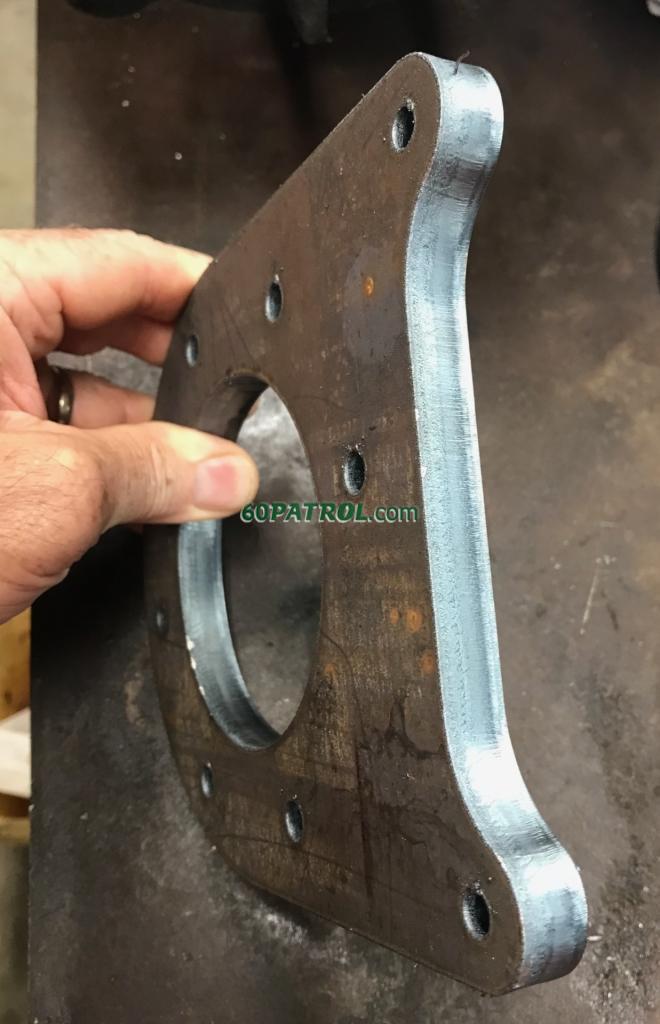
I was able to bore/counter sink the centers perfectly.
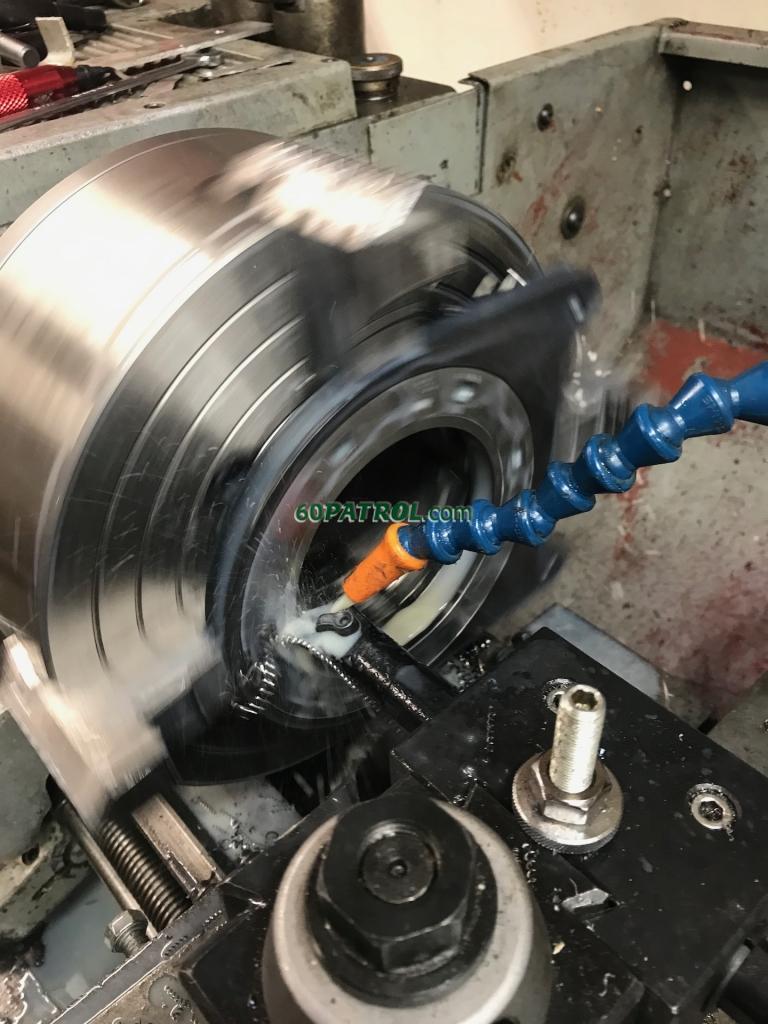
Here's a slo-mo video of the countersink being turned in the AR500 steel
- side note, is there a way to embed the video?
https://vimeo.com/740110329/9f1c55482f
Look at that finish!
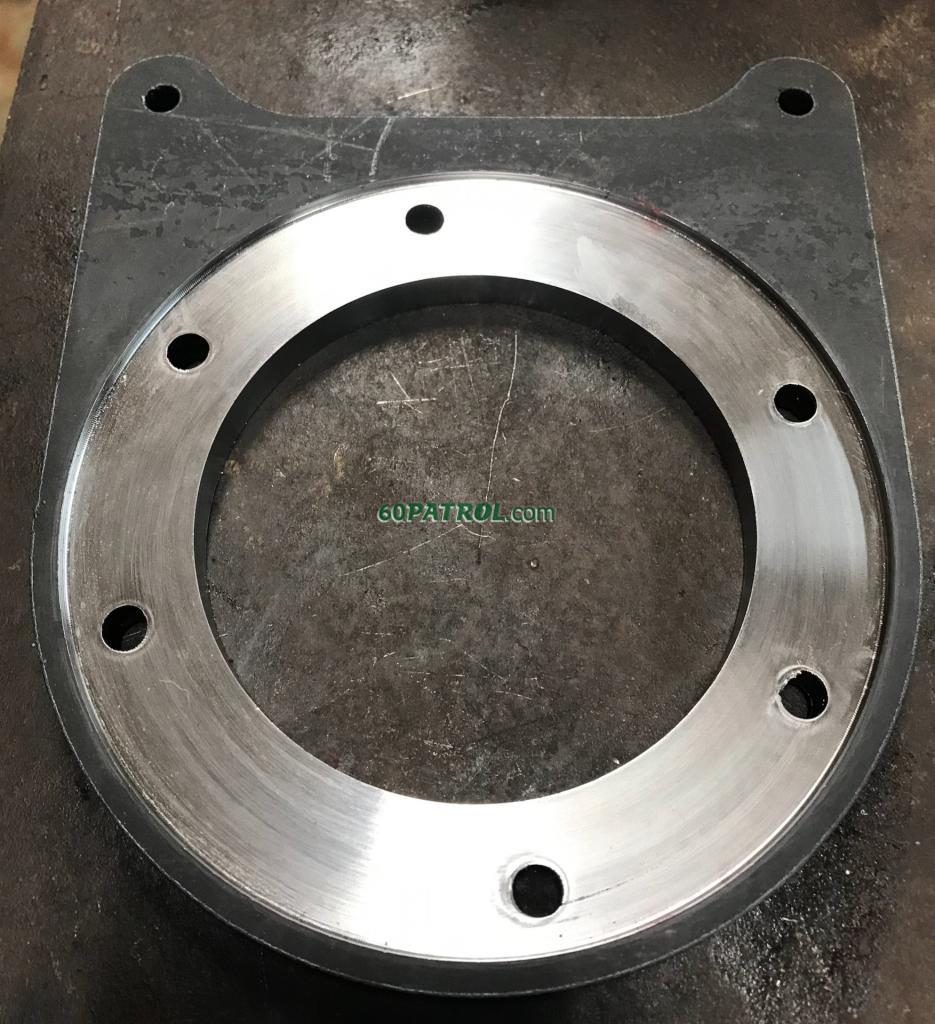
BUT, it's a very hard steel and it simply laughs at my drill bits. Carbide tipped drill bits would work fine, but then I would still be unable to tap the two threaded holes as it turns out, the AR500 bracket metal is nearly as hard as what thread taps are!
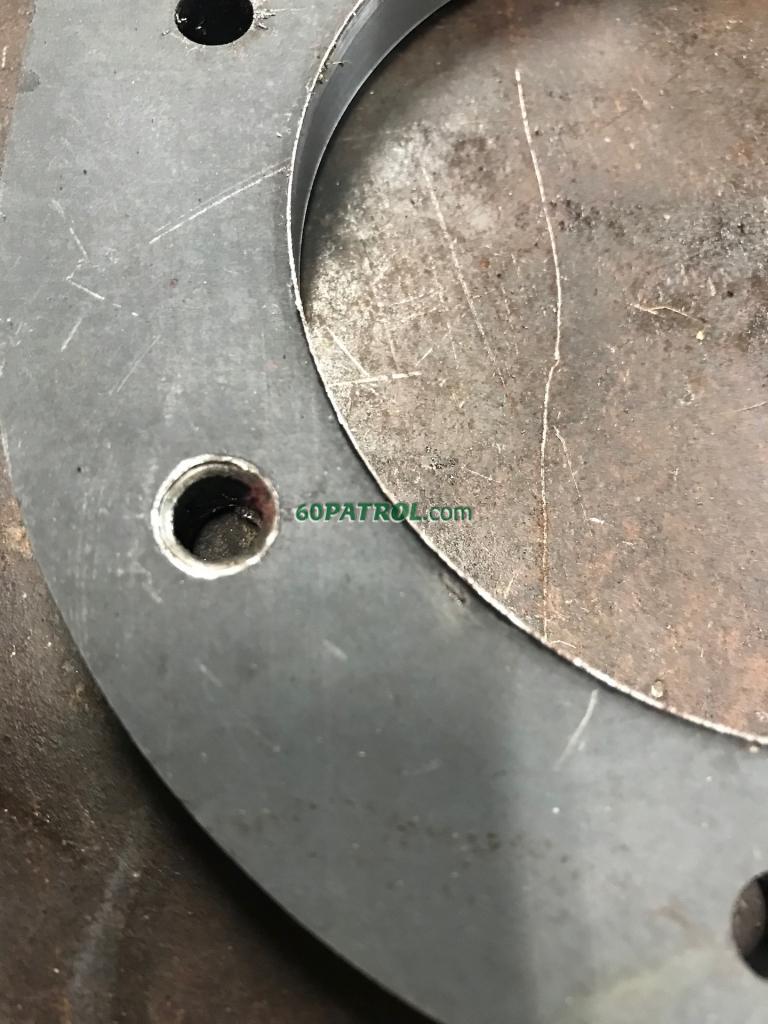
I did some reasearch and found that some folks would spot anneal the holes before tapping. Others would drill them out and press in threaded inserts. But what got me is that, as it turns out, AR500 steel really shouldn't be used for structural purposes as it's apparently hard enough to be brittle.
That solves that.
Brake Caliper Bracket Set Take THREE!
As I told my lovely wife as I reordered another set of brackets from SendCutSend -- this time in mild steel --
I am learning a lot!
So, the new -- take 3 -- brackets just arrived!
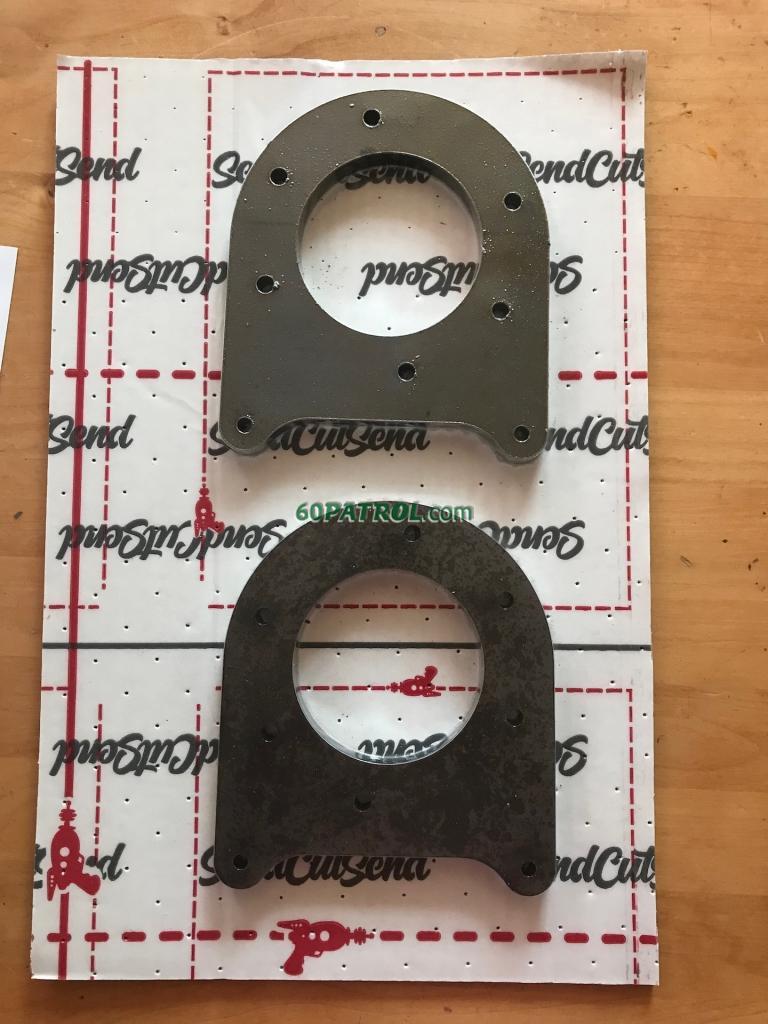
I'm sure you can guess what tonight's Patrol adventure is!