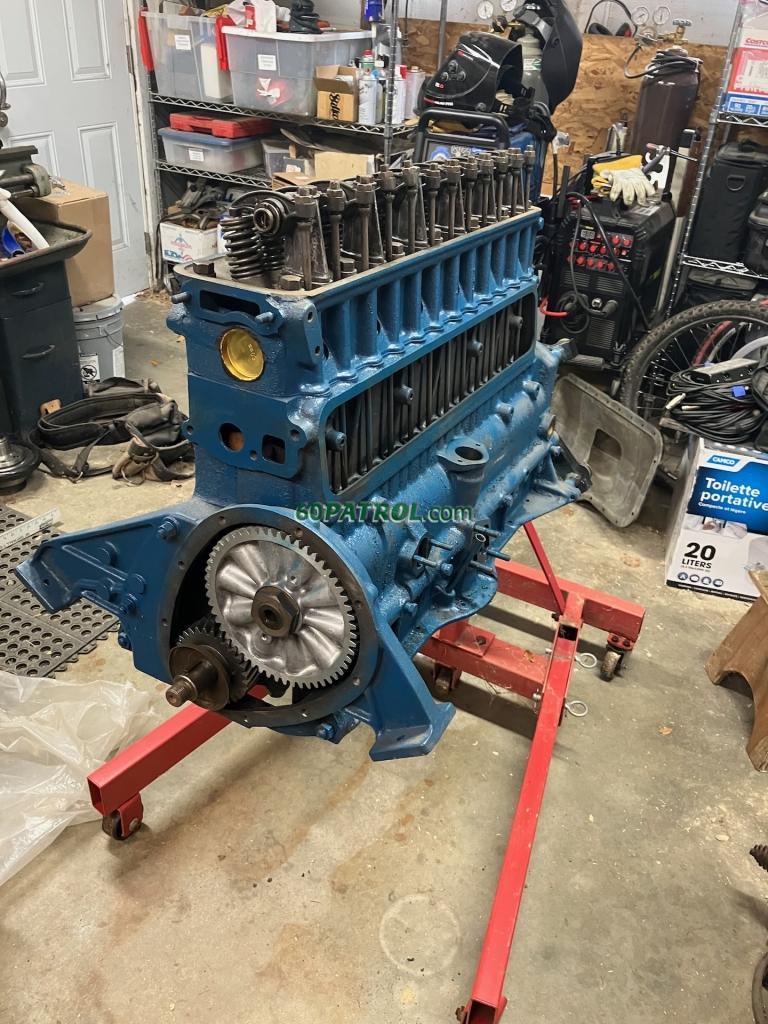
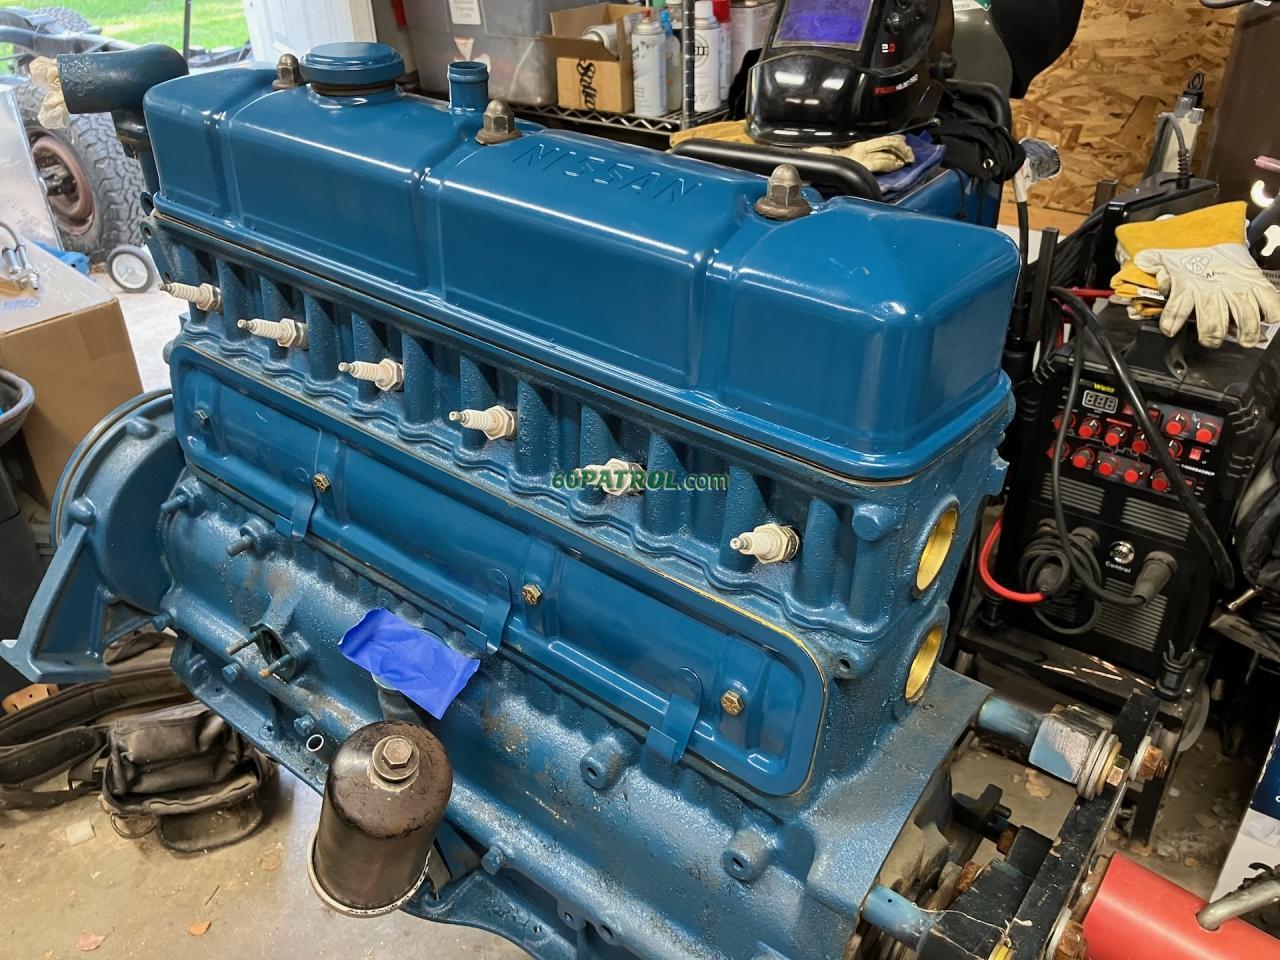
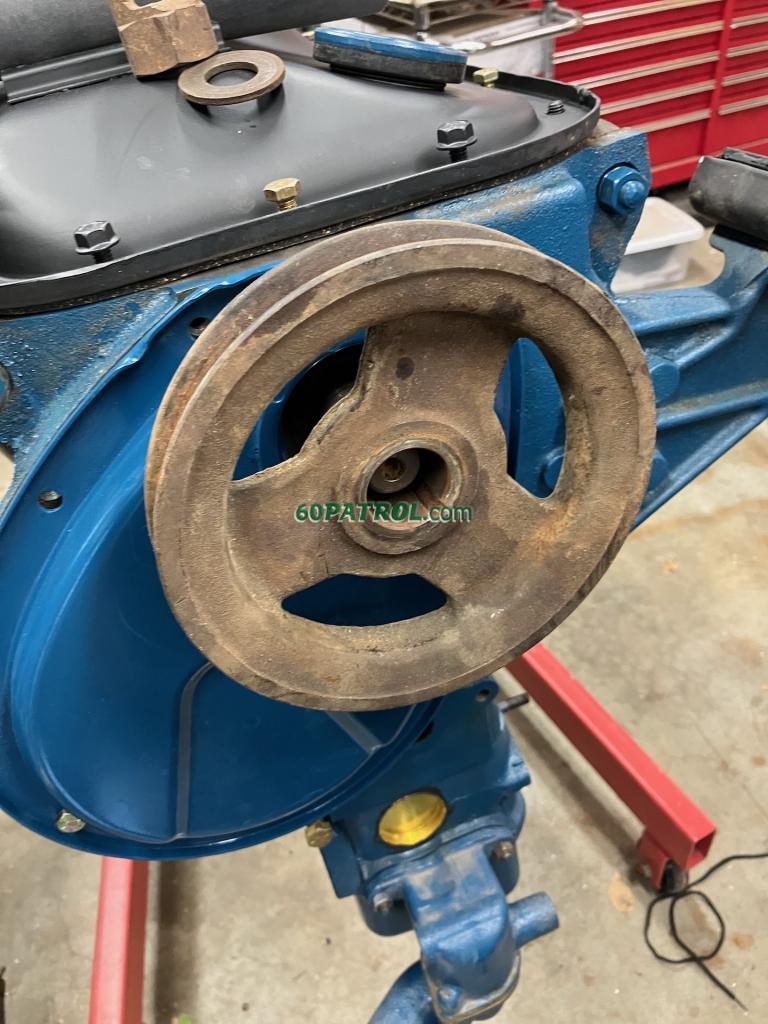
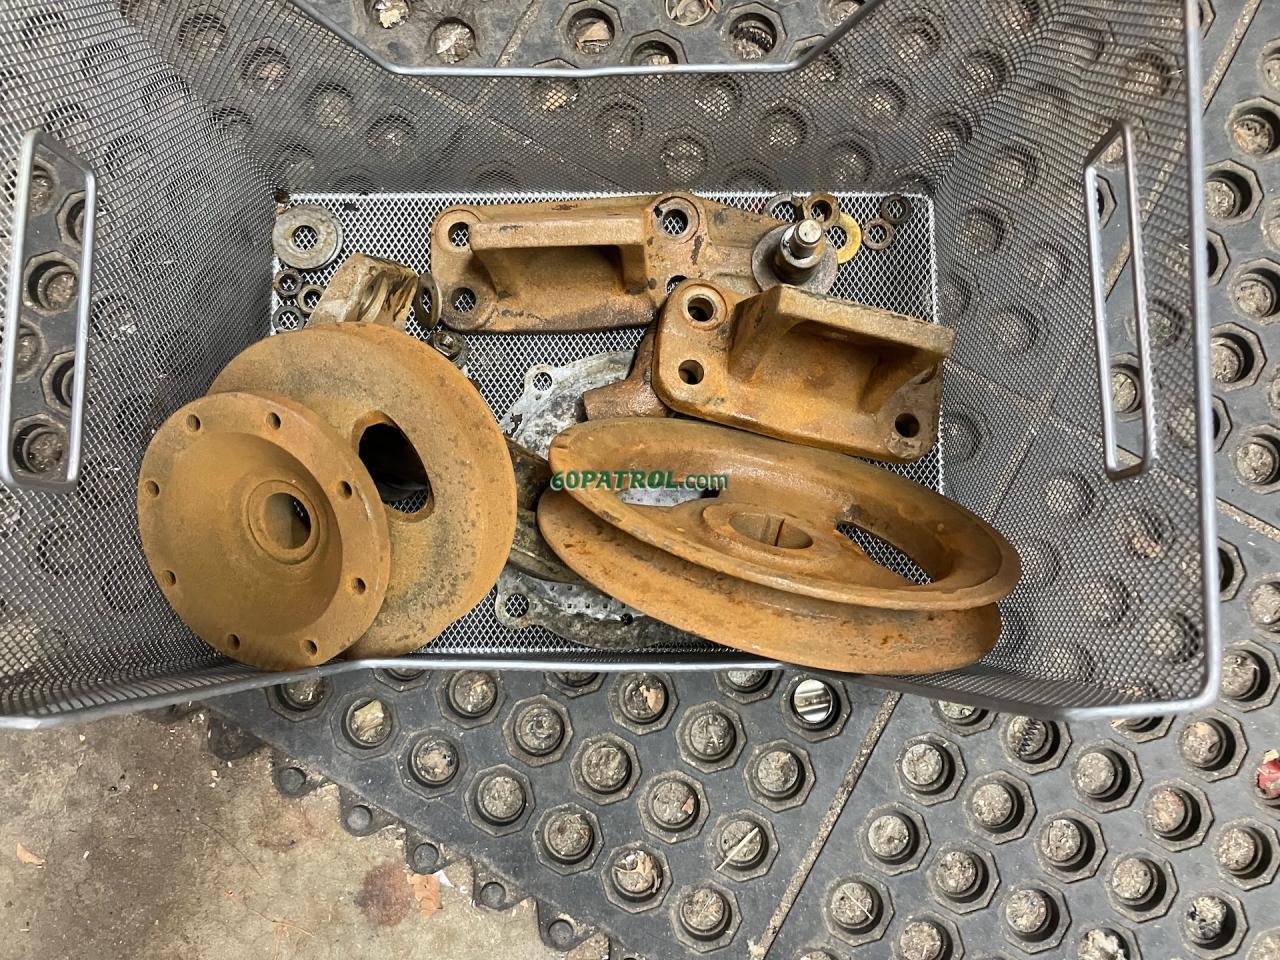
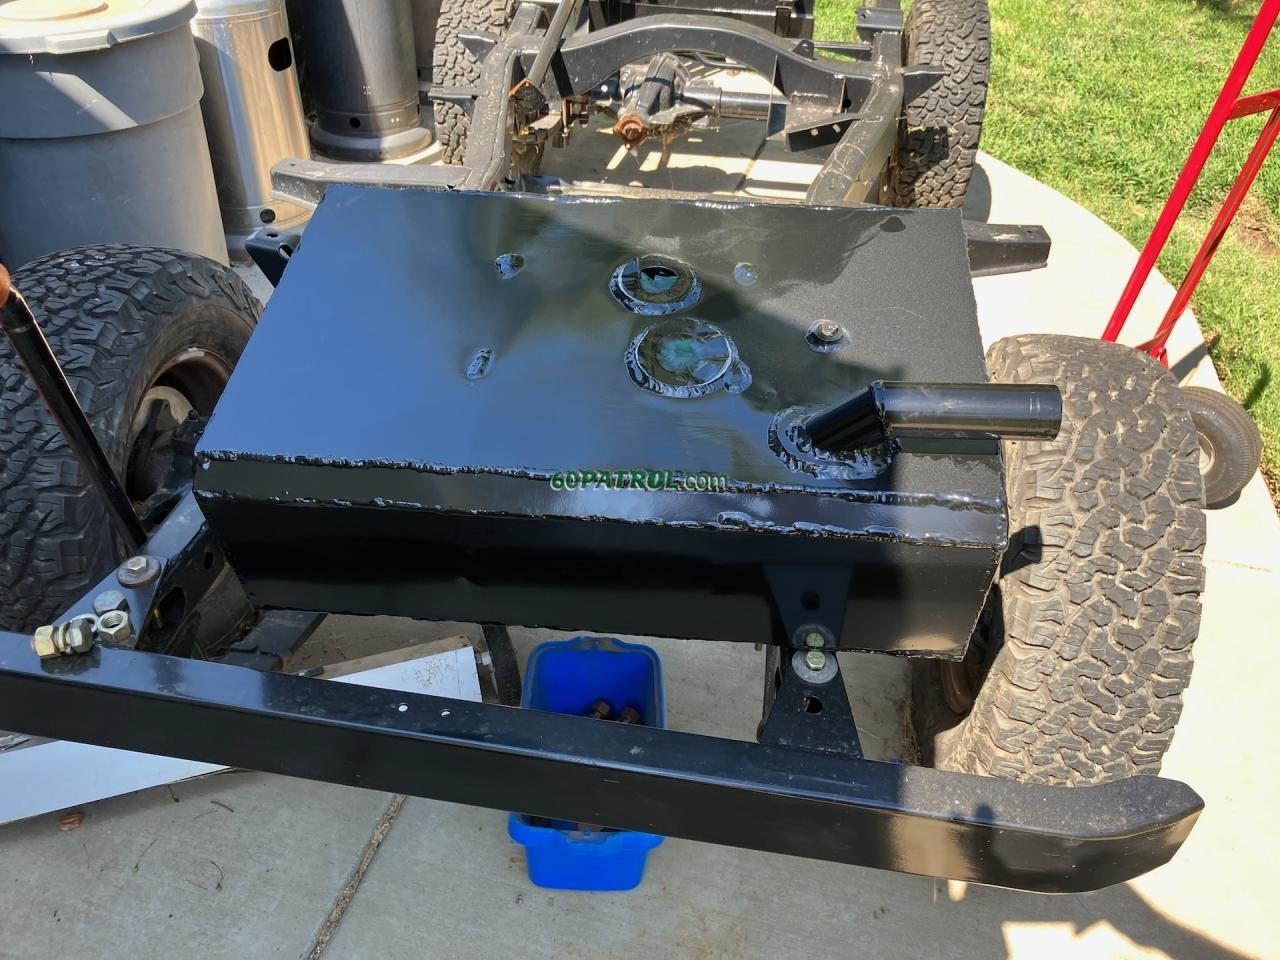
It's getting exciting! The past few days were all about getting the rebuilt engine ready!
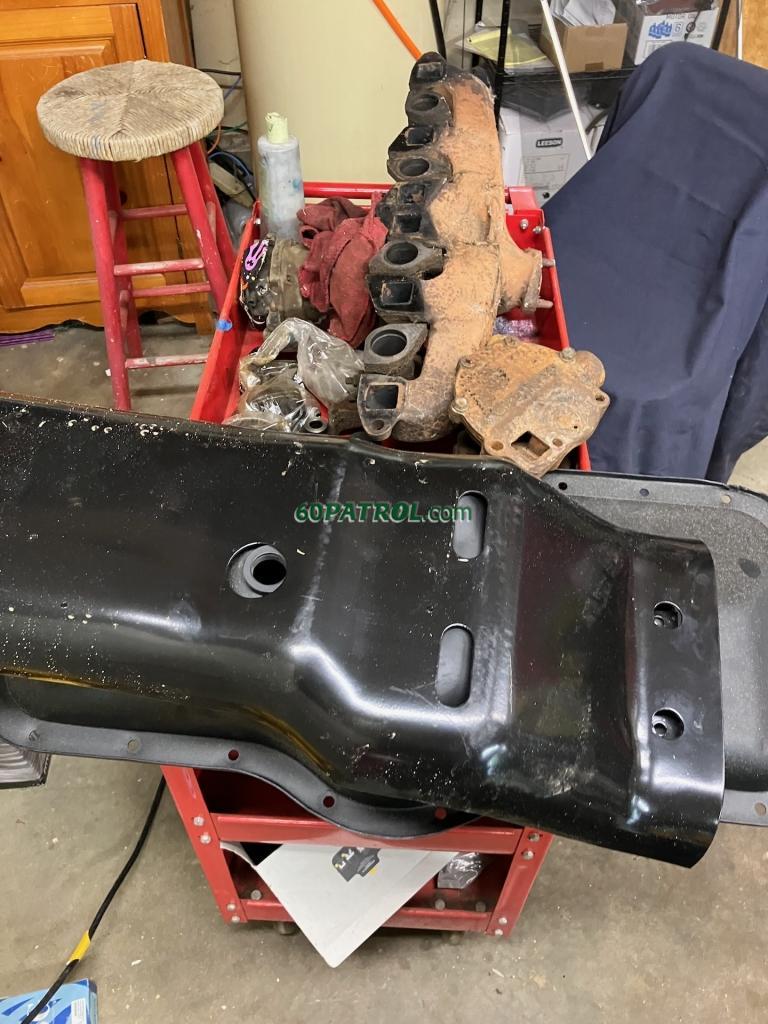
To start, the oil pan needed love. It has two big dents and a few konks around the outer lip

I started by pressing the bottom and the other konk closer to the edge back to shape using the hydraulic press and a chunk of 2x4 (sorry -- no pictures, but the results were really good!).
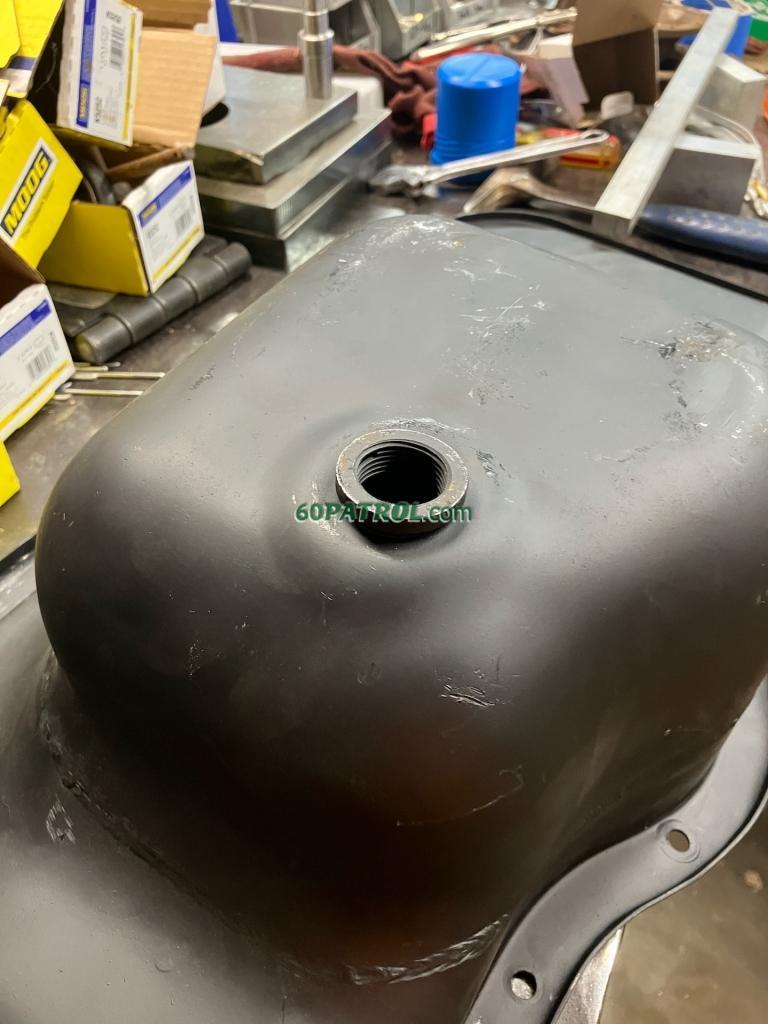
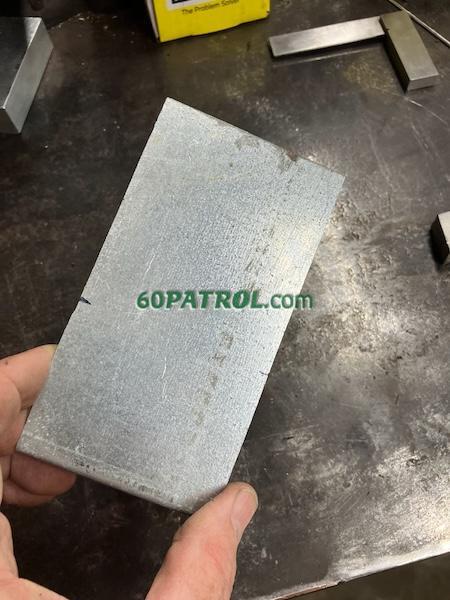
Then I started working on the tweaked lip right by that bottom konk... I used a long chunk of aluminum and clamps to pull it back to straight (ish).

Not only was the edge-flange tweaked, it was bent a just enough that wouldn't sit flat. So I beat it silly -- Just working back and forth along the flange. Sometimes I would "bridge" the pan on blocks and beat the lip. It took awhile, but it - meaning the sealing surface -- finally sits flat on the bench!

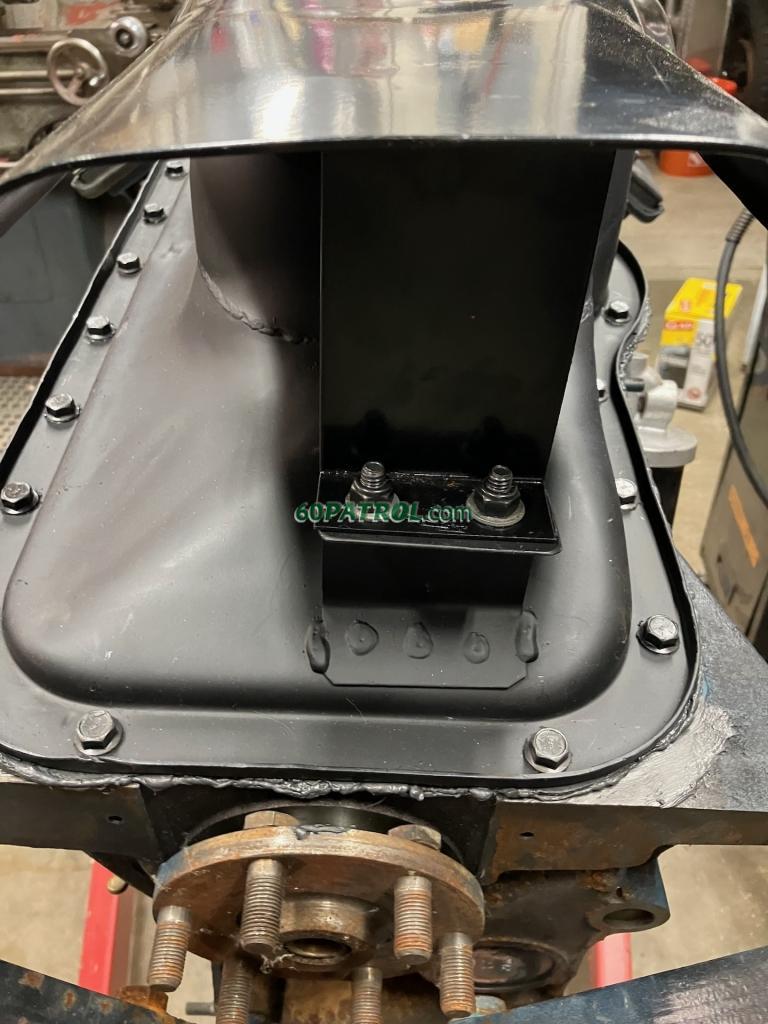
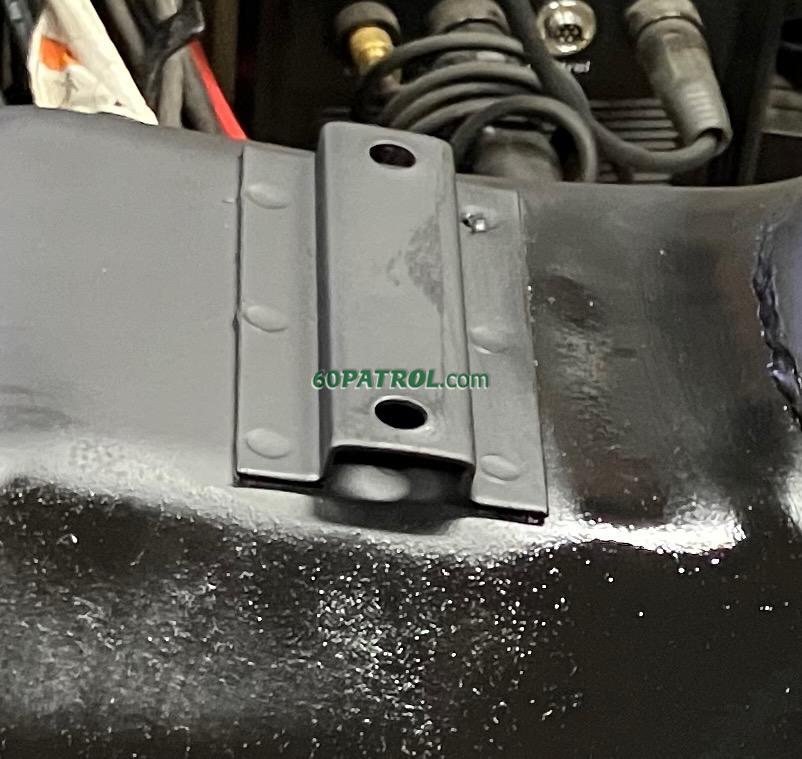
Next, I needed to create a new flange mount for the oil pan skid plate. These are the only two pictures I could find that show what the bracket looks like and how high above the pan it sits (thanks jwgreen!)
20230909_Engine5.jpg
20230909_Engine.jpg
Here are the progress shots while I bent up the bracket to try and match what jwgreen's oil pan skid plate bracket looks like!
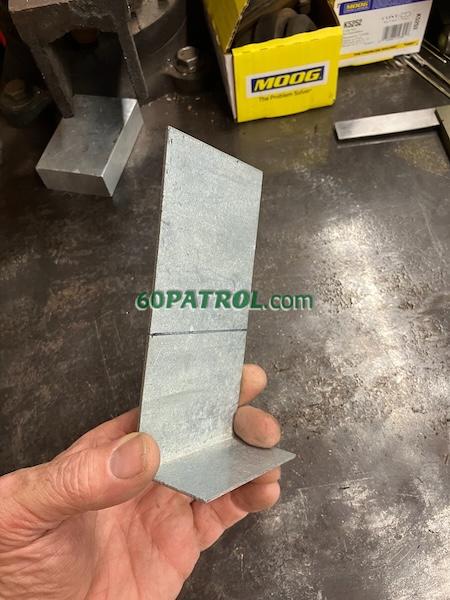
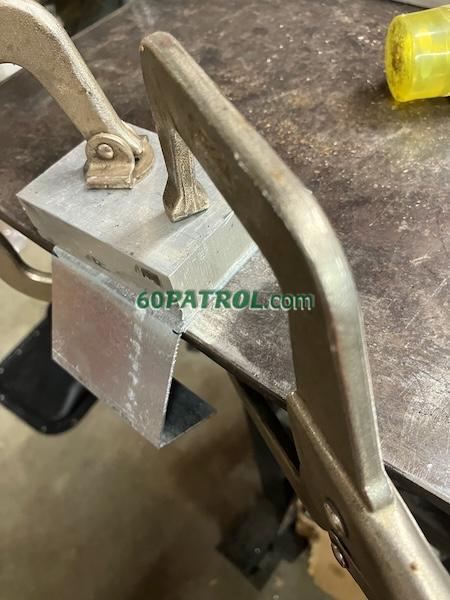
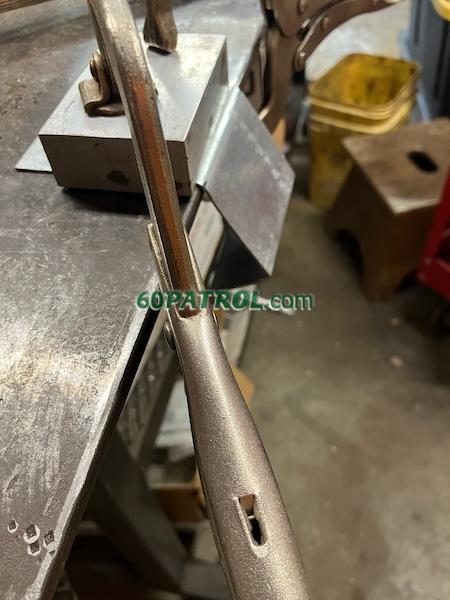
And, where it will sit on the pan --
That angled flange is still way too long at this point though

And the new flange attached to the skid plate for fitting --
That angled flange looks even longer here!
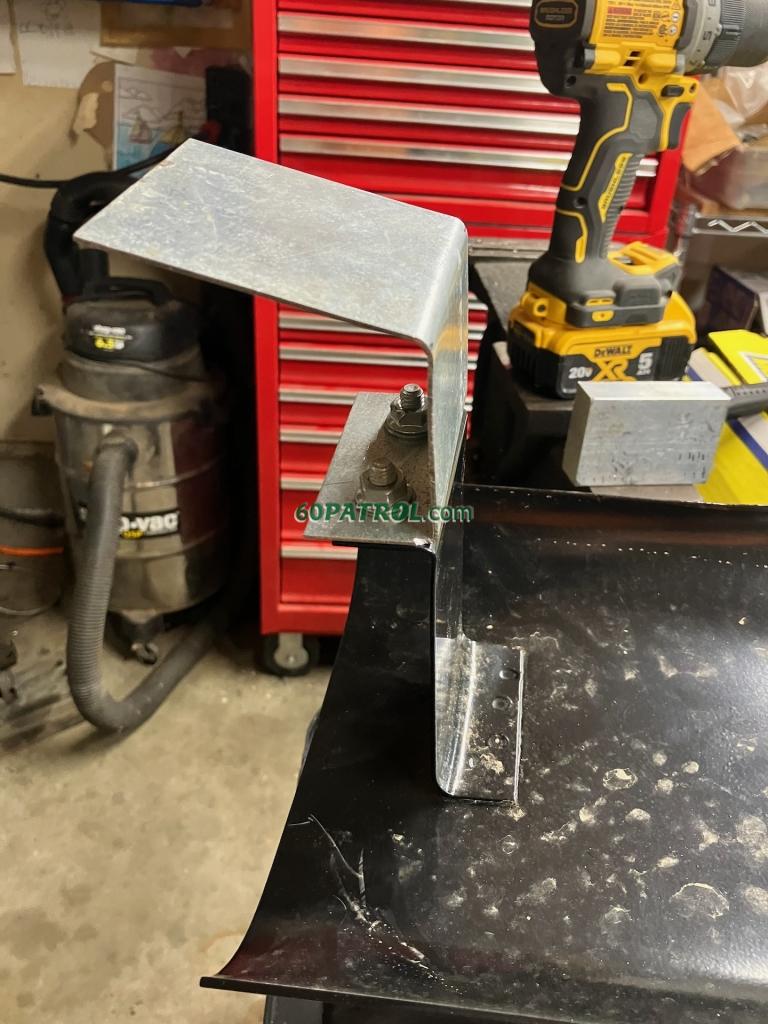
The old bracket residue needed to be removed, but first, I scratched a line to show where the edge should sit on the pan. I wanted to minimize the damage to the pan itself, so I ground down the spot welds, then chiseled it off.

The flange cut to size and clamped in place
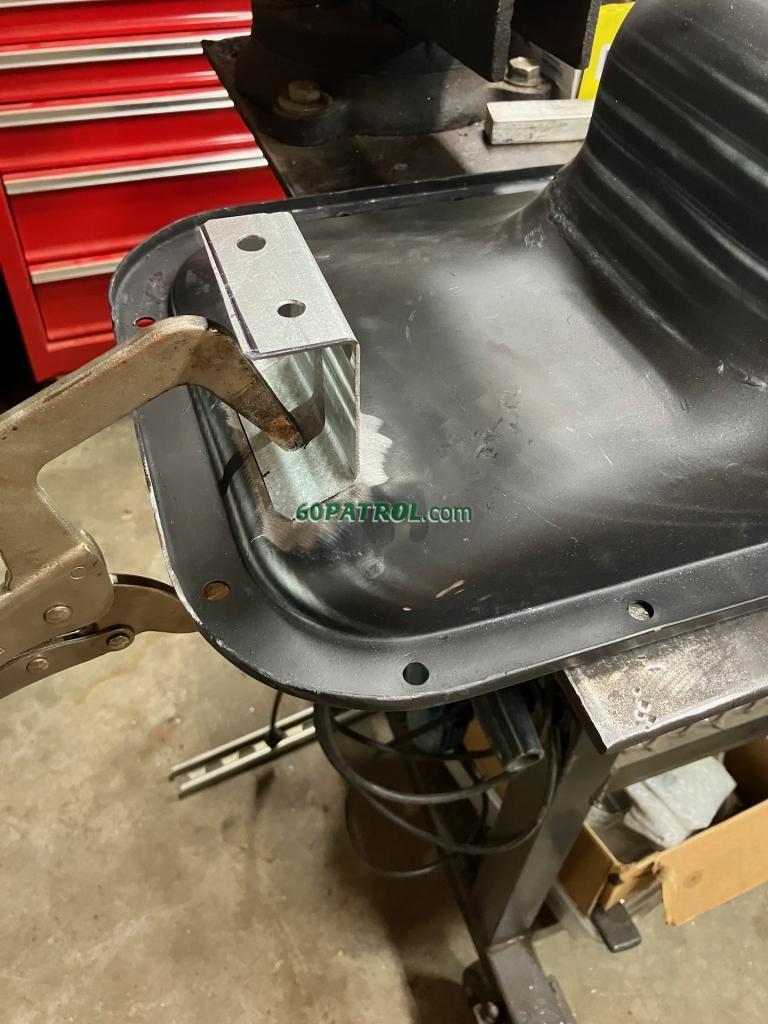
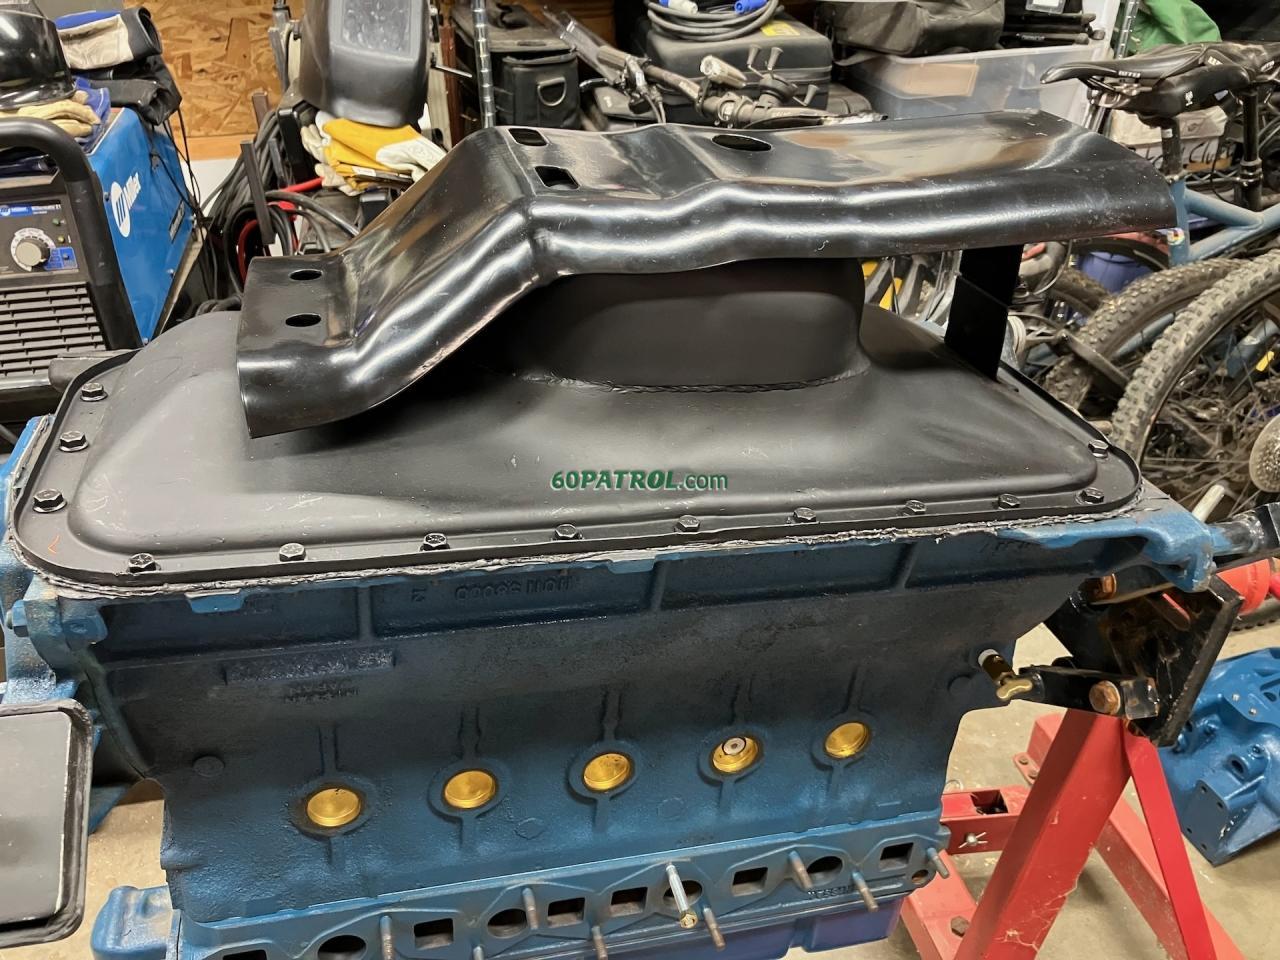
Here's the full fit up with the pan and the skid plate installed. The height was set by the clearance over the sump (actually under the sump, but we are working upside-down!

). You can't really see it in this picture, but the skid plate sits about 3/8" to maybe 1/2" from the edge of the oil drain hole.
Hopefully the plug will be inside the protection and not extending beyond it!
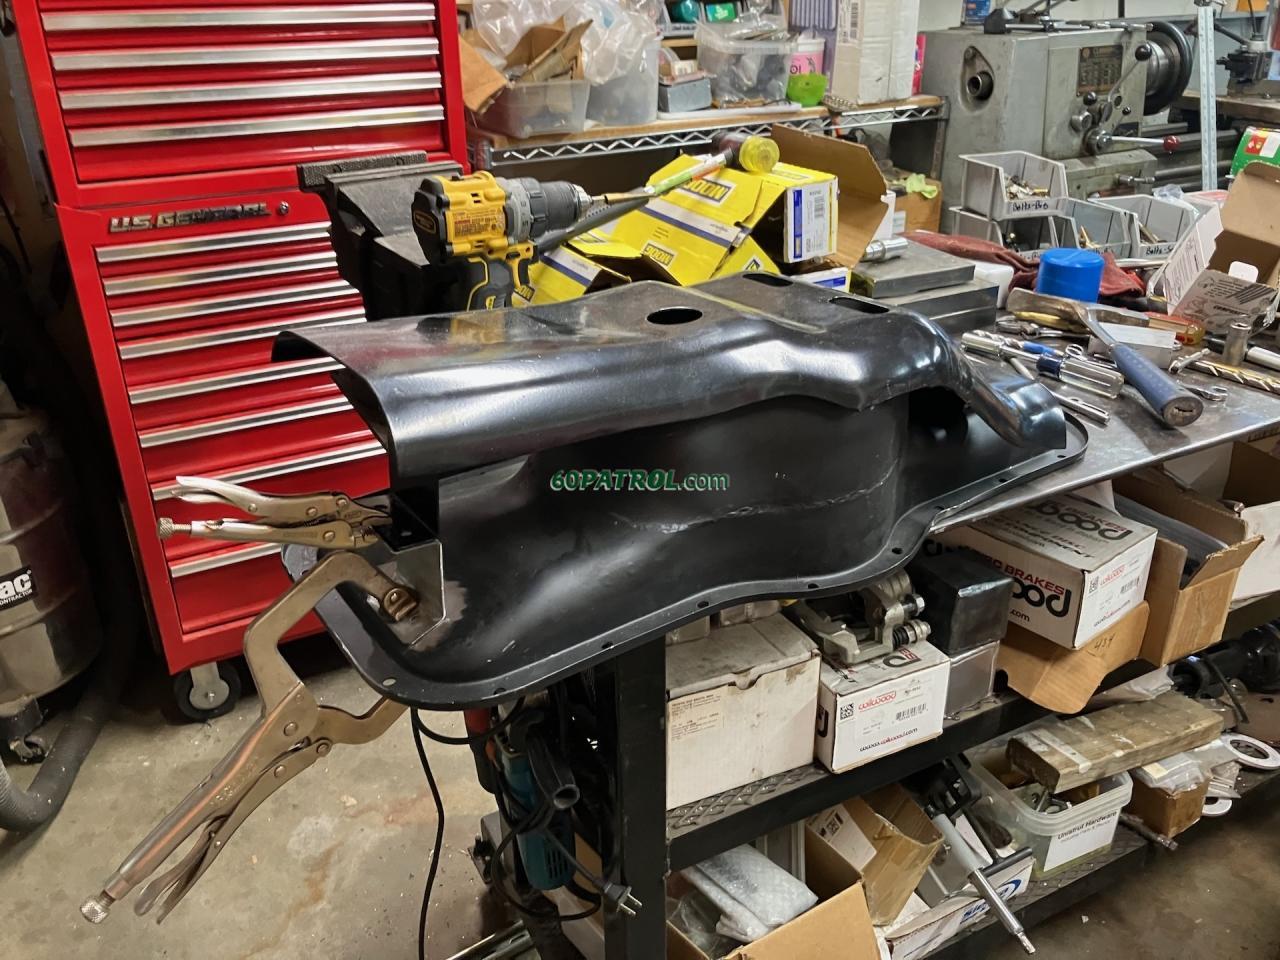
Since I don't own a spot welder, my plan is to plug weld it. Since the factory used three spot welds, I made three holes for plug welding (I'm also add small beads on the edges).
I also ground off the galvanizing where I plan to weld... that stuff is bad to breathe in!
 Boom! Attached!
 Three plug welds and two little edge-beads and it's ready for adventure!
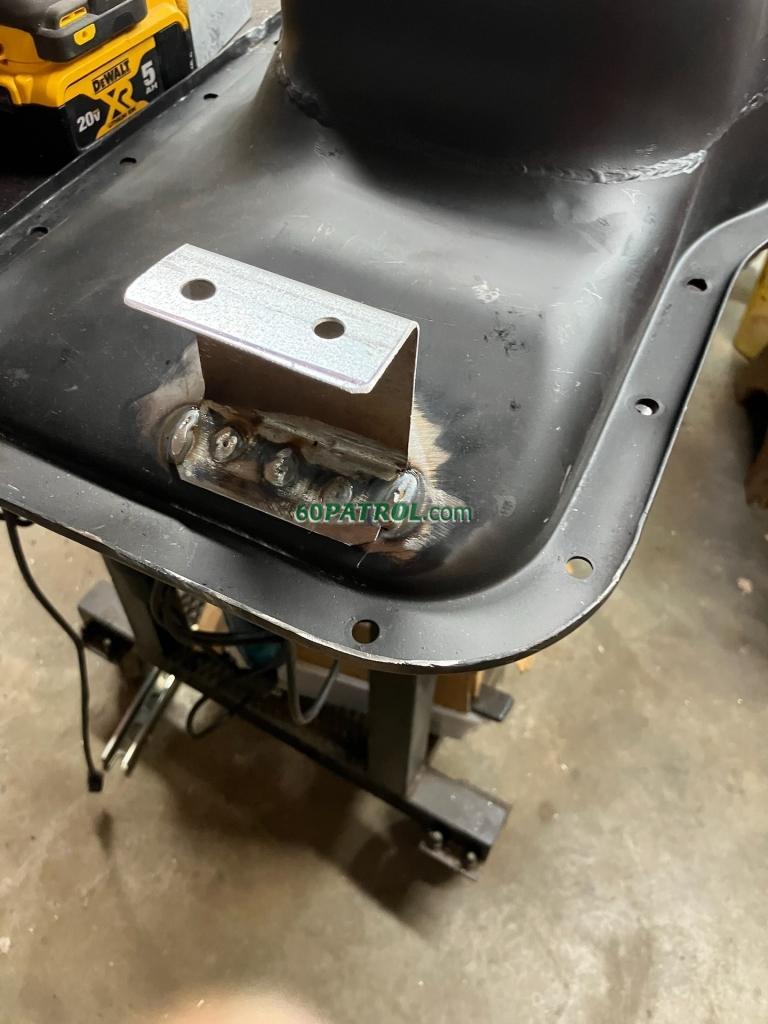
And, a little paint to make it pretty -- The primer really highlights just how much I worked that flange along the side to get it back to shape!
It's actually much straighter than the paint makes it appear.

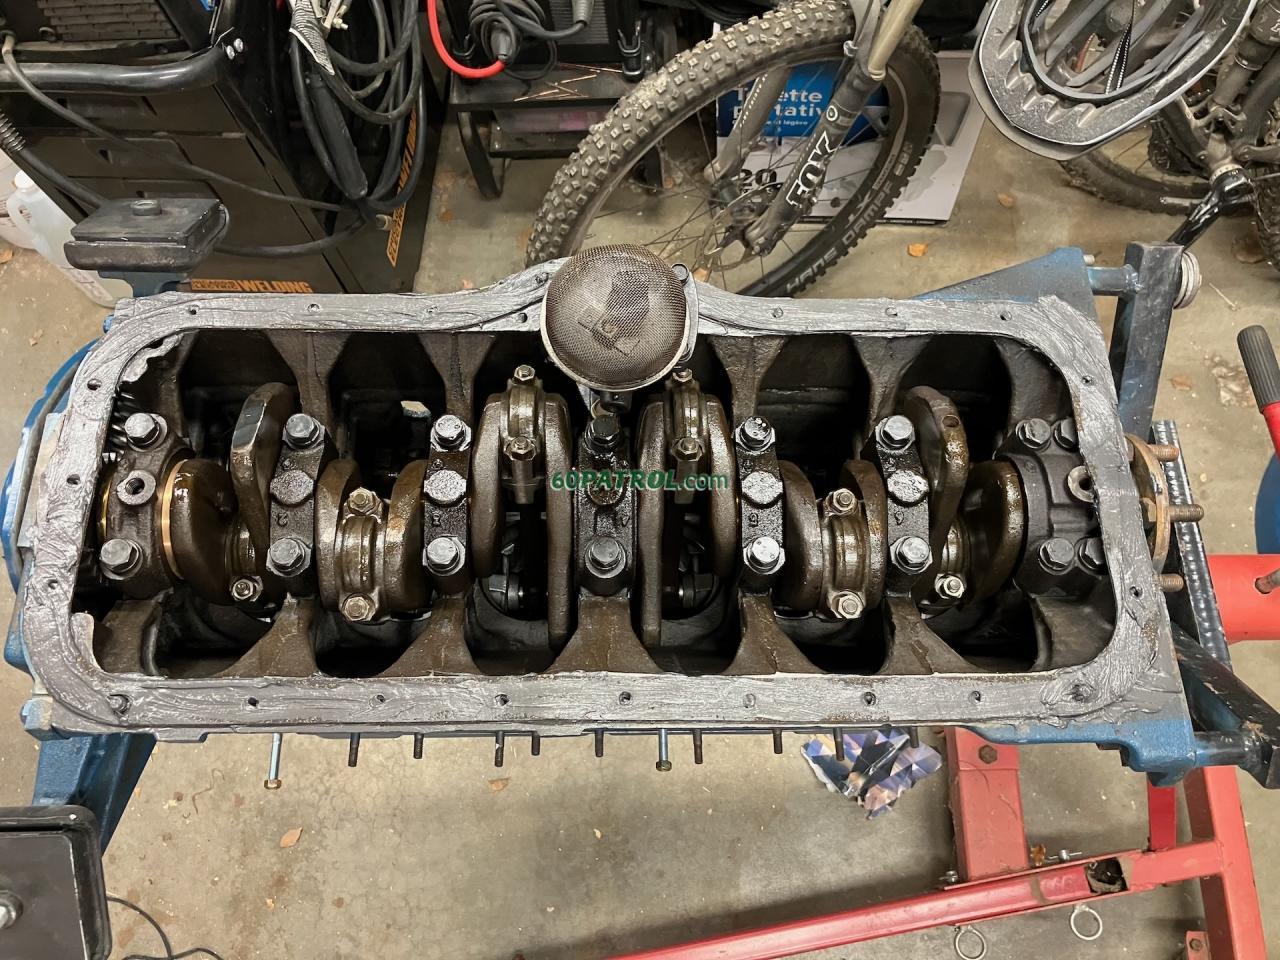
This is really my first look into the engine since I had it rebuilt... it's either been bagged up or right-side-up
(and I'm not about to stand under this monster on the stand to see inside!). Other than a couple cobwebs, it's looking great! Still has the assembly lube all over it despite the years of sitting around waiting for me to get moving!
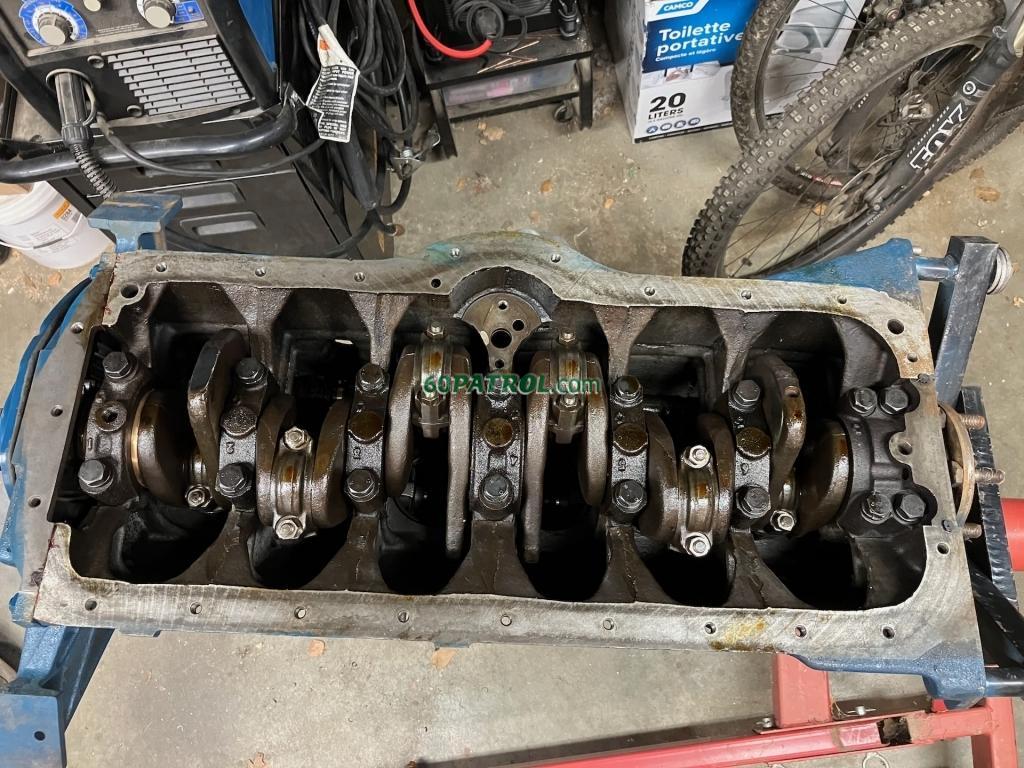
The machinist cleaned up and prepared the oil pump when he rebuilt the engine, so that was an easy install. I had the gasket in my remaining stack of gaskets, so all I had to do was bolt it in and torque it to spec. (Sorry, not shown -- but the pan will come off again one more time before it's permanently installed -- I'll get a picture then)
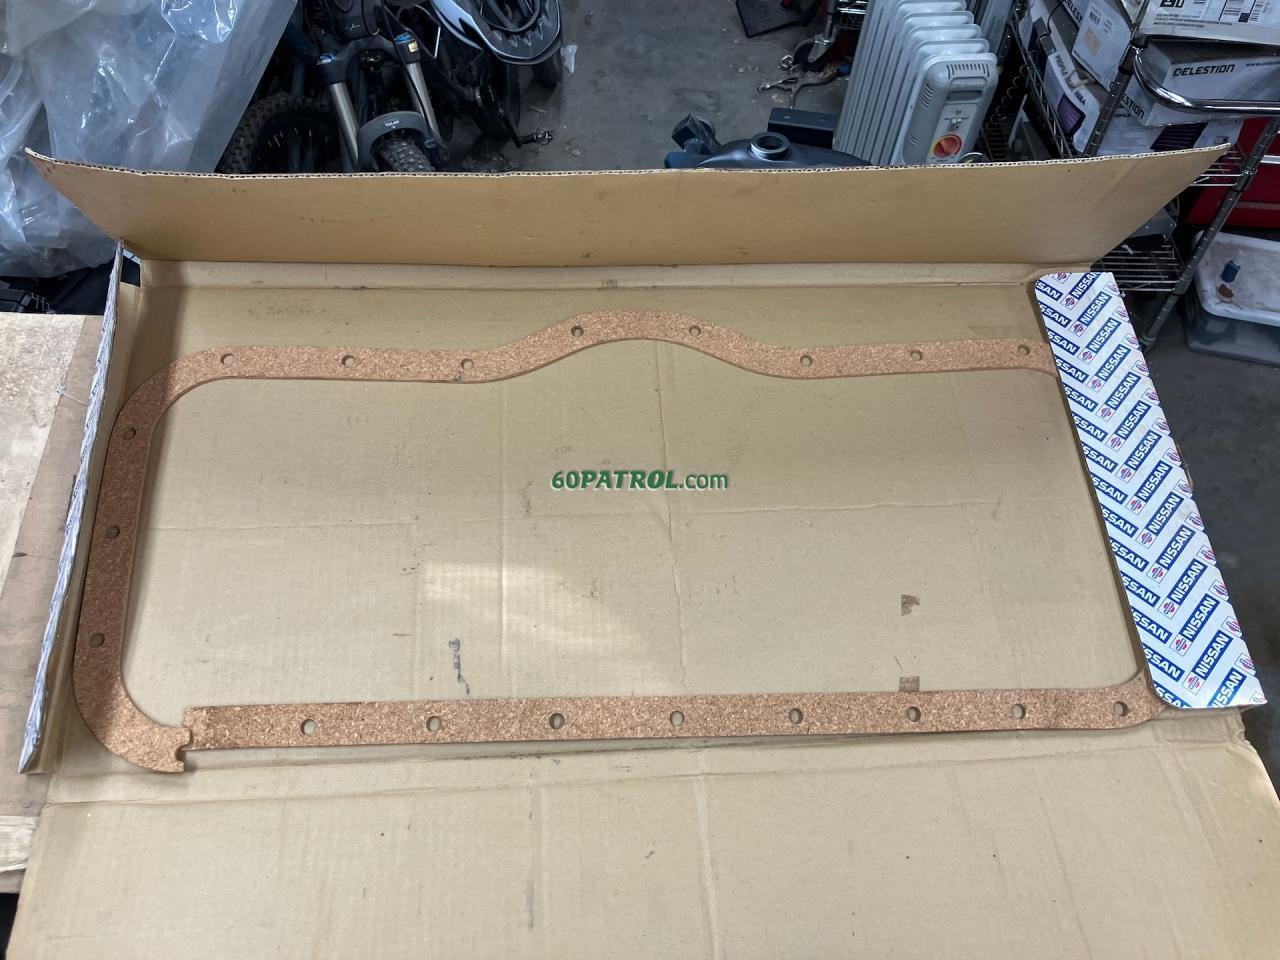
I've been saving this pan gasket -- a true OEM cork gasket no less! The label has a 5/2003 date, so, true NOS!
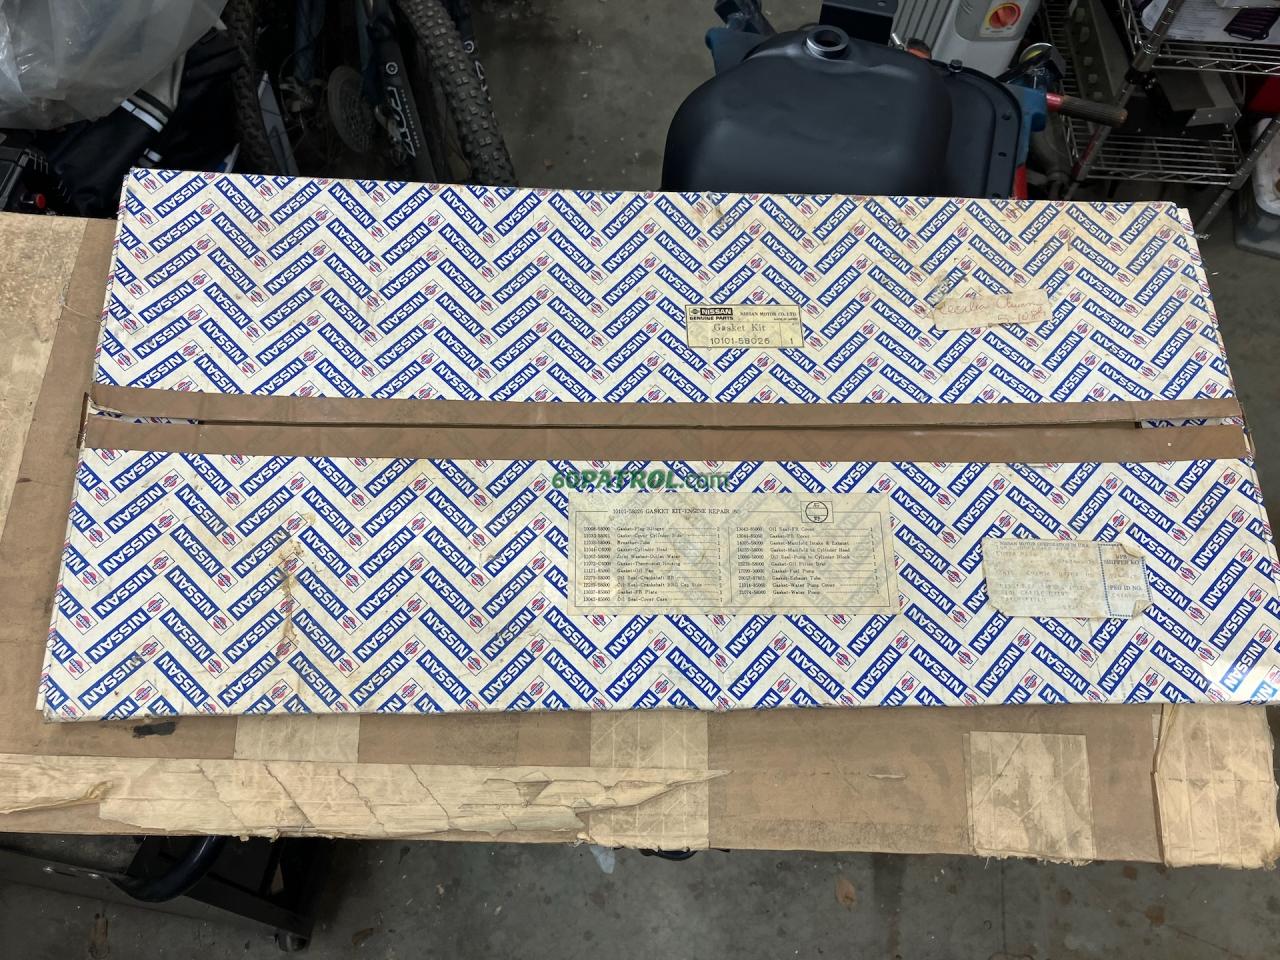
Turns out that cork shrinks and gets brittle -- I mean shrinking a bunch! It was probably one to two inches smaller than the pan - in both dimensions! I was carefully trying to fit the gasket to the block by slowly and evenly stretching it back to shape by using the bolts as dowels to hold it... but, it snapped. Crap.
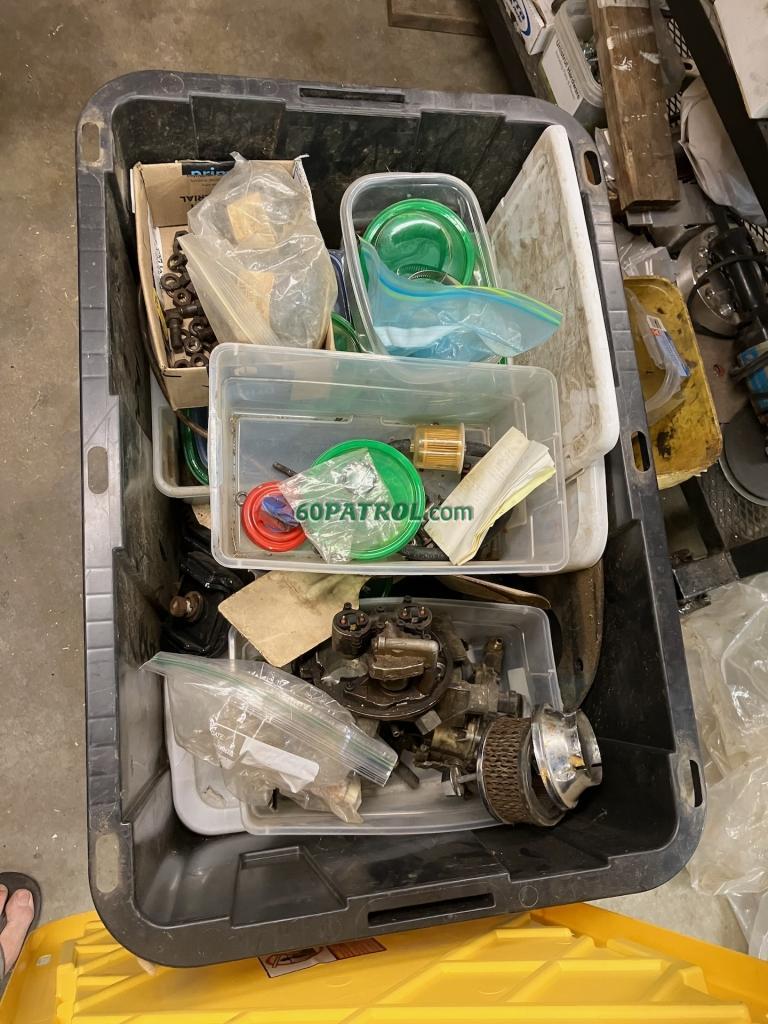
I did, however, have a backup non-oem pan gasket - a cork/rubber hybrid? It did age better than the cork one for sure! However, it was folded up (they put foam chunks into the folds to make it round-over rather than a crease). But, the gasket doesn't sit flat as the fold-over locations have a memory! Like with my attempt to re-size the cork gasket, I gently pinned it to the pan shape, then put the pan on it, hopefully to reset its memory to flat! My plan is to use a thin layer of form-in-place gasket maker goo on each side, then bolt the pan down. BUT, I forgot to include 3/4" bolts in my super McMaster order. The 1" bolts I have are just too long (and I am not about to try to hand-shorten all million or so pan bolts! I also need those shorter bolts for the timing cover too... they are supposed to arrive in a couple days).

Not sure what's next while I wait for bolts... but I'll try to come up with something!
Happy Sunday!
J
You do not have the required permissions to view the files attached to this post.