Page 120 of 124

Re: 1967 Family Patrol Project

Posted: Fri Sep 15, 2023 7:40 am
by Esteban
Excellent pictures John. Thanks for sharing and taking us along with your progress.

Regarding the pulley seal surface, one possibility will be to polish it in the lathe, shaving as minimum as needed, and finding another seal with a smaller inner diameter. Or, if you find the smaller seal, turn the pulley to the new diameter to match.

In any case, you'll need to polish it to begin with, otherwise the seal will be worn easily. Measuring the diameter at the beginning and end. I doubt you'll take more than 0.010". The seal will still do its job.

Re: 1967 Family Patrol Project

Posted: Wed Sep 20, 2023 12:36 am
by faux40
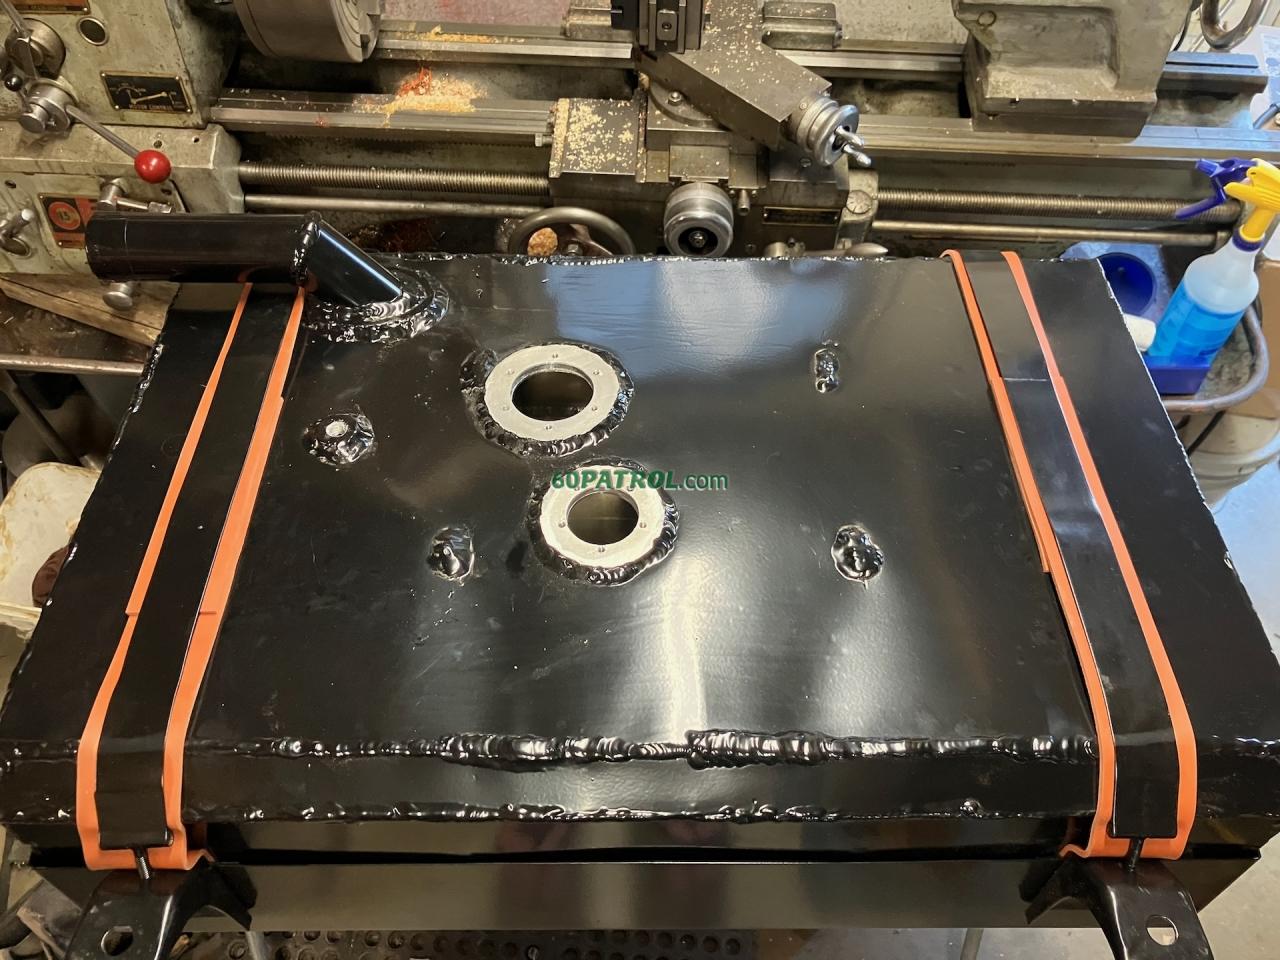
This evening was the great gas tank finale!

I pulled the tank skid pan out of the patrol and set it up in the shop. The original felt strips that protect the tank from rubbing on the skid pan are kinda gross, so I picked up a 2" wide x 1/8" thick x 10' long roll of rubber to use instead. I would have preferred black, but the price was right and the tank will be hidden!

In case you are interested -- it's SBR (Styrene Butadiene Rubber). An oil and temperature pliable rubber. https://www.amazon.com/gp/product/B08P3Q7DRF

Here's the skid pan has the rubber strips in place and is waiting for the tank.
8792

Here the tank is secured in place! I left the strips run long and put the seam on top. I used the full five feet on each side.
8793

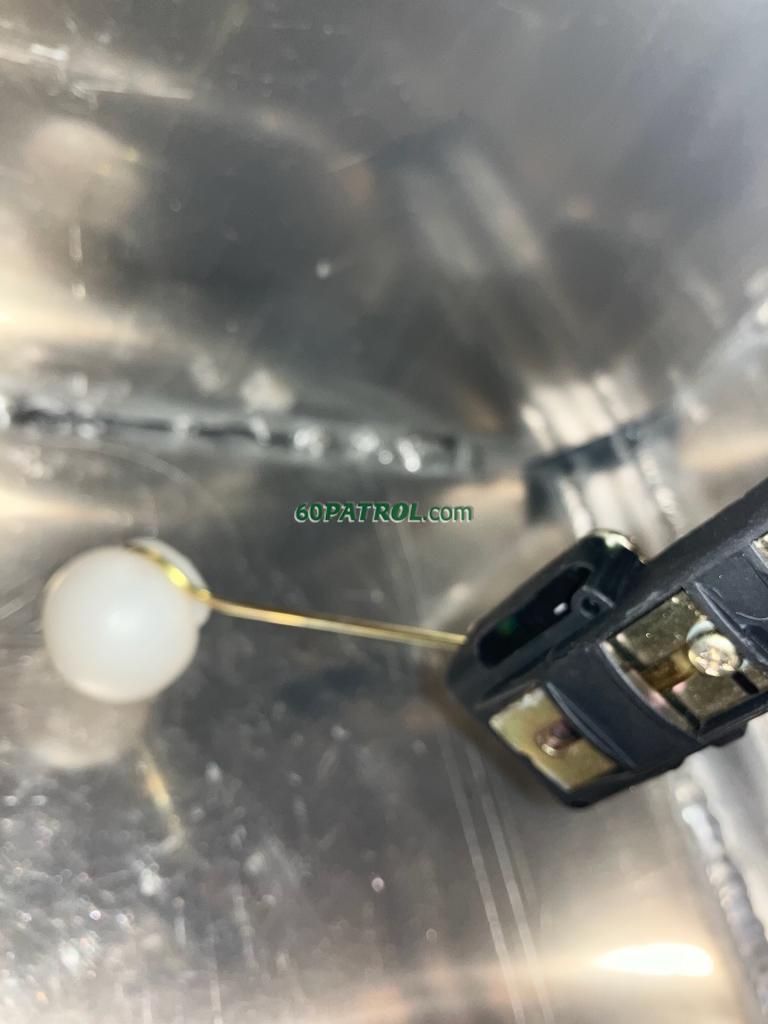
I didn't take enough pictures, but boy adjusting the fuel sender was a chore! I wanted it to read full when it the sender float is about 1/8" from the top and empty when the float is about 1/8" from the bottom. This will add some error... It will read full when it's slightly less than 100% full, and more importantly, it will read empty a bit before it's actually empty -- my version of a gas warning light!
8794

Fitting the fuel pump was far less difficult than the sender... except that I wanted to keep the filter about 1/16 of an inch off the bottom. Luckily the filter sock has a plastic spacer that holds it about 1/8" proud as it's literally touching the bottom! What happened was I cut the tube to length then "slipped" the pump outlet onto the tube... except it stopped slipping about 1/8" from all the way in! There was nothing I could do to push it in further or even pull it out at all! So, it's a tight fit fuel pump ;-)
8795

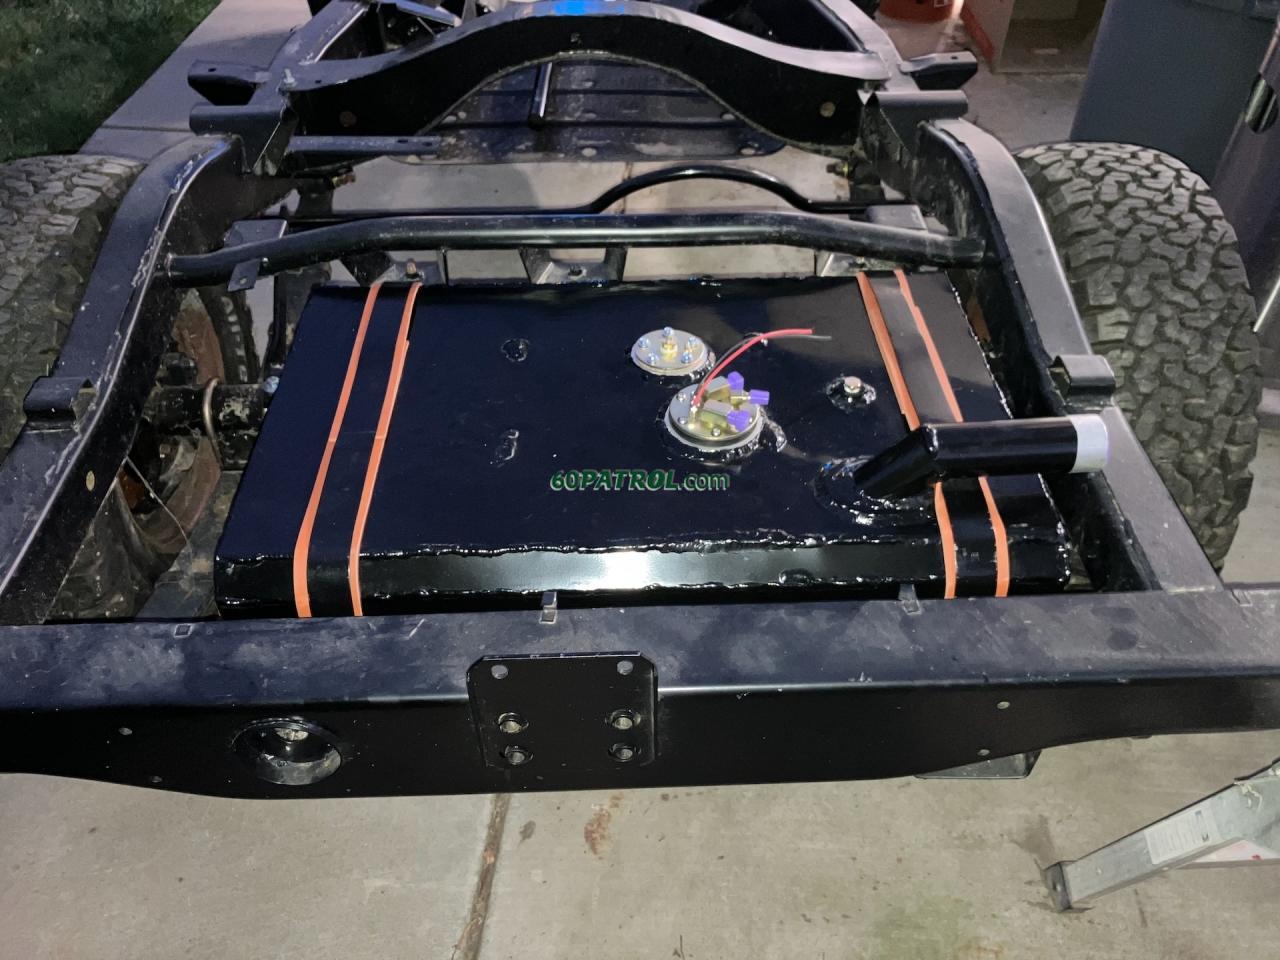
And now -- it is installed in the frame! There is something gratifying about something moving from the shop and ending up installed on the Patrol ;-)
8796
8797
8798

Next stop, brake and fuel plumbing and assembling the engine...

J

Re: 1967 Family Patrol Project

Posted: Wed Sep 20, 2023 8:06 am
by Esteban
Looking good that fuel tank. :clap: :clap: :clap:

I probably missed the fact that you were going with an electric fuel pump. Will have to go back and read about it.

Re: 1967 Family Patrol Project

Posted: Wed Sep 20, 2023 11:04 am
by RiverPatrol
Great idea on calibrating the fuel sender. I've never trusted the original and always fill up to prevent running out. Looks great!

Re: 1967 Family Patrol Project

Posted: Mon Feb 12, 2024 2:03 am
by faux40
I did a thing!

I often look at my pile of Patrols and wonder if I will ever get Aerogirl back on the road... Someday! Anyway, I need to finish assembling the engine. So today, I removed all pieces from the intake/exhaust manifolds. They are in excellent shape, but very DIRTY! I plan to drag them up to the local radiator shop and see if they'll give them an overnight in their hot tank -- I could wash them myself. In fact that was the plan... the plan that I never got to! Anyway... I need to build a small cabinet washer ;-)

So, all stripped down and ready for a dunk! Not a big day, but I did a thing!
8815

Happy Superbowl Sunday!

J

Re: 1967 Family Patrol Project

Posted: Mon Jul 29, 2024 8:19 pm
by faux40
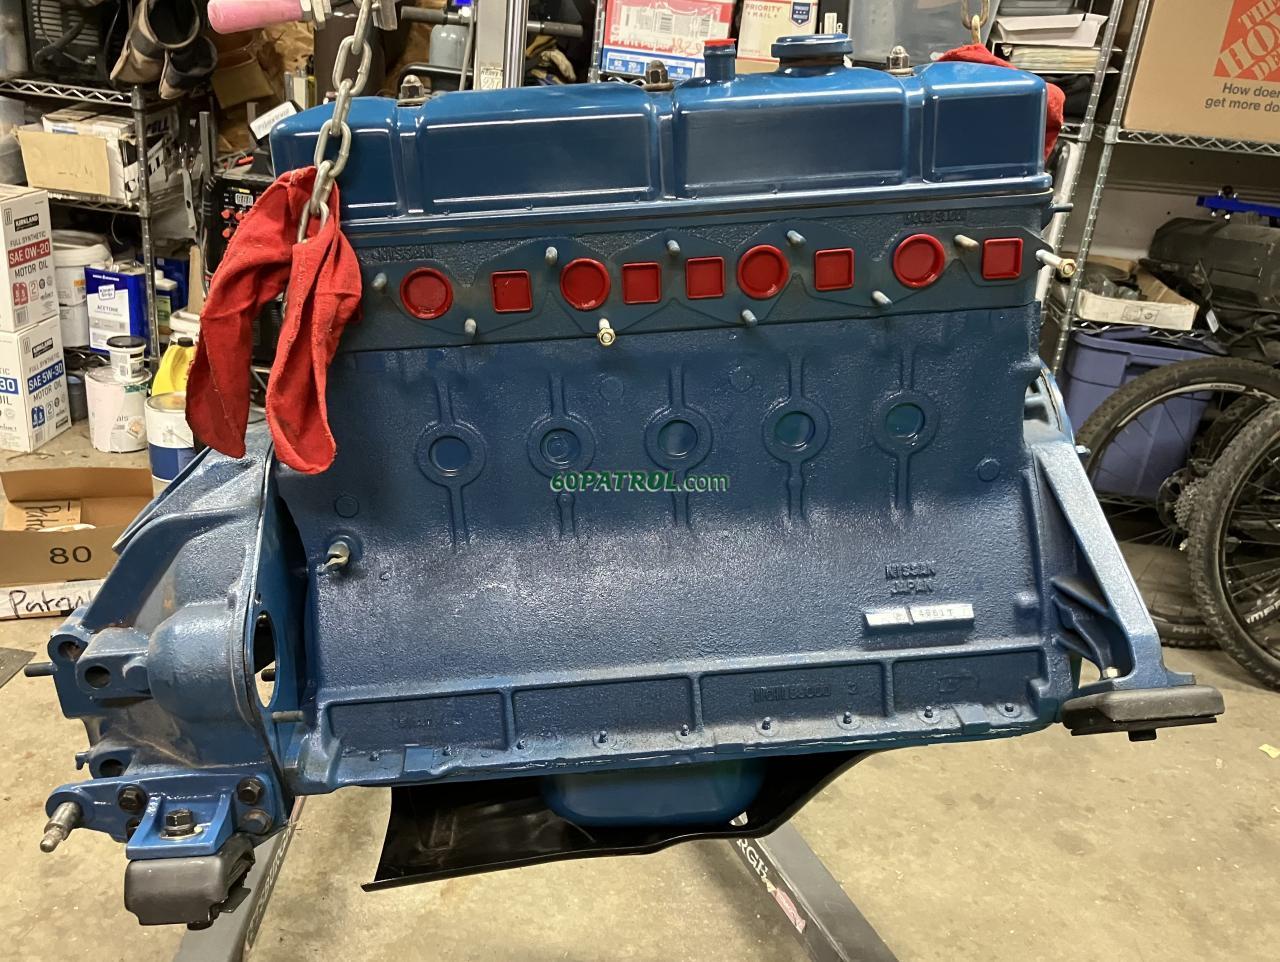
Wow! It's been nearly 6-months! Looks like I haven't been very busy working Aerogrl! Those manifolds have moved around the shop a few times, but are no closer to getting washed, painted and installed. The elephant in the room really is the giant P engine on the stand taking up precious floor space! Been on a kick getting rid of stuff (and putting stuff away). Today I decided that the best way to get back to it is to just do it!

The plan had been to completely assemble the engine, then install it in the frame, then assemble the truck around the engine. BUT, I seem to be stuck on the little things putting the engine together... Then I realized that it would not be substantially more difficult to assemble the balance of the engine while it's sitting in the frame than sitting on that engine stand in the garage... So it begins! ;-)

The P has been on that engine stand for at least a year... so, it's probably thrilled that it's somewhere new! First, I installed the backing plate
8844

Then the bell housing on -- I still find it weird that you need to put the bell housing on, THEN the flywheel and clutch.
8841
[gallery]8842[/gallery]

I 3d printed some port plugs since I am gonna install the engine before putting on the manifolds, etc. Notice that the motor mounts are in place too!
8843

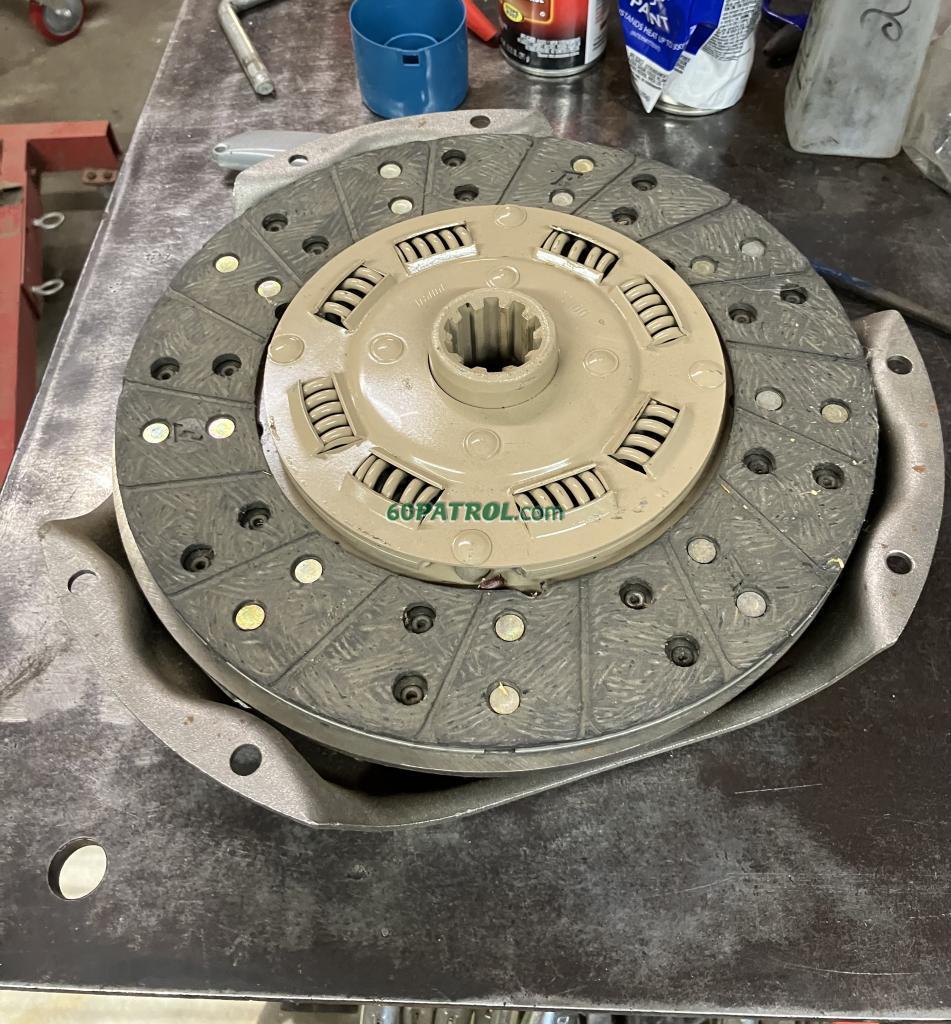
I pulled the flywheel and clutch out of the box where they have lived since being serviced years, and years, and years ago -- Actually since May 2014!!! viewtopic.php?p=20752#p20752
8845

There was a little surface rust on the flywheel -- not on the friction surface though -- Most of it came of easily with a little rubbing with acetone and a cloth
8847

Of course -- that is the rebuilt clutch disk... the one that fits the 3-speed.
8848

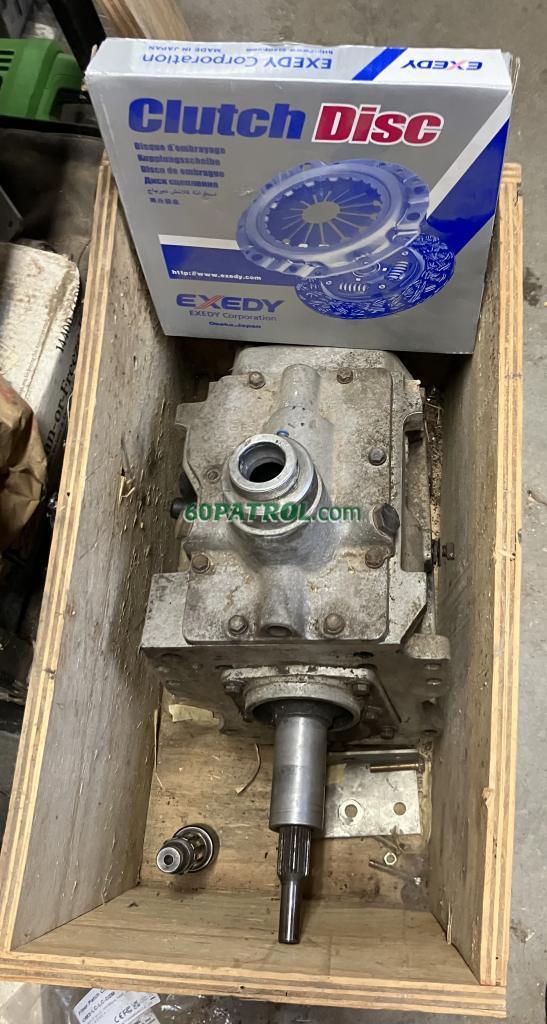
Of course, Aerogirl is destined to be sportin' a Marks 5-Speed direct from Australia... Well, direct-ish. It's been stuck in it's crate since November 2015, but it's seeing light! Plus, it came with the right clutch disk! ;-)
8852

Anyway, I spent Saturday cleaning the shop and carport... Make some room to work on aerogirl!

j

Re: 1967 Family Patrol Project

Posted: Mon Jul 29, 2024 9:06 pm
by Esteban
Excellent progress! Congratulations! :clap: :clap: :clap:

Those 3D printed plugs look the part. The pictures are beautiful with so much detail. By the way, the improvements done by Leslie on the site are awesome and your pictures are looking great in a mobile device. :clap: :clap: :clap:

Re: 1967 Family Patrol Project

Posted: Tue Jul 30, 2024 9:50 am
by RiverPatrol
It will be interesting watching you put the 5 speed in. I don't think anyone has documented that yet.

Re: 1967 Family Patrol Project

Posted: Tue Jul 30, 2024 11:21 am
by faux40
RiverPatrol wrote: Tue Jul 30, 2024 9:50 am It will be interesting watching you put the 5 speed in. I don't think anyone has documented that yet.
Doesn't mean I'll get it right! Well, at least not the first time... because I do it right because I do it twice! ;-)

Re: 1967 Family Patrol Project

Posted: Tue Jul 30, 2024 12:18 pm
by faux40
Since the engine is bolted into the frame, it's time to start thinking of installing the transmission -- So, I ordered the SAE 841 Oil Impregnated Bronze Sleeve bushings for the pilot bushings based on the sizing found here on 60p (love this board!). Here's the exact thing I ordered:
AA-946-1 | Oil Impregnated Bronze Sleeve | 5/8 ID x 15/16 OD x 1 OAL https://www.bronzebushings.com/aa-946-1 ... od-x-1-oal

FINALLY! Out of it's crate and onto the bench!
IMG_8160.jpeg

A quick test fit of the pilot bushing and throw out bearing
IMG_8163.jpeg

I read that typical pilot bushing clearance should be 0.002" to 0.003"... however, I also read that one should not measure the ID until the bushing is installed. Duh! Of course I measured it before installing it! ;-) The bushing ID was slightly under 0.628 uninstalled (exactly per the bushing's spec-sheet). I was a little worried that the ID of the bushing is 0.628" and the input shaft on the marks and measures 0.623" - meaning 0.005" clearance. I figured that I would trust the internet on the "don't measure until after it's installed" statement and go ahead and continue...
IMG_8176.jpeg

I didn't want to try and tap the bushing in by hand - so I used my lathe and a piece of aluminum bar to make an installation tool! Man, I LOVE my lathe! ;-)
IMG_8165.jpeg

My little "tool" loosly fits the bushing and gives it a square edge to press against
IMG_8167.jpeg

It's makes it easy to hold square against the crank flange
IMG_8170.jpeg

And is long enough that extends behind the bell housing to make it easy to bang-on!
IMG_8171.jpeg
IMG_8172.jpeg

The bushing pressed in flush with the crank face
IMG_8173.jpeg

Taking the post-install measurement!
IMG_8174.jpeg

Once installed, it's just a smidge over 0.625" -- Meaning there is just a hair over ~0.002" clearance
IMG_8177.jpeg

If I find the time this afternoon, I am going to mount the trans and an external test-fit (e.g. no flywheel, clutch, etc.) - The Marks install guide (thanks again 60p!) shows that I will need to notch out the cross member -- my freshly powder coated cross member!!! -- a bit. Not excited about that, but I am excited about the Marks! Here's the drawing showing what I need to notch:
xmember_notch.jpg
Always an adventure! ;-)

J