Page 23 of 29

Re: my 1967 patina project build

Posted: Mon Nov 22, 2021 2:10 pm
by rdarnell
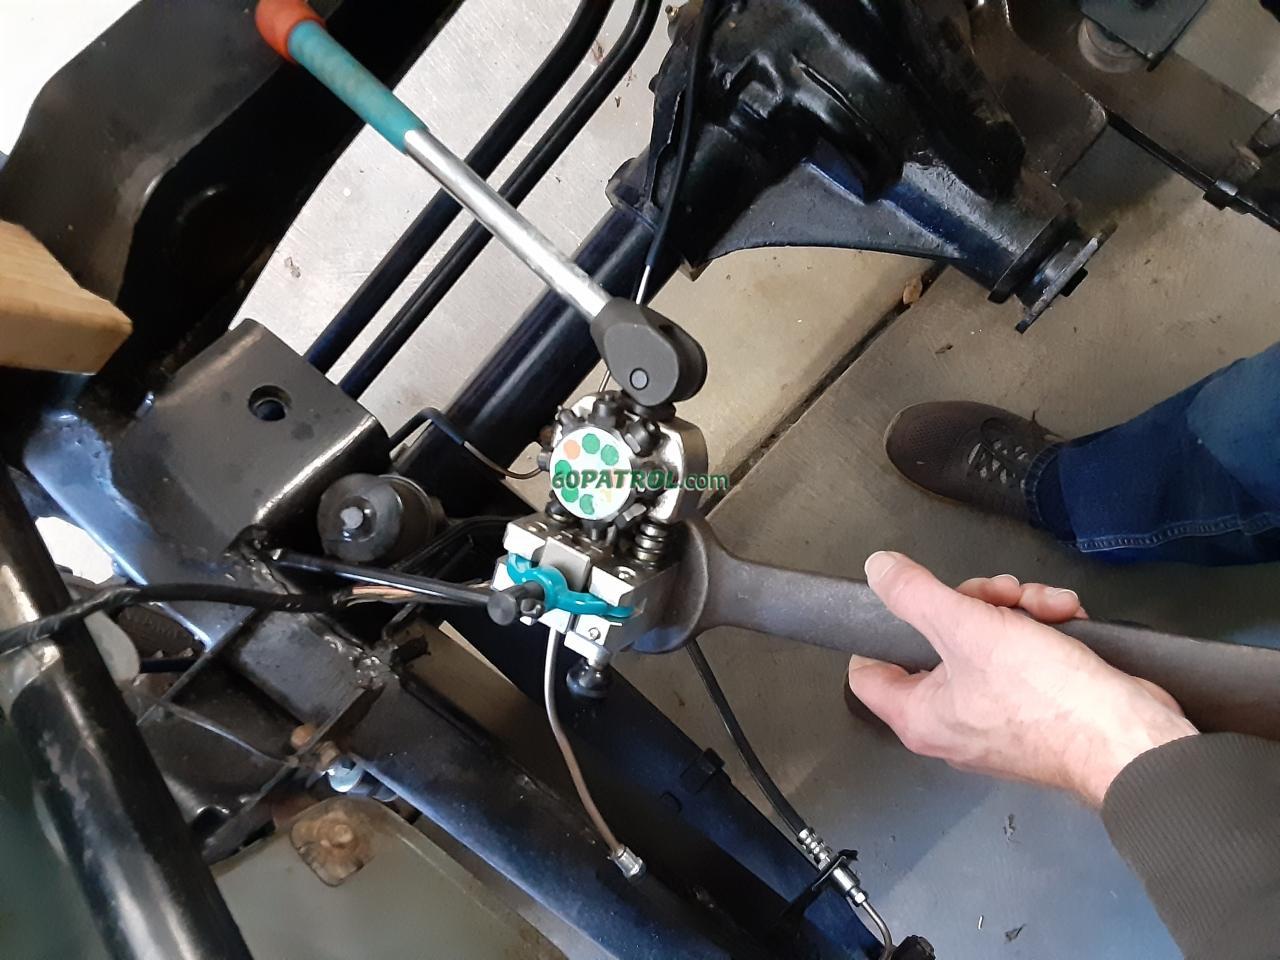
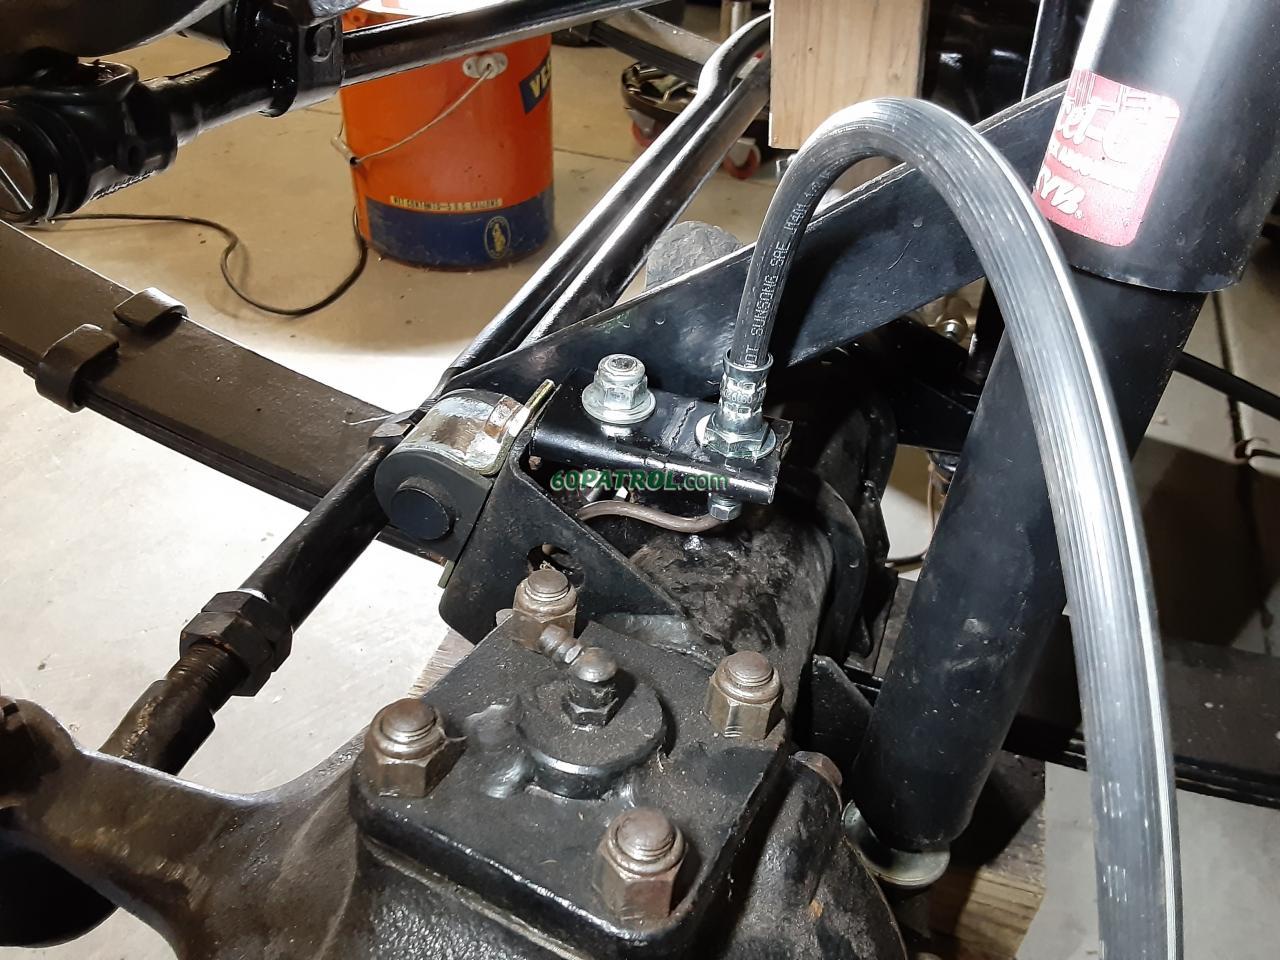
Got the metal lines run on the front axle this weekend, it would have been easier if I had not bolted on all the other parts. Using the copper nickel line it easier to work with and no future rust problems. I still need to make the bracket on the caliper end of the hose and then make the line between the caliper and the hose. Once I get started on the master cylinder and booster I can also finish up the lines in the engine bay.
7955
7956
7957

Re: my 1967 patina project build

Posted: Sun Dec 05, 2021 6:21 pm
by rdarnell
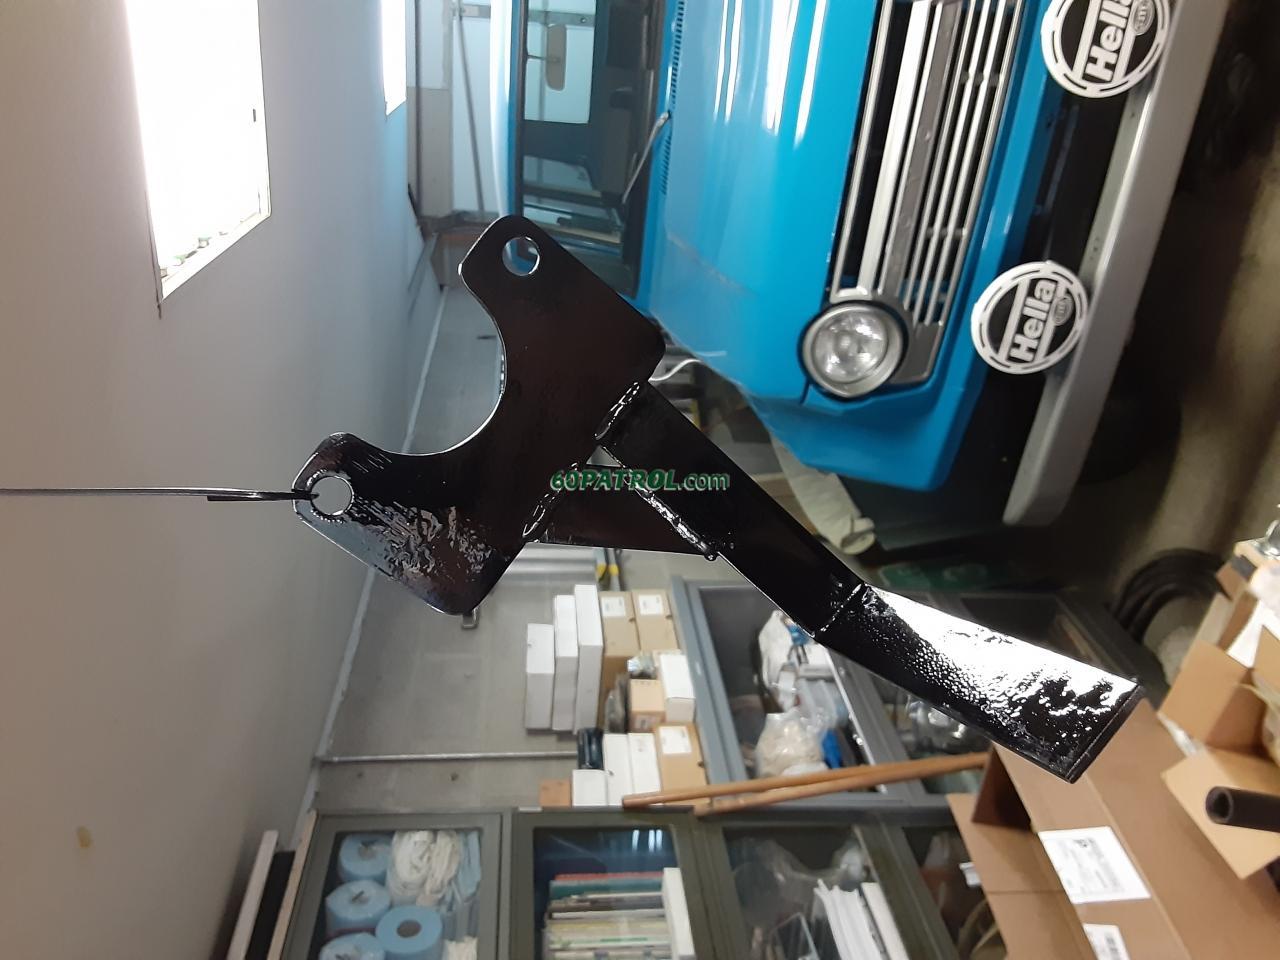
Picked up some pieces of metal Friday and made a few cuts and holes.
7960

These pieces will be used to make the adapter for my 7" dual diaphragm brake booster. Got the pieces mocked up and the test fit went well so I committed to welding them up.
7961
7963
7964
7965

Re: my 1967 patina project build

Posted: Mon Dec 06, 2021 2:59 pm
by Esteban
That looks beautiful and sturdy! :clap: :clap: :clap:

Re: my 1967 patina project build

Posted: Sat Dec 18, 2021 8:34 pm
by rdarnell
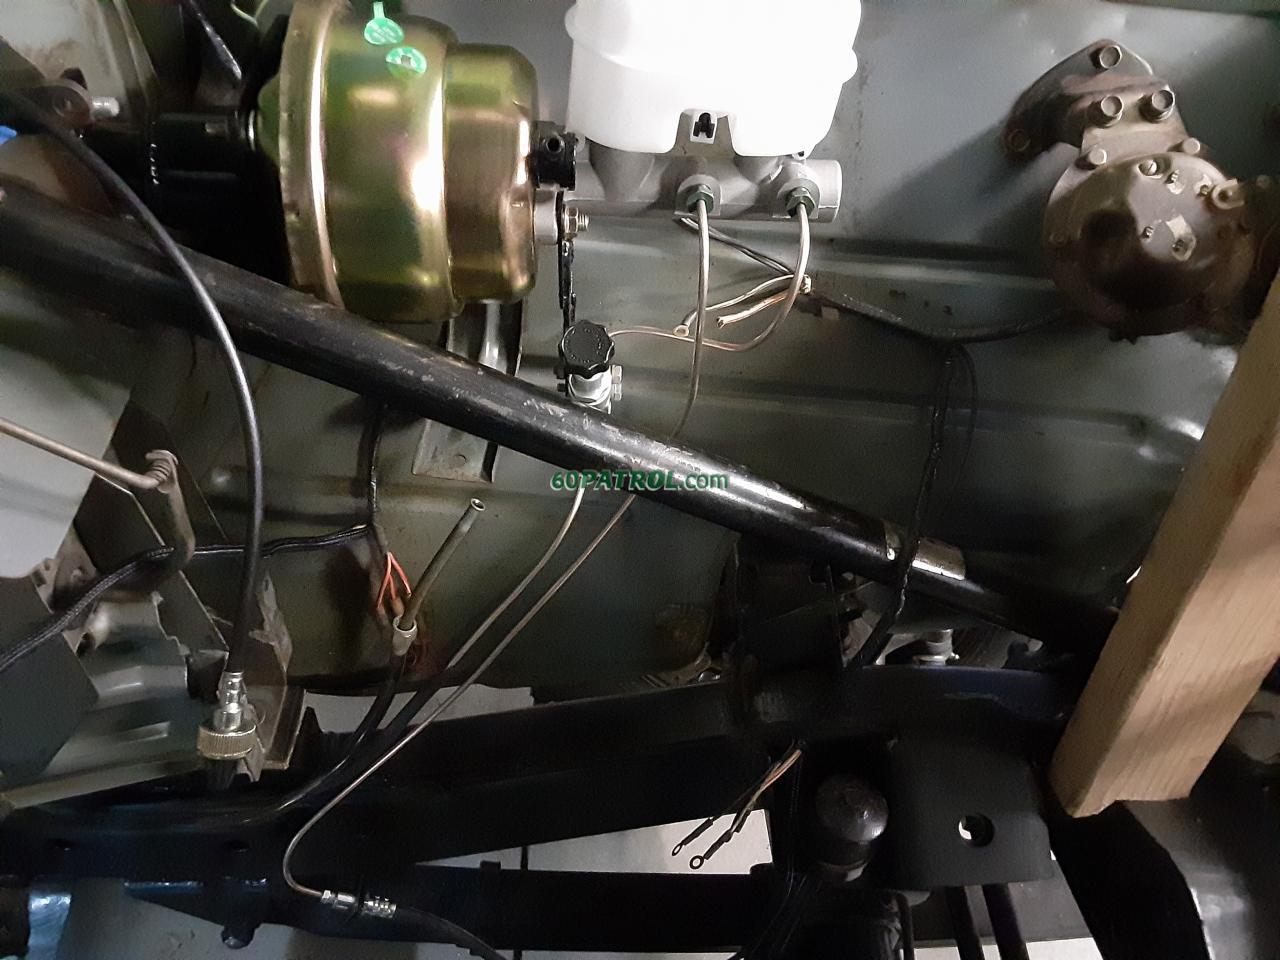
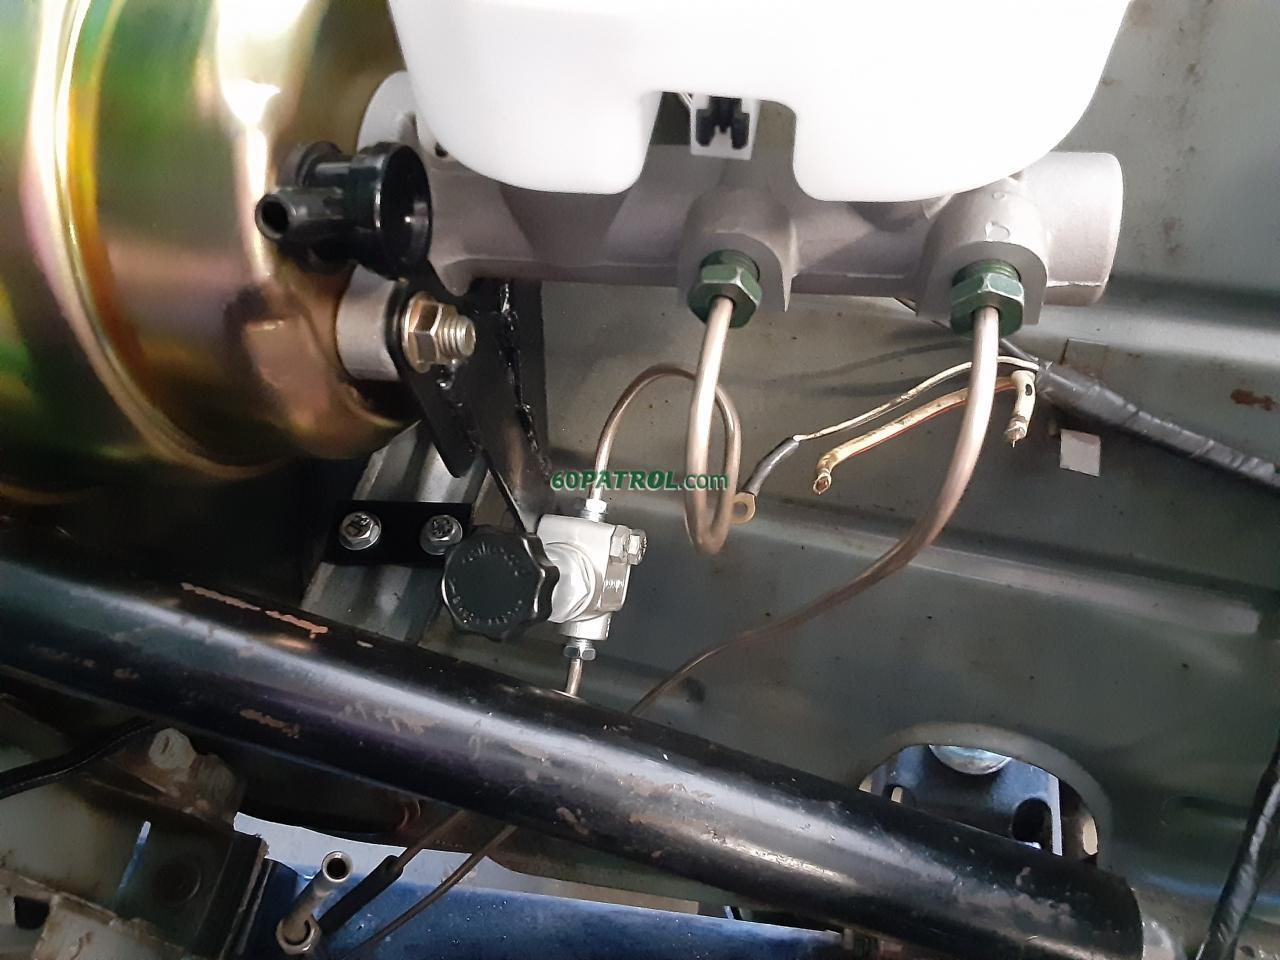
Got my 4th master cylinder in this week and it should work out much better. The ports are facing the engine unlike my 3rd choice which had unusual port size and faced the inner wheel well. This master cylinder is for a 2005 Blazer.
7966

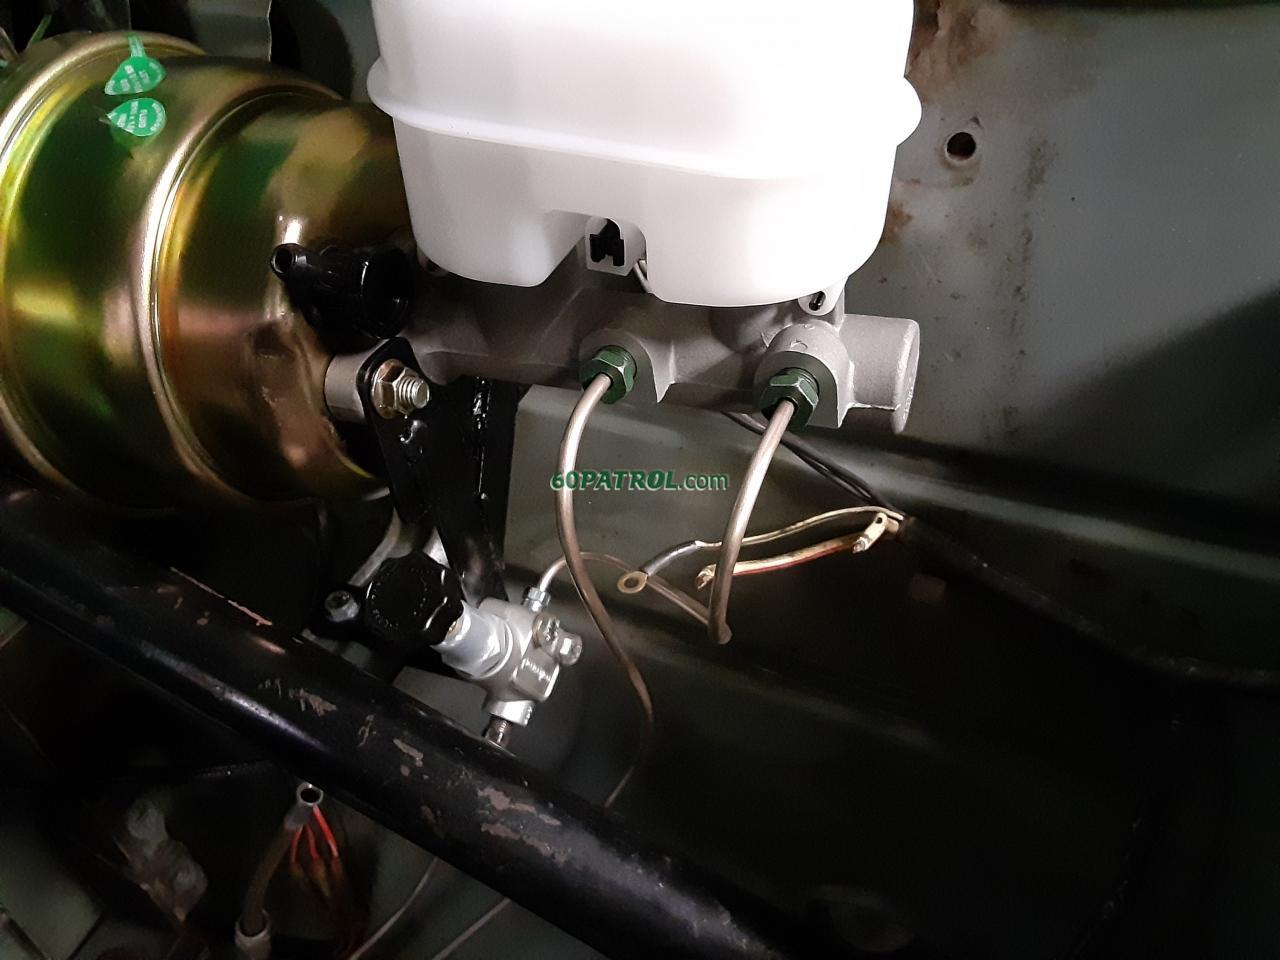
I also made a bracket to help support the additional weight since everything is spaced away from the firewall.
7967
7968

Re: my 1967 patina project build

Posted: Mon Dec 20, 2021 8:48 am
by rdarnell
Got the bracket and adjustable proportioning valve mounted and then finished fabricating the brake lines.

7969
7970
7971
7972

Re: my 1967 patina project build

Posted: Mon Feb 07, 2022 11:58 am
by rdarnell
Its been a little slow on progress, even though the garage is heated I still find excuses not to spend time out there. A couple weeks ago I did finish converting all the fluorescent lights over to LED by deleting the ballast and re-wiring the ends. Last time I was working completing the brakes I noticed the proportioning valve was actually a 10M bubble flare not an inverted flare. Also the front bowl should actually go to the front brakes on Chevy master cylinders, that was an easy fix. I had thought about making a adapter for hook rear line with 10M inverted flare to the valve with bubble flare but decided to just re-flare the end. Figured I would try to do it with the line installed and it seems to have worked out, a little cumbersome with that flaring tool. It prefers to be mounted in a vice.

8005
8006

I also decided to mount the fuel filter. The previous owners had bypassed the original glass bowl filter and installed an in line fuel filter. I had bought a new filter for the glass bowl but I might take it back out and not run a filter in there but put an inline filter between the glass bowl and the fuel pump. Not sure where all the fitting have gone but I was having some difficulty so I wasted some time at Lowes and Home Depot trying to find the correct gas flare fitting. They both had 1/4 and 3/8 flare fittings but this one is in-between... maybe 5/16? Stopped and Menards and found a 5/16 flare with 1/8 NPT but it was not a 90 degree, but they also had a 90 degree street elbow in 1/8 NPT. They were pretty cheap so I bought them and headed back. I decided to root around my fuel pump collection and was able to find one 90 degree original fitting. I went ahead and used this one on my glass bowl filter but depending on room I may need it on the fuel pump to carb. I think the glass bowl is still in my 63 parts truck but do not recall seeing and fittings it.

8007
7462

Re: my 1967 patina project build

Posted: Mon Feb 07, 2022 12:07 pm
by rdarnell
My truck did have the copper line from the fuel pump to the carb still installed. It looks like in the photo my truck did not have the glass bowl filter installed, guess it was laying in the back with a bung of other parts. They had put a compression band in the fitting coming from the gas tank supply and then used a brass hose end fitting with a 1/2X20 thread to go to a rubber hose to an electric fuel pump and into a filter and then into the fuel pump.
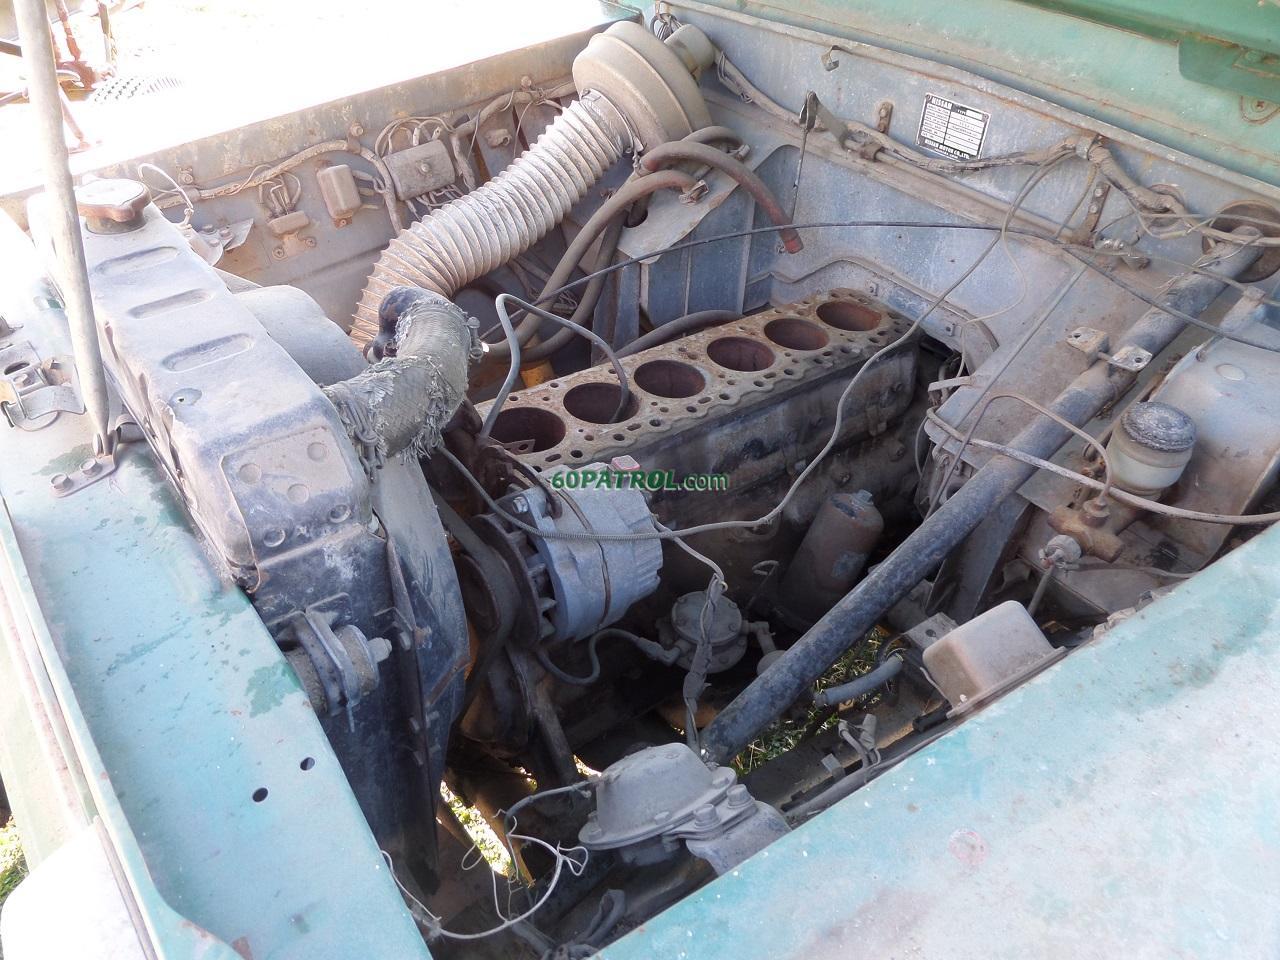
5549

Looks like the 1963 parts truck has even more happening in the fuel line. I do know it has the fuel bowl still in it because I recall trying to remove it a few months ago but could not get the nut to free up. Cannot remember if it had any of the fittings though.
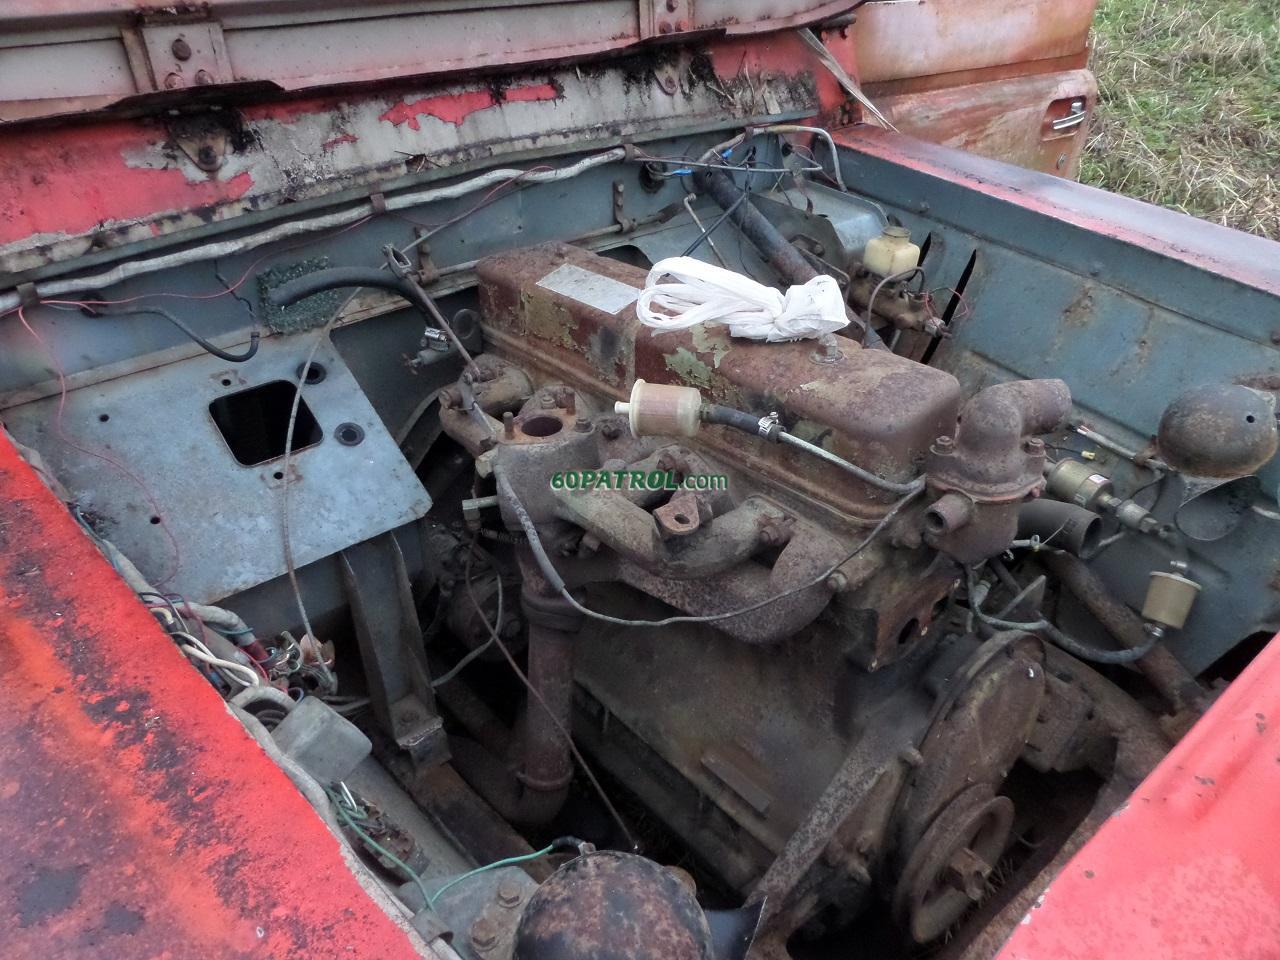
5735

And the 1965 parts truck with a 1967 engine in it did have a fuel pump but all fittings were missing. There was not a glass fuel bowl on it as most of the good stuff had been picked off of it in the past.

6207

Re: my 1967 patina project build

Posted: Sat Mar 05, 2022 8:56 pm
by rdarnell
Got the brake pedal linkage cut and welded today. Also installed new rubber bumper pads for the pedal stop.
8016
8017
8018

Re: my 1967 patina project build

Posted: Sun Mar 20, 2022 5:26 pm
by zed
rdarnell wrote:
I also decided to mount the fuel filter. The previous owners had bypassed the original glass bowl filter and installed an in line fuel filter. I had bought a new filter for the glass bowl but I might take it back out and not run a filter in there but put an inline filter between the glass bowl and the fuel pump. Not sure where all the fitting have gone but I was having some difficulty so I wasted some time at Lowes and Home Depot trying to find the correct gas flare fitting. They both had 1/4 and 3/8 flare fittings but this one is in-between... maybe 5/16? Stopped and Menards and found a 5/16 flare with 1/8 NPT but it was not a 90 degree, but they also had a 90 degree street elbow in 1/8 NPT. They were pretty cheap so I bought them and headed back. I decided to root around my fuel pump collection and was able to find one 90 degree original fitting. I went ahead and used this one on my glass bowl filter but depending on room I may need it on the fuel pump to carb. I think the glass bowl is still in my 63 parts truck but do not recall seeing and fittings it.


7462

My 520 solution:
8019
Keith

Re: my 1967 patina project build

Posted: Sun Mar 20, 2022 5:44 pm
by rdarnell
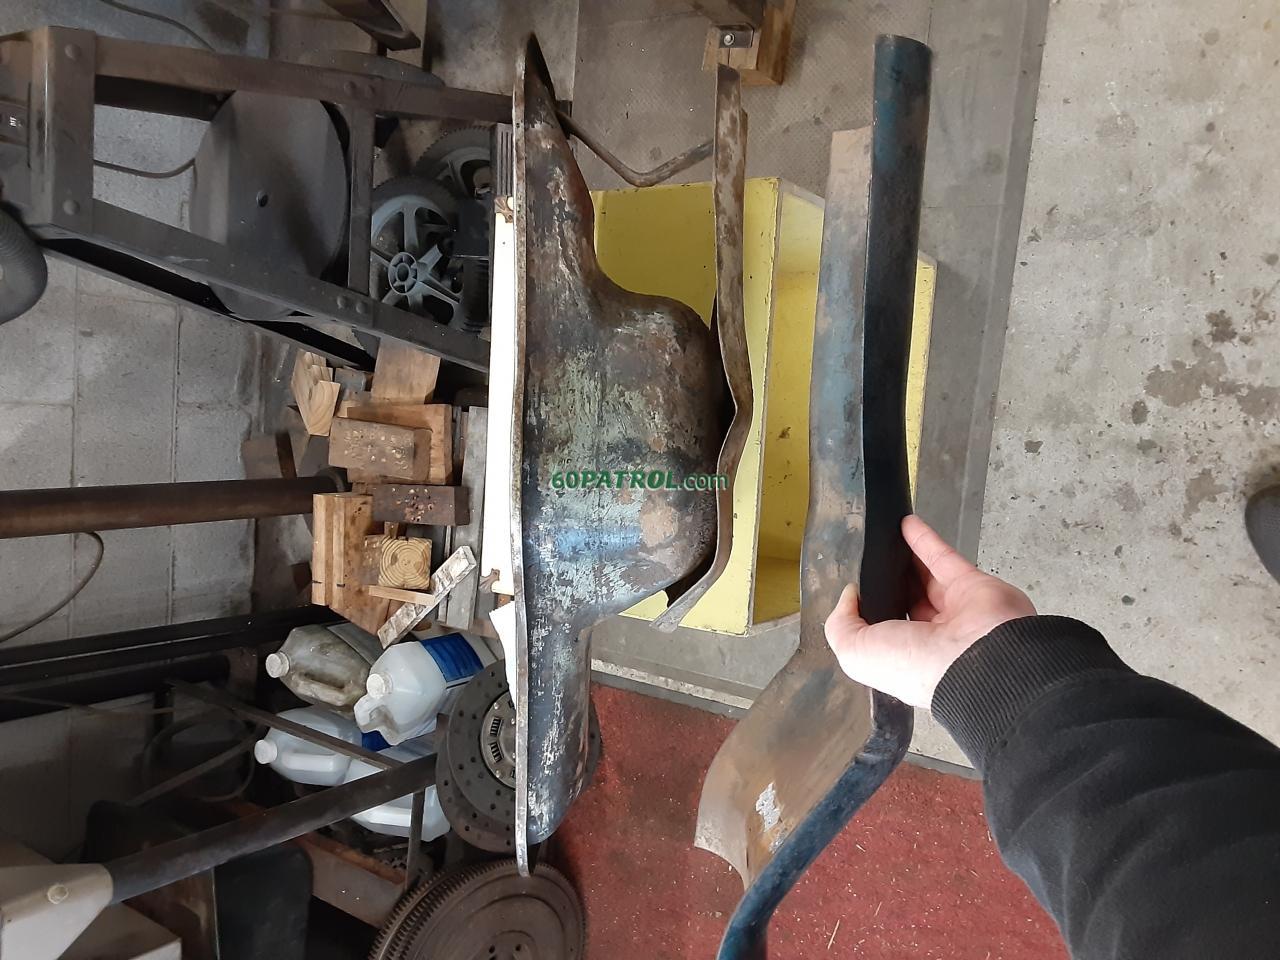
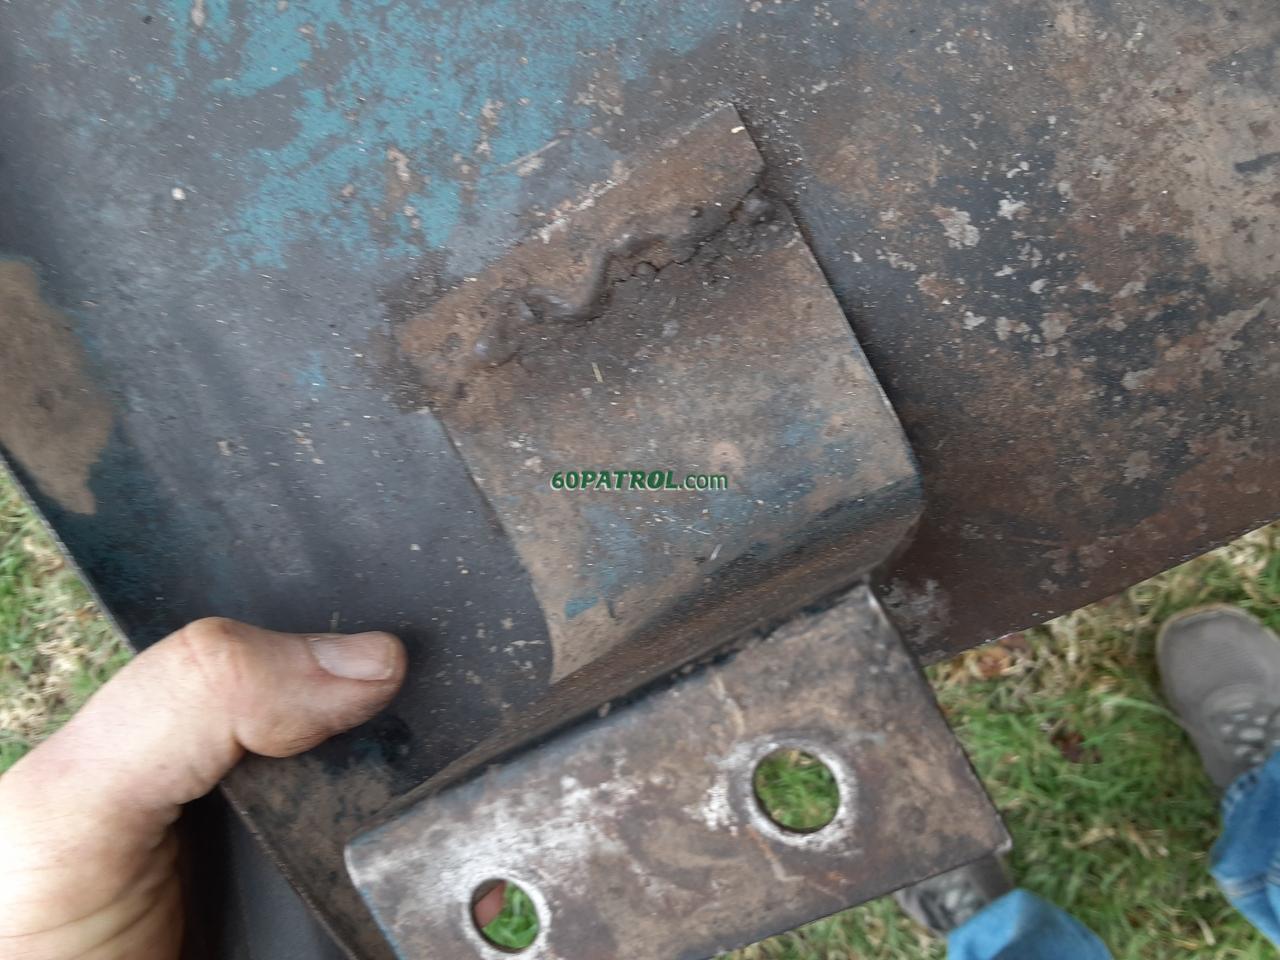
Repaired the prior repairs to the skid plate. It looks like it might have been partially torn off in the past and sort of repaired. I had thought about using the oil pan from the 1963 parts truck but after taking it off I noticed the skid plate was shorter than mine. It is also fixed to the oil pan.

8043

I guess I would have to fix mine after all.

8044
8045

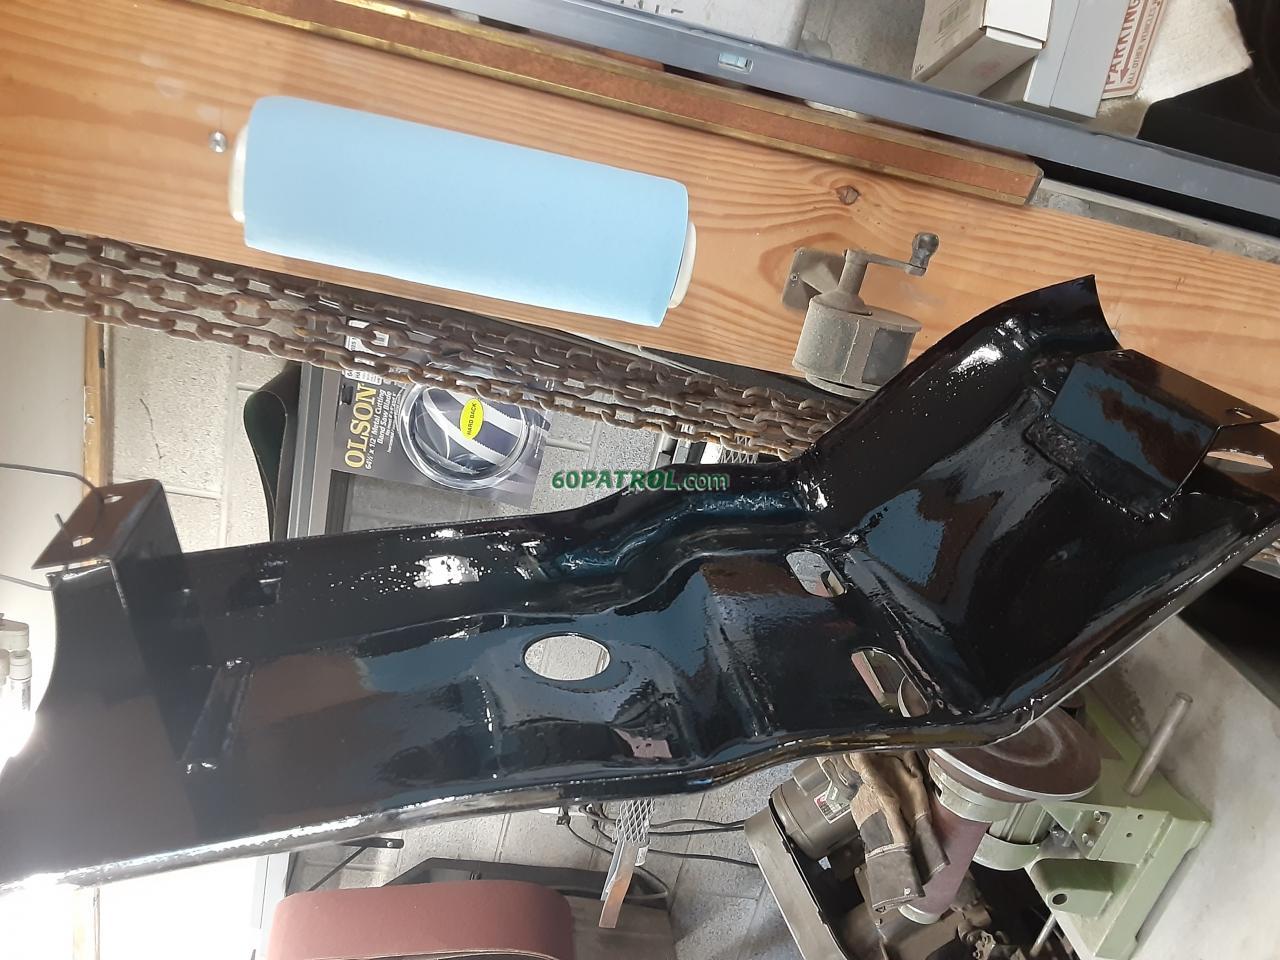
I removed both mounts on the skid plate. I was able to reuse most of the rear mount but had to make a new front mount. I bolted the mounts to the oil pan and made several adjustments and the welded them on the skid plate.

8046
8047

Cleaned up the oil pan and painted it low gloss black and put POR15 on the skid plate.

8048
8049