Re: my 1967 patina project build
Posted: Sun May 29, 2022 5:03 pm
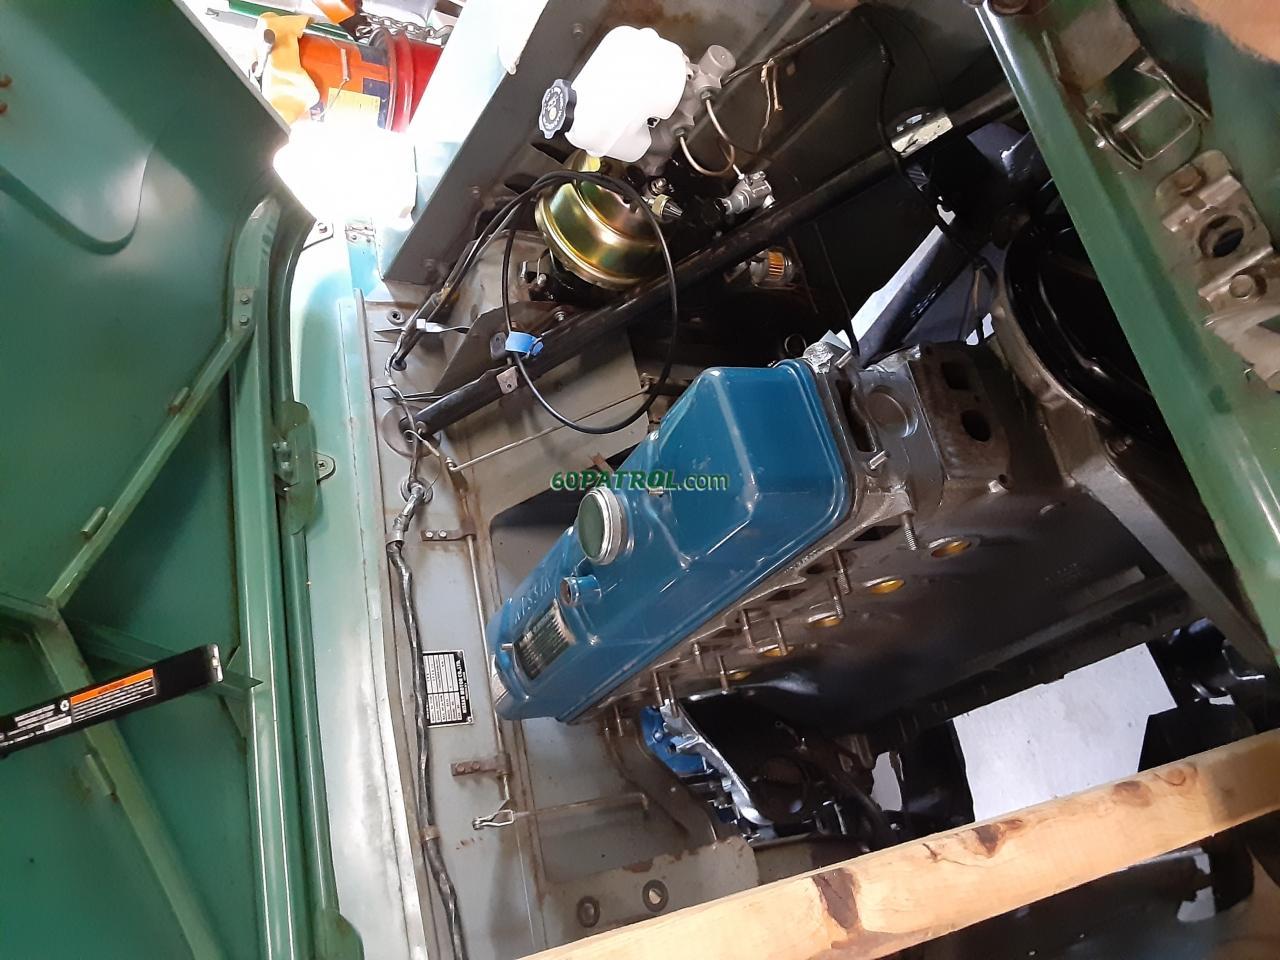
Since the opening in the floor is further forward than the land cruiser I decided to use an old transmission jack to install the trans and transfer case.
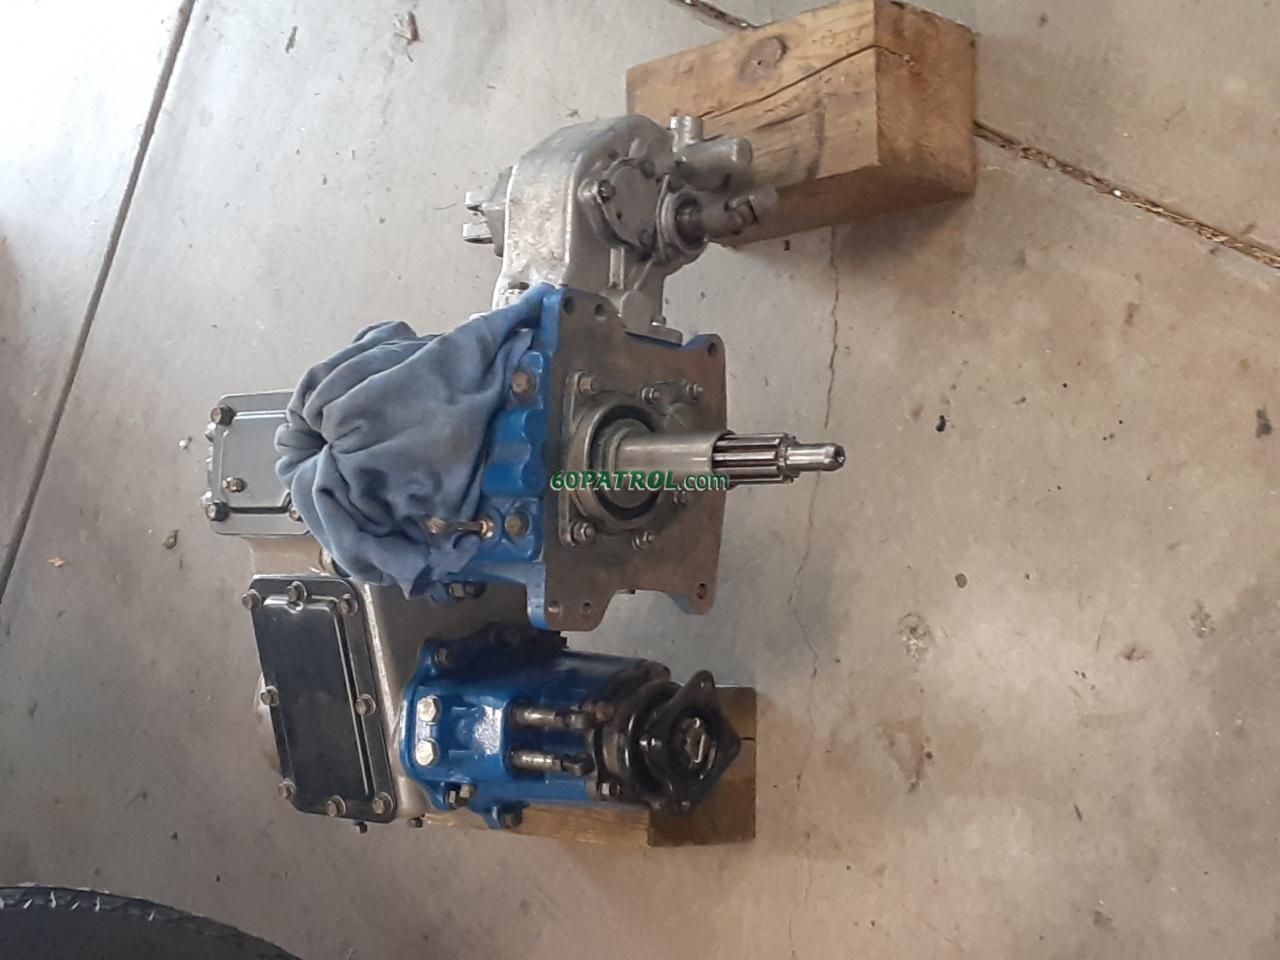

I got it under the Patrol and started going up and promptly realized the PTO was going to be sharing the same space as the battery box... so I took the PTO back off temporarily.

With that obstacle achieved and overcome I began going up again only to bottom out on the bottom of the floor with the shifter input hole... so I used the tilt function and leaned it back and tipped the input shaft into the throw out bearing. Kept going up and bringing the rear back up until i was in about the right spot. The only problem was the passenger side needed to rotated up quite a bit. So i switched over to the hoist and got the trans jack out of the way.
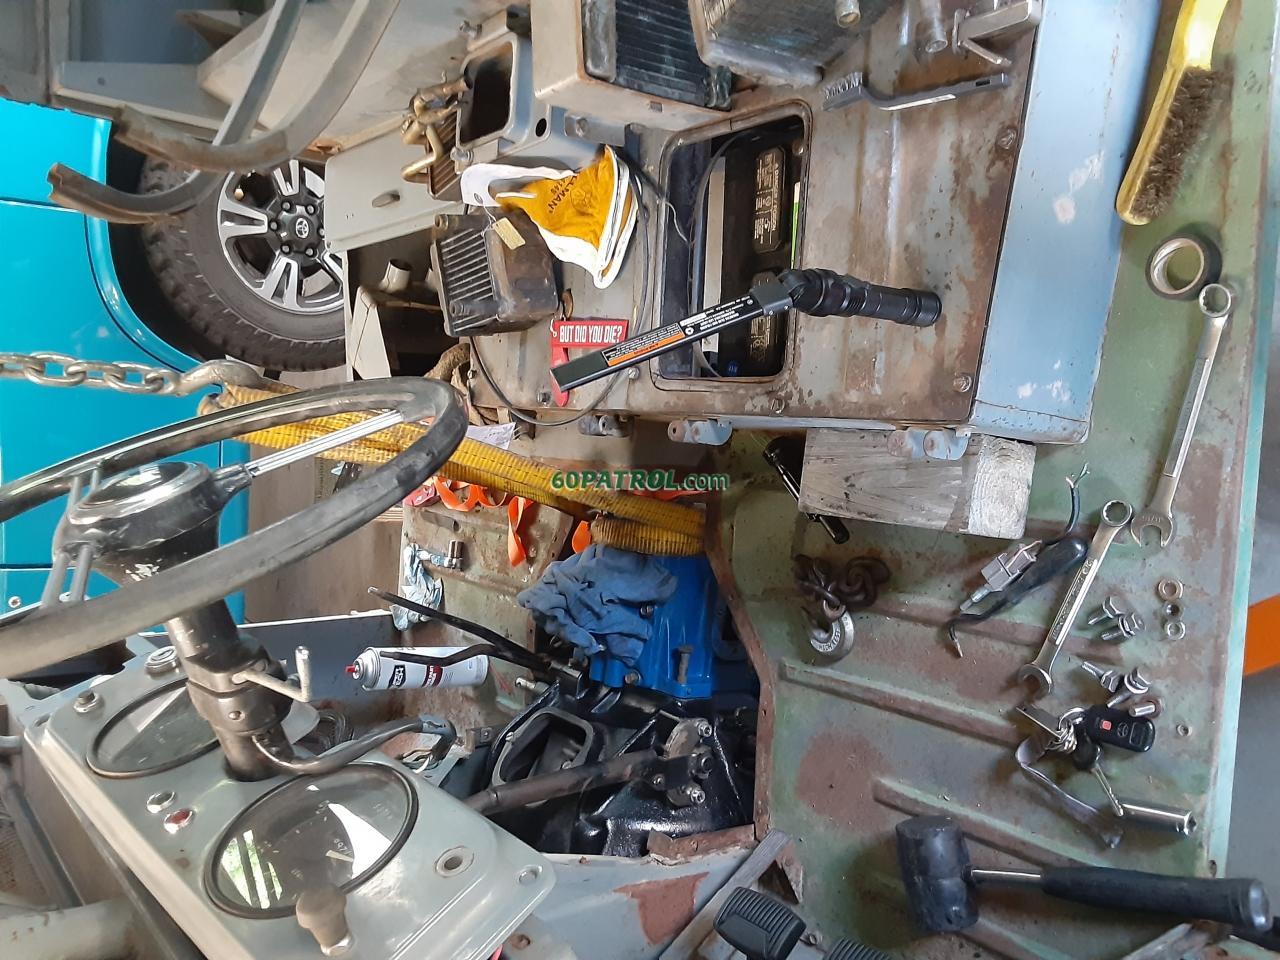
This allowed me to get under it and start one long guide bolt. Then I used the floor jack on the transfer case side to rotate it up and installed another long guide bolt. With both sides on guide bolts I was able to get under and behind it and wrestle it into place the last inch and a quarter. Bolted it all back in and reinstalled the PTO and added some GL-4 gear oil and installed the parking brake.


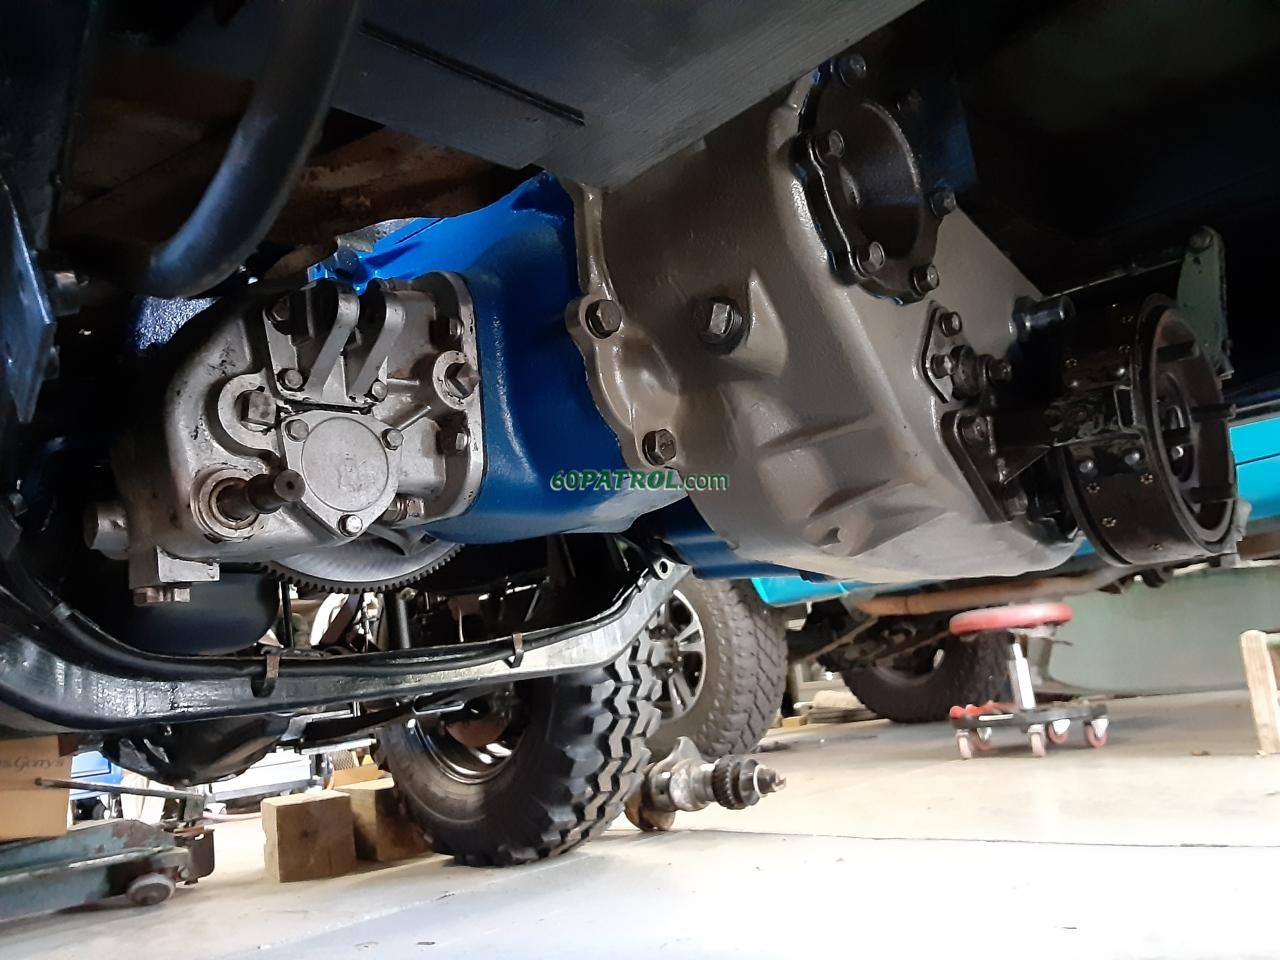
I got it under the Patrol and started going up and promptly realized the PTO was going to be sharing the same space as the battery box... so I took the PTO back off temporarily.
With that obstacle achieved and overcome I began going up again only to bottom out on the bottom of the floor with the shifter input hole... so I used the tilt function and leaned it back and tipped the input shaft into the throw out bearing. Kept going up and bringing the rear back up until i was in about the right spot. The only problem was the passenger side needed to rotated up quite a bit. So i switched over to the hoist and got the trans jack out of the way.
This allowed me to get under it and start one long guide bolt. Then I used the floor jack on the transfer case side to rotate it up and installed another long guide bolt. With both sides on guide bolts I was able to get under and behind it and wrestle it into place the last inch and a quarter. Bolted it all back in and reinstalled the PTO and added some GL-4 gear oil and installed the parking brake.