Page 1 of 3
RED DOG 79 ute build
Posted: Sat Dec 28, 2019 9:45 pm
by RED DOG
Hi all, have been working on my ute with my cousin lately, its a bit of a team effort and partnership really.
The car was purchased from an older gentle man earlier this year who had grand plans with changing the whole driveline and painting it a weird metallic green colour

luckily for me it was left to rest in the paddock for the last few years untouched!
Trying to get the car road registered by February 2020, still a bit to go but ticking things off the to do list quite quickly this Christmas break.
Have managed to so far clean up and rebuild a stromberg carburetor and oil bath air cleaner
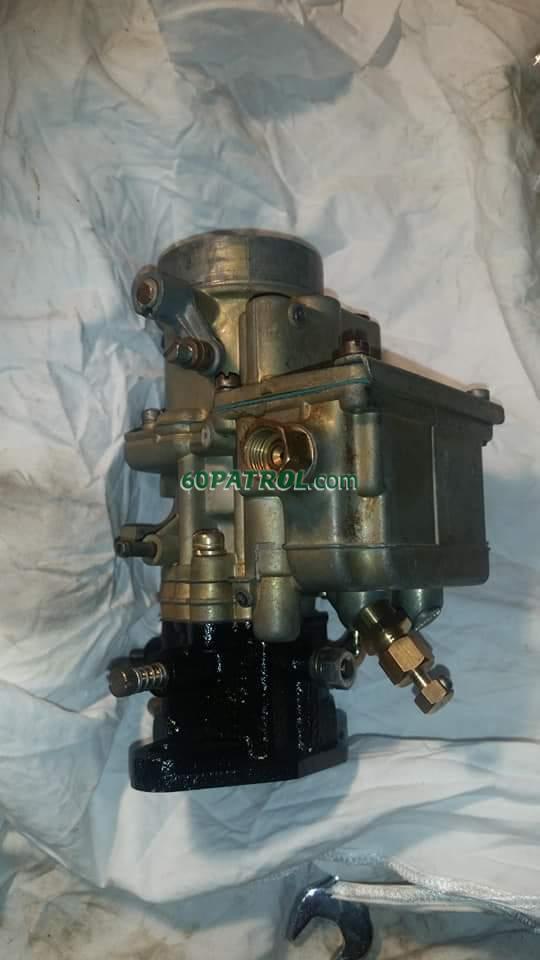
rebuilt the dizzy and alternator

radiator has been professionally cleaned, rear wheel bearings replaced and wheel cylinders been rebuilt- luckily for me someone has already gone to the trouble of stainless sleeving them!

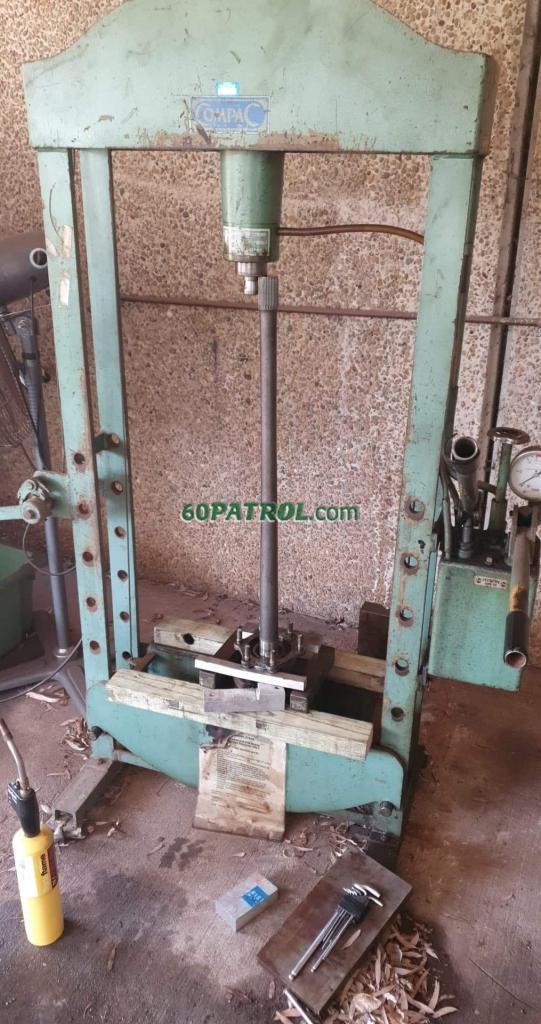

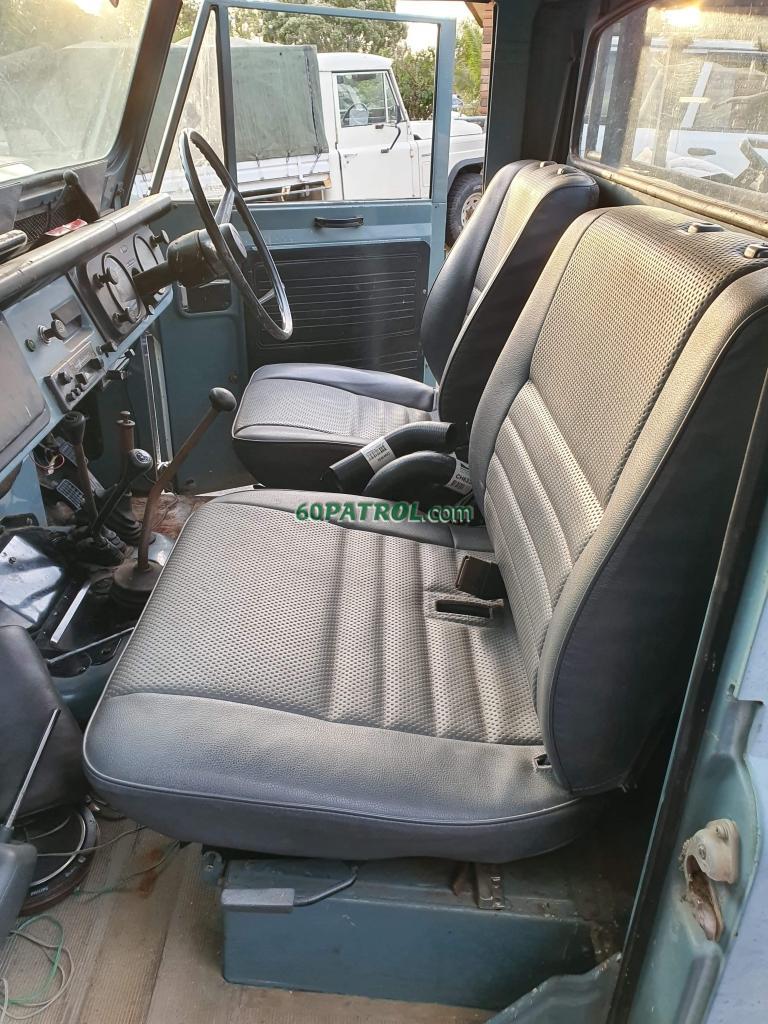
new shock absorbers installed, i didn't have any original seats for it so chose to install some 79 series landcruiser seats that i had laying around
Also got the clutch hydraulic lines remade and all installed and air bled out of the system.
hopefully i attached the pictures correctly, stay tuned as theres more to come yet! cheers
Re: RED DOG 79 ute build
Posted: Sun Dec 29, 2019 7:55 am
by RED DOG
Re: RED DOG 79 ute build
Posted: Sun Dec 29, 2019 12:21 pm
by RiverPatrol
It looks like it's coming along nicely, good work!
Re: RED DOG 79 ute build
Posted: Sun Dec 29, 2019 2:17 pm
by Esteban
Congratulations! Everything is looking great.
Would have been great to see a picture of the sleeved cylinders.
Re: RED DOG 79 ute build
Posted: Sun Dec 29, 2019 5:21 pm
by RED DOG
Thanks, Esteban unfortunately this is the only pic i took of the sleeved cylinders.

Re: RED DOG 79 ute build
Posted: Sun Dec 29, 2019 10:49 pm
by Esteban
Great picture! Thanks.
The job done with the sleeving looks tops.
Re: RED DOG 79 ute build
Posted: Mon Dec 30, 2019 4:47 am
by Peter60
In Oz it is common for master cylinders and slave cylinders to be lined with stainless steel tubes, especially for older types vehicles.
I'm not sure about the actual brake cylinders, but obviously it can be done.
I have always opted to buy new ones. It seems easier and faster but maybe they don't last as long.
Re: RED DOG 79 ute build
Posted: Mon Dec 30, 2019 5:39 am
by RED DOG
Hi peter60.
From what I have learnt the biggest cause to failure with the wheel cylinders is moisture, the brake fluid is hydroscopic and there for the alloy housing starts to corrode, which in turn with use the rubber cup/seal gets scratched/scored - damaged by the corrosion/pitting in the bore.
I got a quote a while back from a brake shop, i wanted to stainless sleeve my 40 series landcruiser wheel cylinders, $80 each they told me, and there's 8 of them! Was cheaper and easier to just go and buy new ones like you said.... fingers crossed the front wheel cylinders are sleeved aswel! Might tackle them in the next couple of days.
Re: RED DOG 79 ute build
Posted: Mon Dec 30, 2019 5:52 am
by G60michael
Great Post Cobba Love it mate, fingers Crossed she'll be ready in time for the Trip.
I've Been Pretty Busy myself as Dave and the other guys know, Dave has done pretty much similar work to me prepping the old G60s up for Rego ready to take away later next year.
Keep the Pics coming Dave, we love seeing regular posts, also helps keep the Motivation there to keep pushing on, it also gives us justice that there is also other dedicated members out there trying to bring them back to life, as unfortunately we all can agree a lot of people under take "Such" Projects and then Sit on there hands and kickback waiting for the car to fix its self, great work make keep it going, carnt wait to see her next year, was a bloody tidy old unit a few months ago when we caught up.
Re: RED DOG 79 ute build
Posted: Sat Jan 04, 2020 7:03 am
by RED DOG
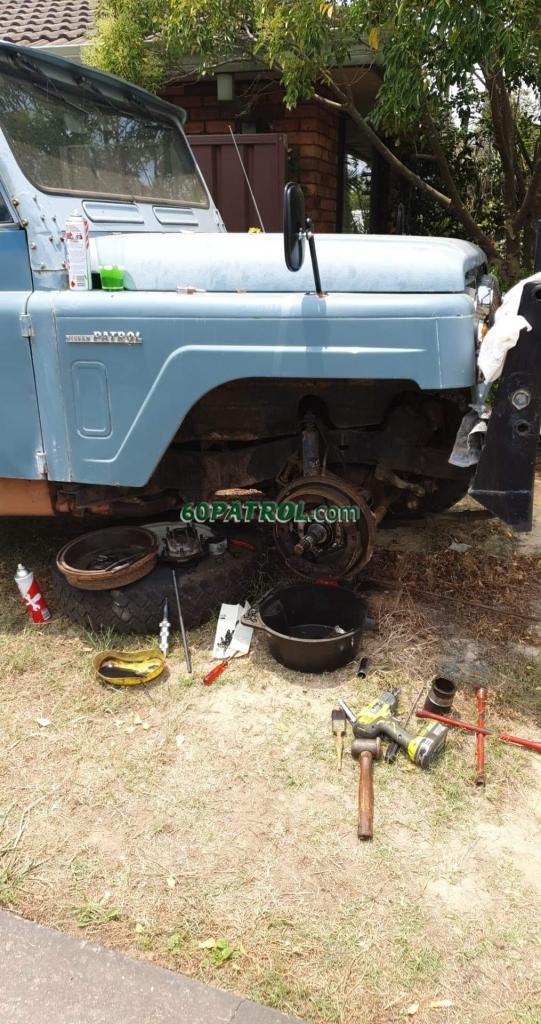
The past week or so has been very busy! Now all wheel bearings have been changed, and all the brakes have been replaced or rebuilt, but as always not without drama! Upon removing the front hub i noticed a piece of steel shim stuck in the grease between the 2 wheel bearings! Closer inspection revealed that both bearings had an issue some time in the past and the larger inner bearing had to be cut off with an angle grinder, you can see the marks on the stub axle.
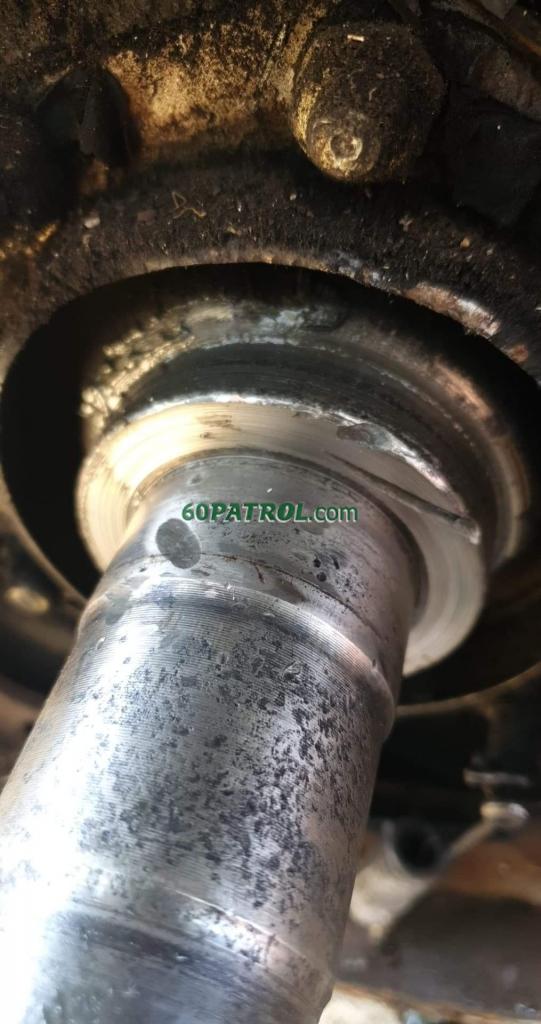
I tried the fit of the new bearing on the stub and it was worn badly and flopping around, so obviously someone has tried to use the shim and pack out the worn part to bearing ID, so then off on a half hour drive to where i have access to a parts car and got another stub.
Next day and back at it, at this stage i really wished i picked up the hub from the parts car aswel, because the original hub had been damaged and been machined inside with a spacer inserted, a good job had been done on repairing the hub but for me its just 1 of those things that will be on the back of my mind when driving out in the middle of no where, then finally putting the free wheeling hub back on 1 of the studs stripped the thread!

great! More to fix
Unfortunately unlike the rear brake wheel cylinders, the fronts were not stainless steel sleeved, infact they were rusted solid! So new cylinders fitted

Its always good when working away most of the day and someone stops in for a chat (especially when they drive their g60!) and to see what progress has been made, a beer and some encouragement is sometimes needed.
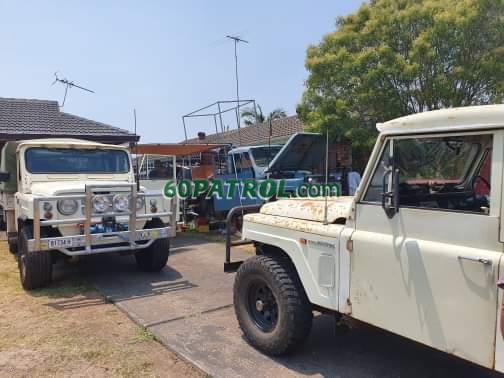
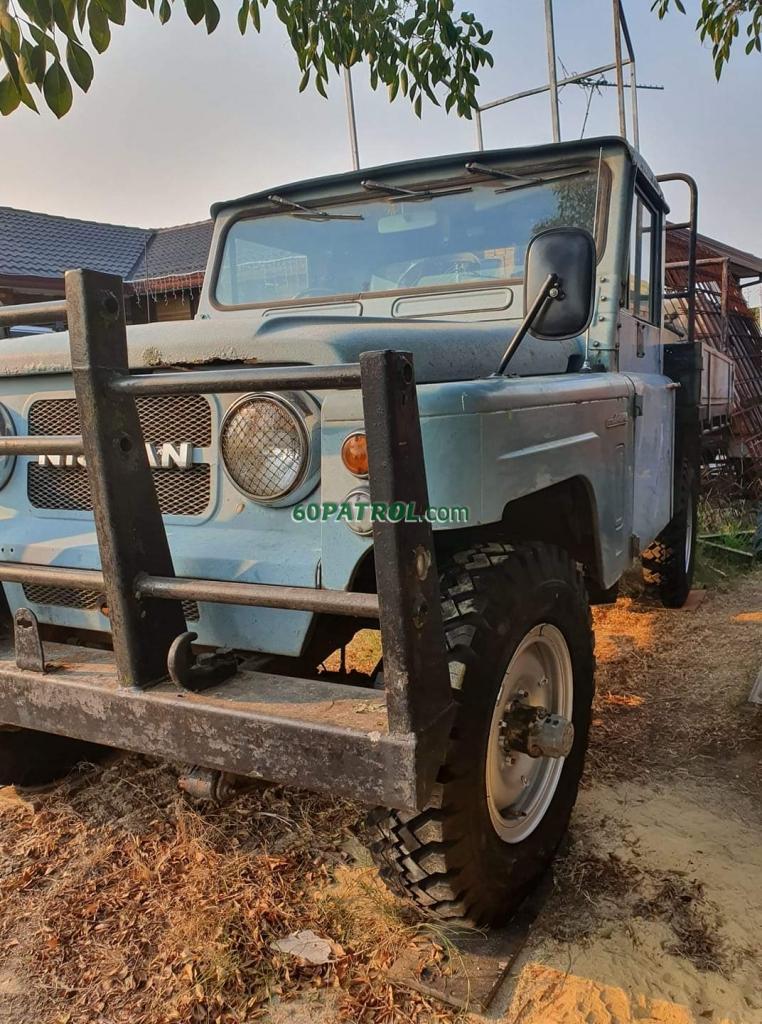
So now that all the brakes had been adjusted and wheel bearings done i thought what better time than to tackle the bullbar, the upright parts on the ends seemed to be blocking the indicators and just looked too bulky, i wanted to fit a winch so the bar had to also move forward and new mounting points fabricated. This is the end result, i think it turned out pretty well, just need to fit the rollers for the cable, fit the uhf aerial and spot lights.

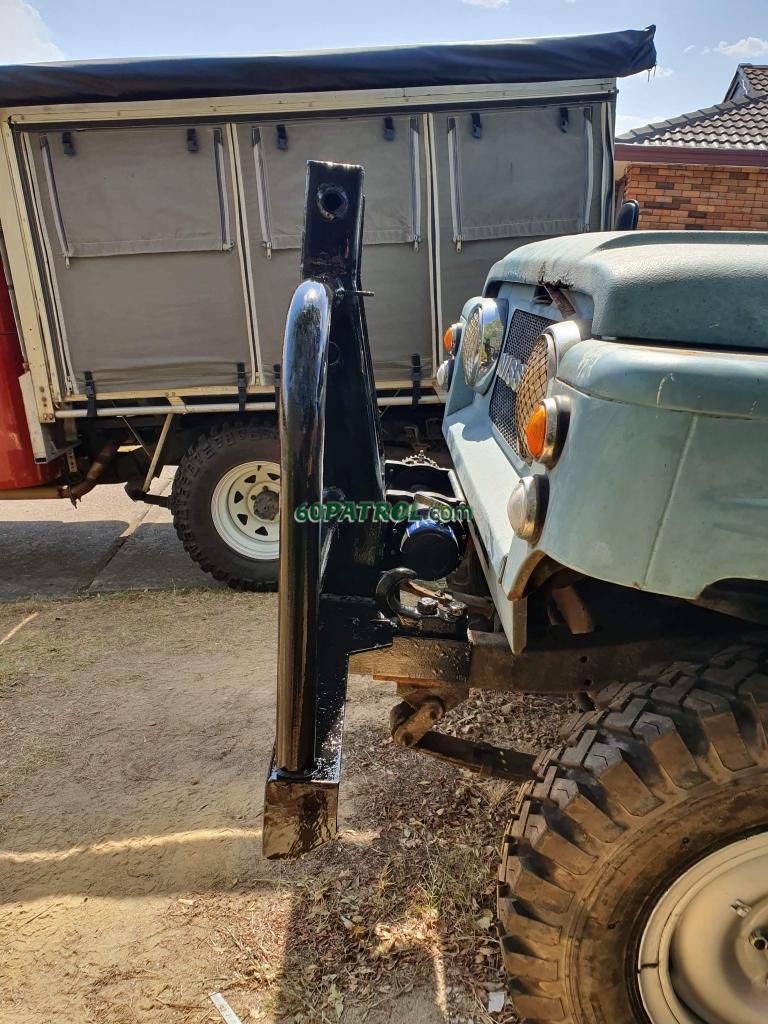
Hopefully soon there will be more progress pics and less drama haha cheers, Dave